Configure BuildNinja Agent
Set up the BuildNinja Agent to connect with the server, execute assigned build jobs, and report results. The agent acts as the execution node in the CI/CD process, running builds, tests, and deployment tasks as configured by the server.
You can install the Agent on the same machine as the BuildNinja Server or on a separate machine. The installation process is identical in both cases. When installing the Agent on a different machine, ensure that the BN_AGENT_SERVER_URL environment variable is set to the address of the machine where the BuildNinja Server is running and that the server is accessible over the network.
Configure and Start BuildNinja Agent
-
Define the environment variables that control how the agent identifies itself, communicates with the server, and stores data locally. For details on supported variables and how to set them up, see Set Up on macOSFollow these steps to configure your environment variables on a macOS system. 1. Open a terminal window. 2. Determine your current shell by running: bash echo $SHELL :::note If you're using Zsh (default in macOS Catalina….
-
Run the
bn_agent_macosbinary included in the package to register the agent with the server. The agent automatically attempts to register using the provided details. If registration is successful, the server UI displays the agent under the Agents section.
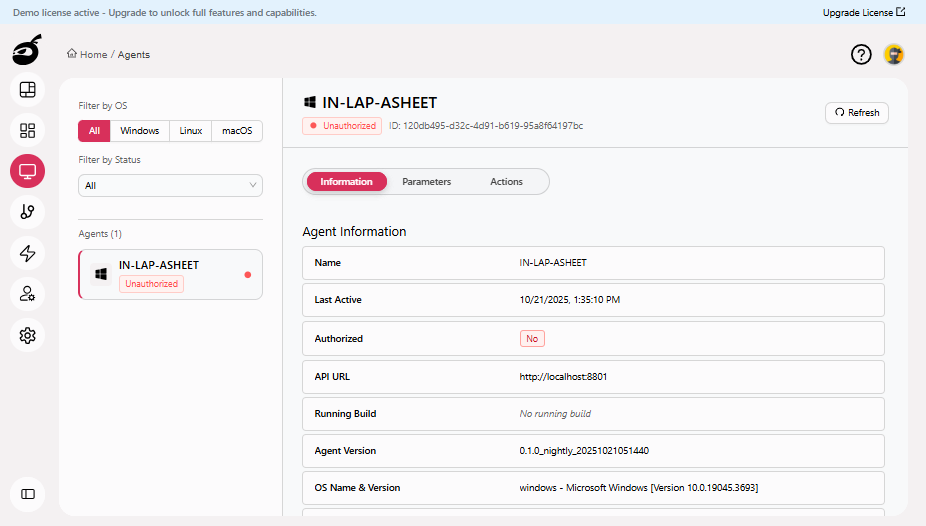 info
infoFor instructions on authorizing the agent, see Authorize AgentWhen a new agent first registers with the BuildNinja server, it appears in the Agents interface in an unauthorized state. To authorize a newly registered agent: 1..