How to Secure Your Workspace and Isolate Project Access
Configure access controls in BuildNinja to ensure that only the Deployment Team can edit production build configurations, developers can trigger builds only in their assigned projects, and all users authenticate using Single Sign-On (SSO).
This guide explains how to secure and scale an enterprise workspace by combining system-level administration with project-level access control. It uses:
- System Administrator permissions for global security and authentication management
- Role-Based Access Control (RBAC) to control access at the project and build configuration level
- SSO for centralized user authentication
Prerequisites
Before you begin, ensure that:
- You are logged in as a System Admin.
- Projects and production build configurations already exist.
- Deployment Team and Developers exist as users.
- Your BuildNinja instance is accessible over HTTPS.
- An identity provider (Azure AD, GitHub, GitLab, Google, or Bitbucket) is available.
Step 1: Understand System Admin vs RBAC Responsibilities
BuildNinja separates access control into two distinct layers: system-level administration and project-level access management. Understanding this separation is critical before assigning permissions, as System Admin privileges and RBAC roles serve different purposes and are not interchangeable.
System Administrator (Global Scope)
The System Admin role provides unrestricted, platform-wide access. System Admin permissions apply to the entire BuildNinja instance and are not limited by projects or build configurations. These permissions exist independently of RBAC and cannot be granted or restricted through project-level roles.
System Admins are responsible for maintaining the overall health, security, and operability of the platform. Typical responsibilities include managing users and administrator privileges, configuring authentication and SSO providers, approving and managing build agents, handling licensing, and maintaining global system settings.
Because these actions affect the entire platform, System Admin access should be granted only to trusted users such as platform owners, DevOps administrators, or operations teams.
For more information on system administrator permissions, see System Administrator PermissionsThe System Admin (Super Admin) role provides unrestricted, system-wide access to BuildNinja. This role is intended for platform owners, DevOps administrators, and operations teams responsible for maintaining the overall ….
RBAC (Project Scope)
RBAC is used to manage access within projects and build configurations. RBAC determines what users can view, run, edit, or manage at the project and build configuration level. Permissions granted through RBAC are always scoped and do not extend beyond the assigned project or configuration.
RBAC is used to control day-to-day development and deployment workflows, such as:
- Allowing developers to trigger builds
- Allowing deployment teams to edit builds
- Restricting access to production configurations
RBAC does not control system-level operations such as user administration, SSO configuration, agent management, or licensing. These operations always require System Admin privileges.
For more information on managing user access within projects and build configurations, see Manage Project and Configuration Access (RBAC)BuildNinja provides Role-Based Access Control (RBAC) that allows you to control who can view, run, modify, and manage projects and build configurations..
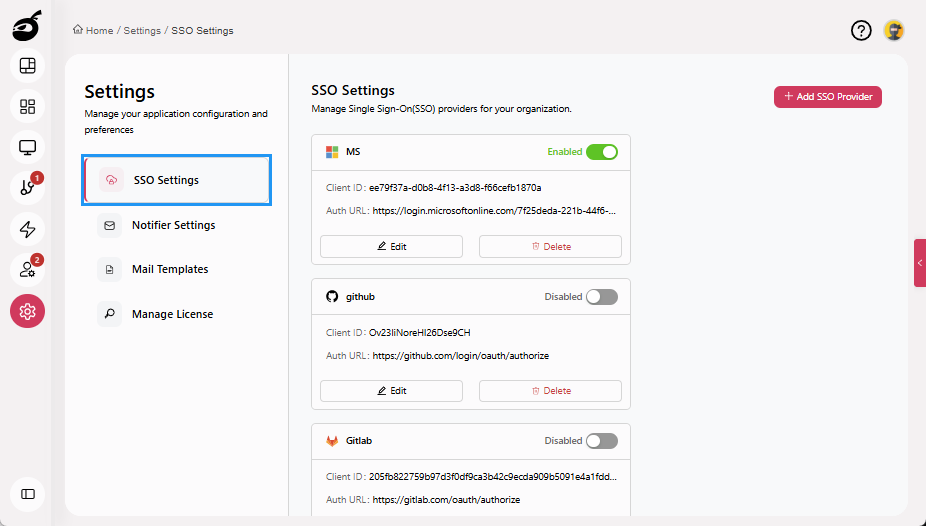
Step 2: Configure SSO Authentication
Configure SSO to centralize user authentication and ensure that all users sign in to BuildNinja using your organization’s identity provider.
-
Navigate to the Settings and open SSO Settings.
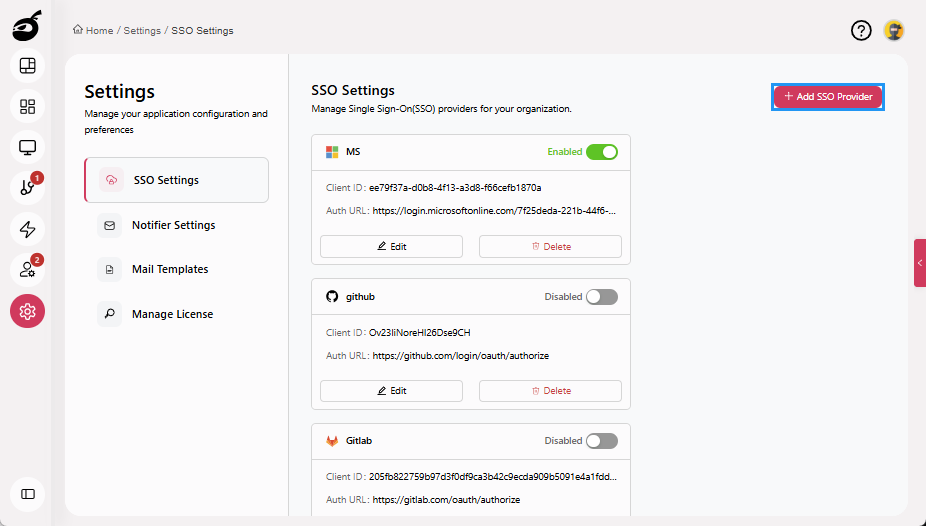
-
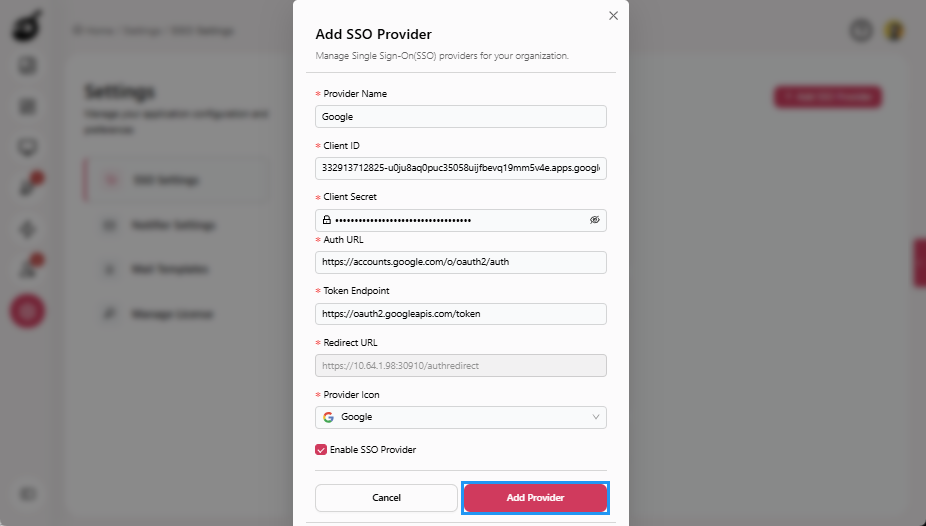
Click Add SSO Provider.
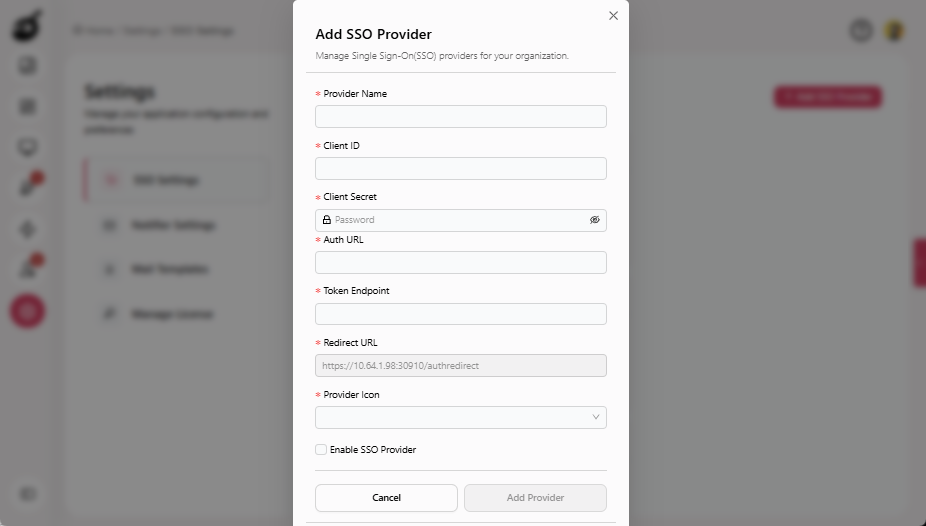
-
Enter the following details:
- Provider Name: A display name for the identity provider.
- Client ID: The Client ID generated by the identity provider.
- Client Secret: The Client Secret issued by the identity provider.
- Auth URL: The Authorization URL provided by the identity provider.
- Token Endpoint: The Token Endpoint URL provided by the identity provider.
- Redirect URL: The Redirect URL displayed in BuildNinja and register it in the identity provider.
- Provider Icon: An icon for the identity provider.
-
Select Enable SSO Provider (optional).
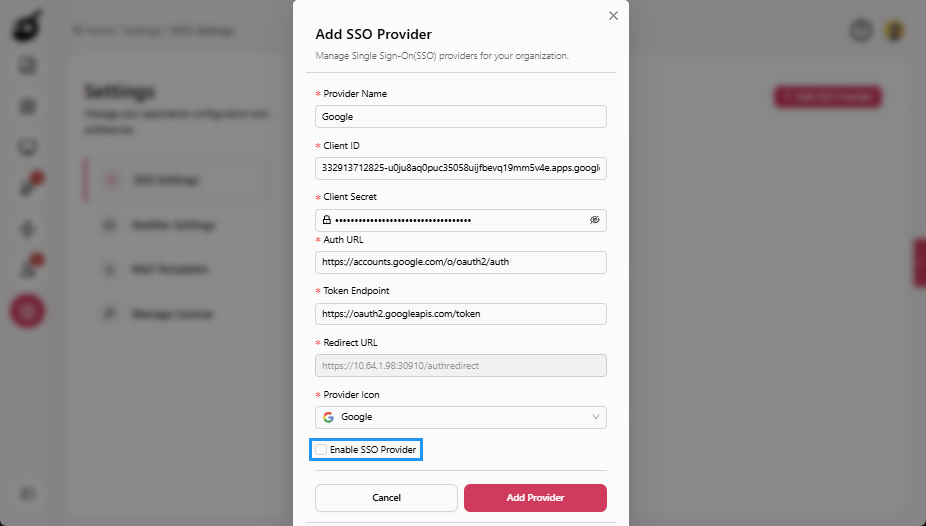
-
Click Add Provider.
SSO configuration is a System Admin–only operation. For more information, see Manage SSO AuthenticationAs an administrator, configuring Single Sign-On (SSO) authentication is an essential step toward streamlining user access and improving security across multiple applications in your organization..
Step 3: Grant System Admin Access
Grant System Admin access to trusted users who are responsible for managing global platform settings such as users, authentication, agents, and licensing.
-
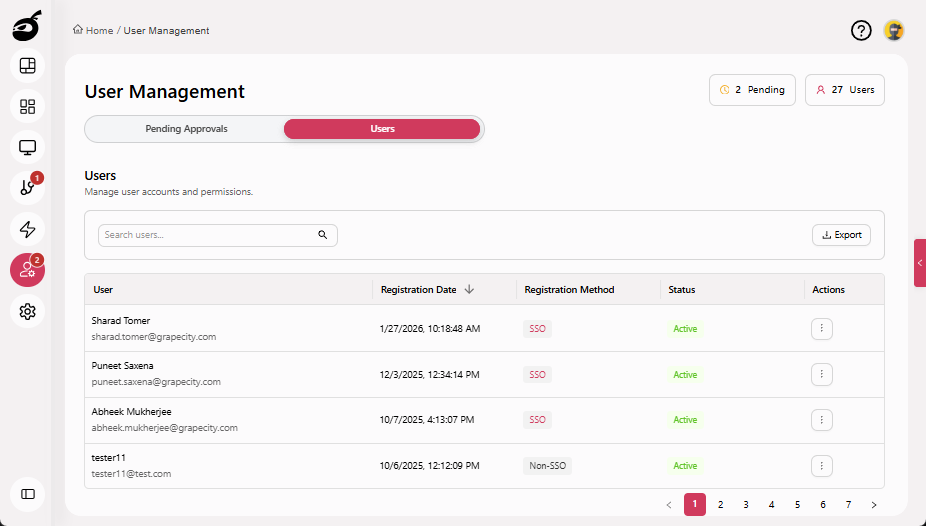
Navigate to Users and go to the Users tab.
-
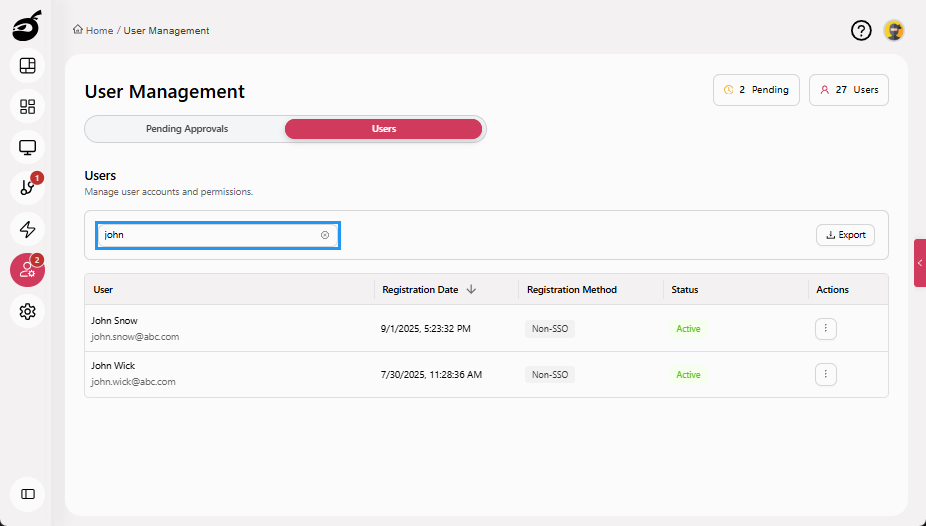
Search for the user.
-
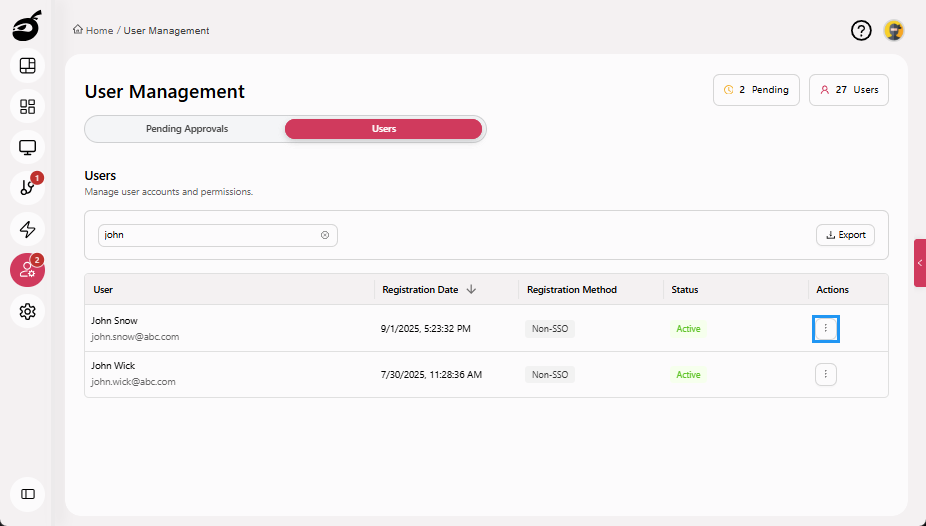
Click the Ellipsis (⋮) in the Actions column.
-
Select Grant Admin Access.

Administrator access is applied immediately and grants full system-level permissions. For more information, see Grant or Revoke Administrator AccessAdministrator access grants users system-wide permissions to manage global settings such as users, agents, authentication, integrations, and licensing..
Step 4: Restrict Production Projects Editing to Deployment Team (RBAC)
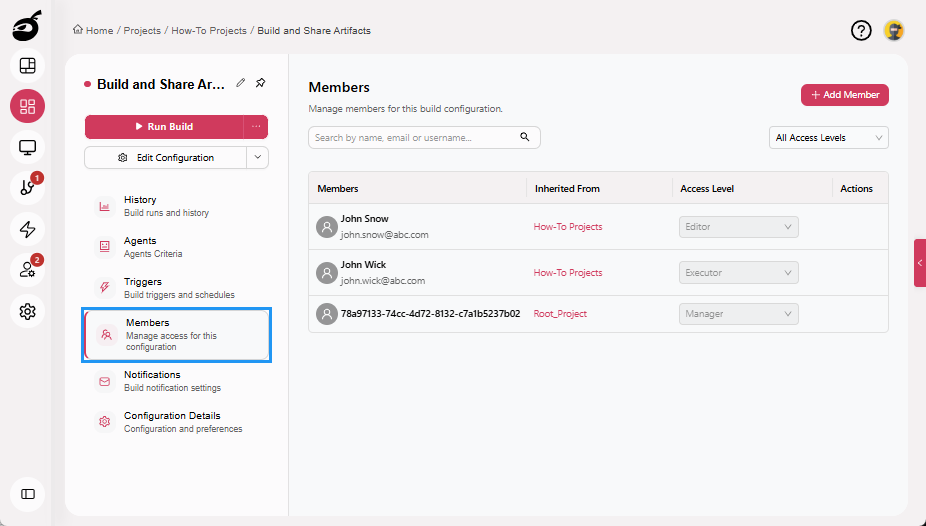
Use RBAC to ensure that only members of the Deployment Team can edit production projects and build configurations.
-
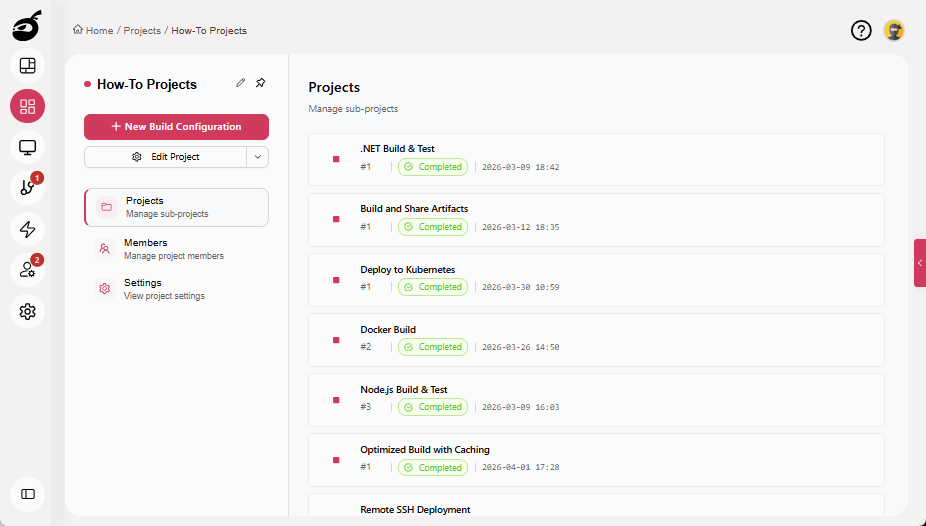
Open the Production Project.
-
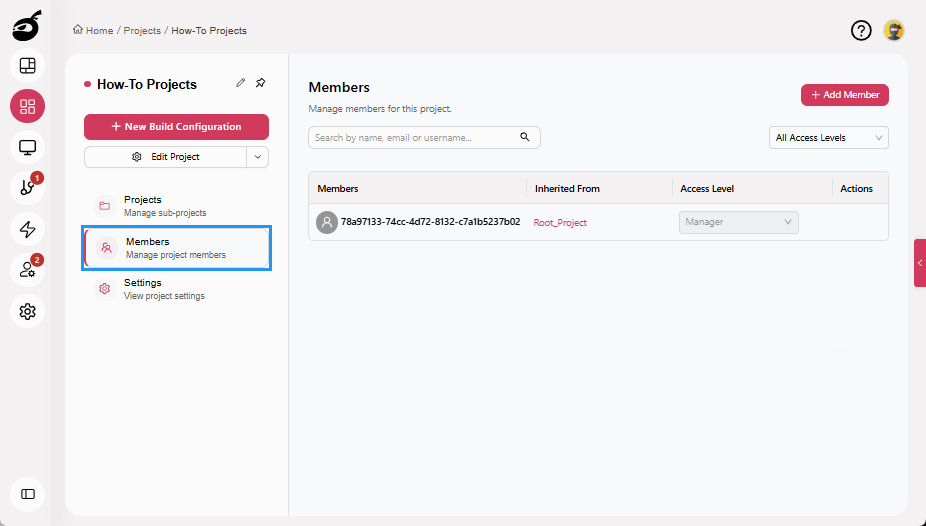
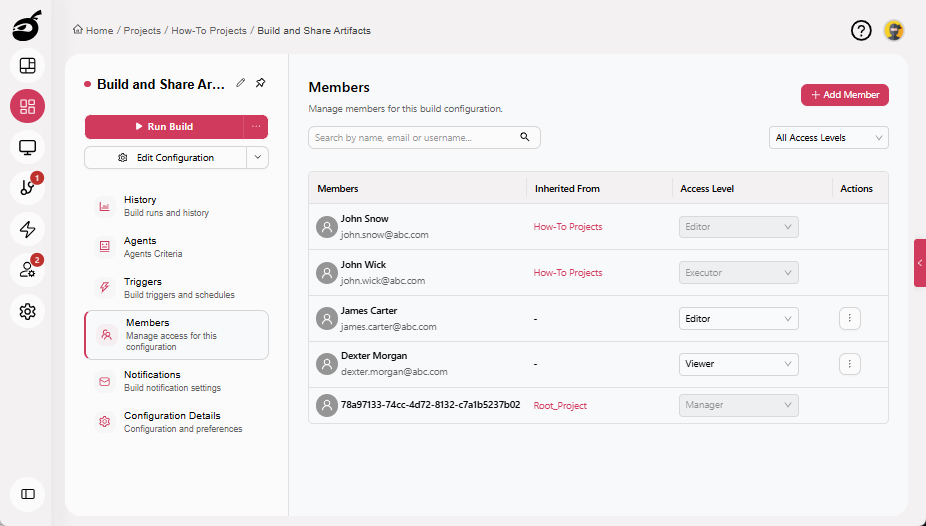
Select the Members tab.
-
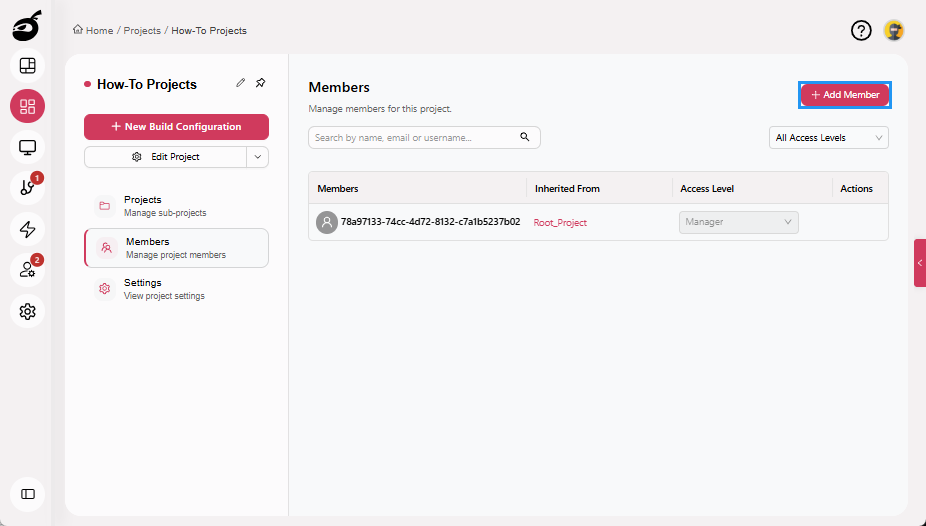
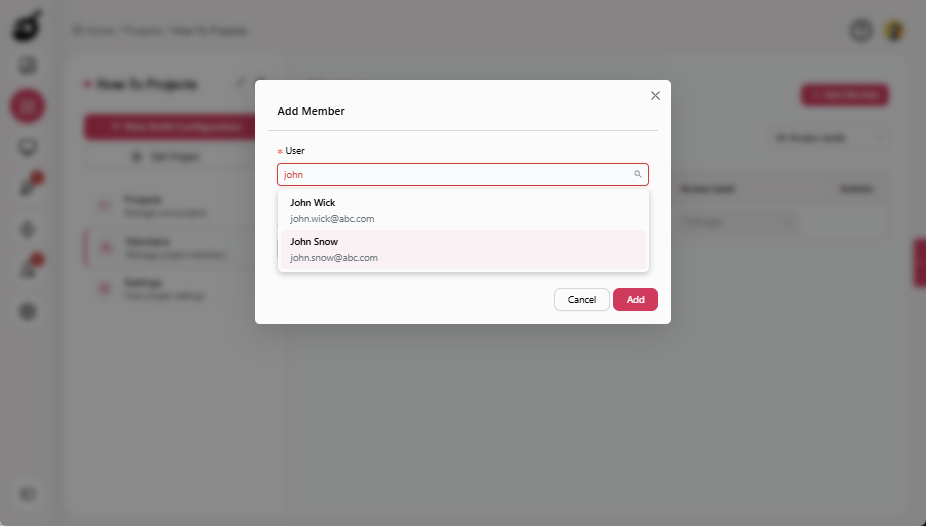
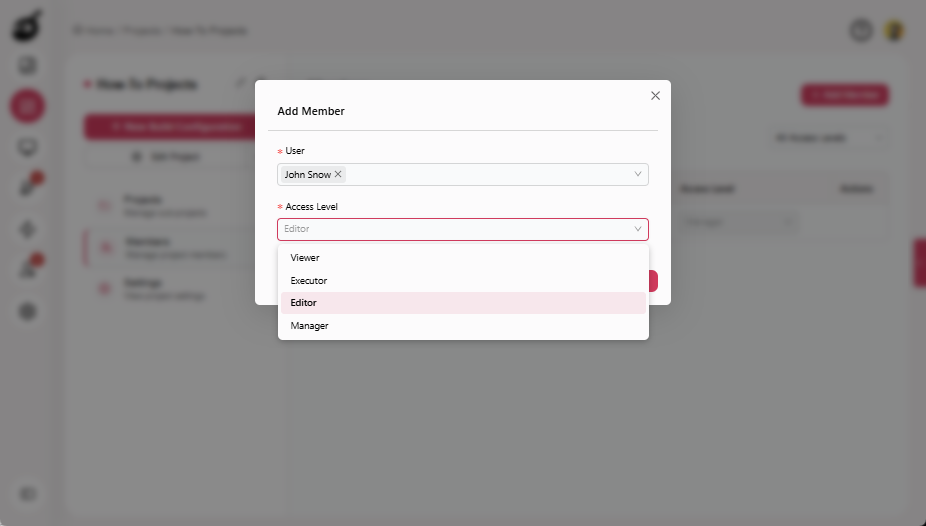
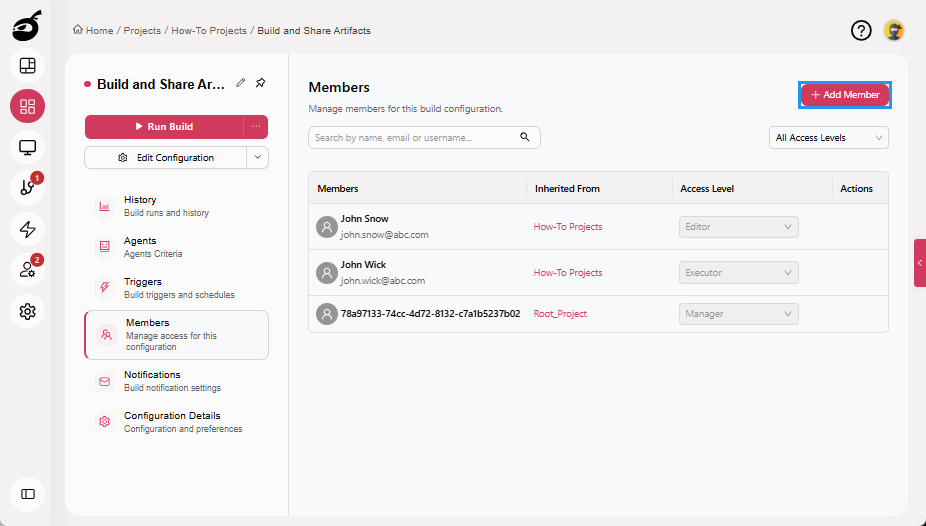
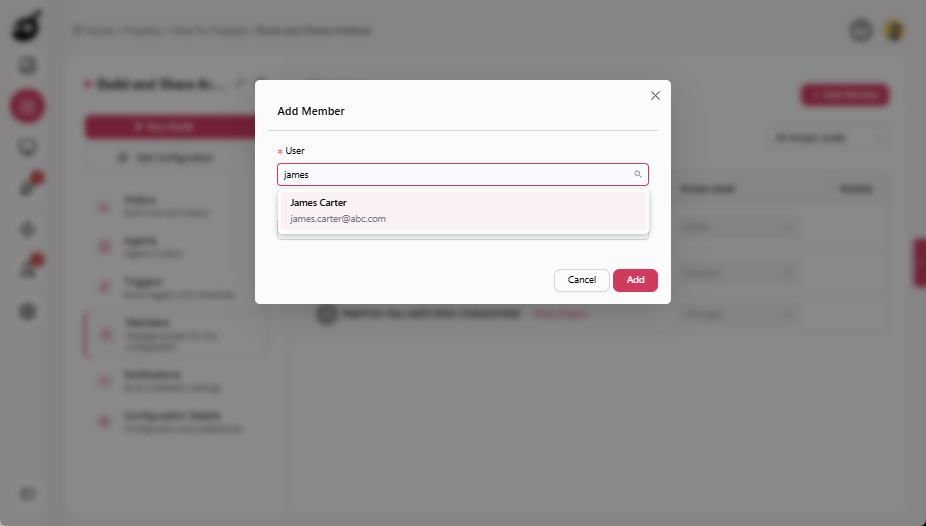
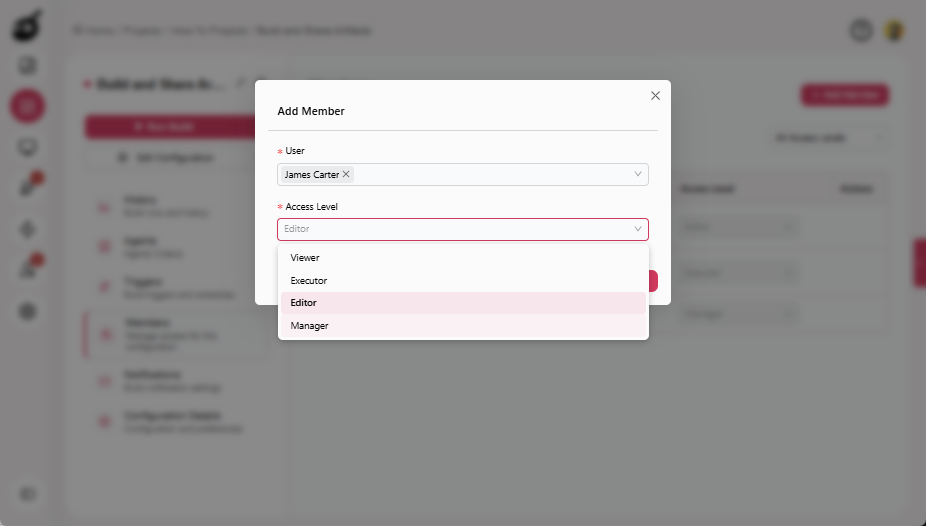
Click Add Member.
-
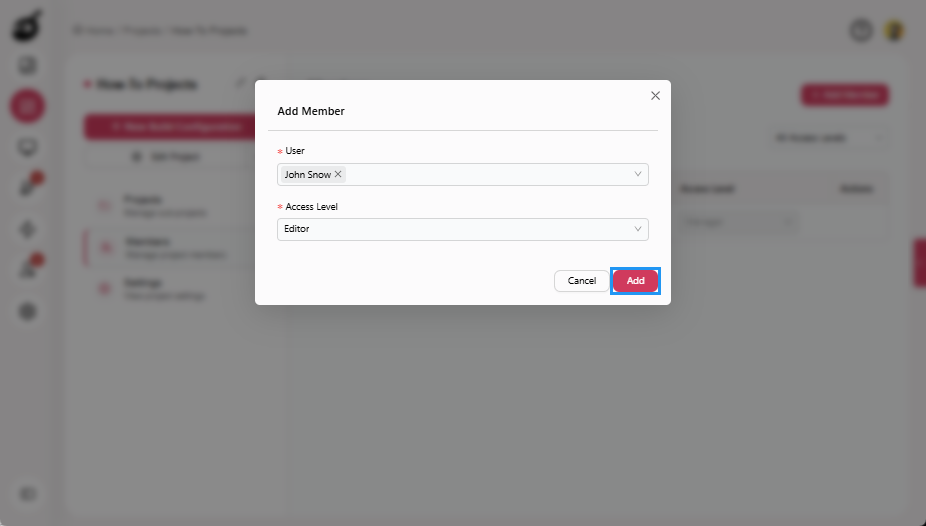
Select a Deployment Team user.
-
Choose one of the following roles:
- Editor: Can edit VCS, steps, parameters, artifacts
- Manager: Can edit VCS, steps, parameters, and artifacts, and can also manage triggers and user access
-
Click Add.
 note
noteUse Manager only if the team needs to manage access or triggers.
Access granted at the project level is automatically inherited by all subprojects and build configurations.
Step 5: Restrict Developers to Trigger-Only Access
Assign Executor permissions to developers so they can trigger builds and view results without modifying projects or build configurations. Executor permissions allow developers to trigger builds and view build results, while preventing any changes to build configurations. Users with this role cannot edit configuration settings or modify version control settings, execution steps, or build triggers.
-
Open the relevant Project.
-
Select the Members tab.

-
Click Add Member.

-
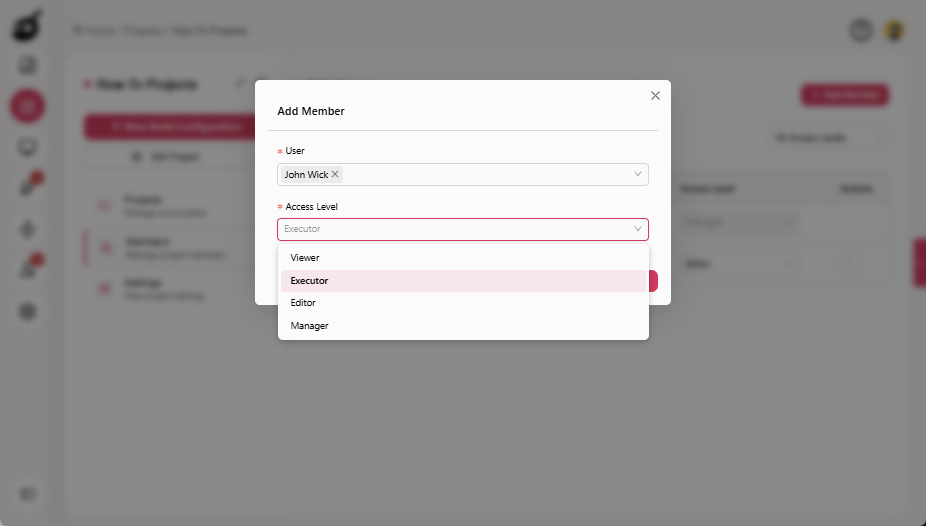
Select a Developer.

-
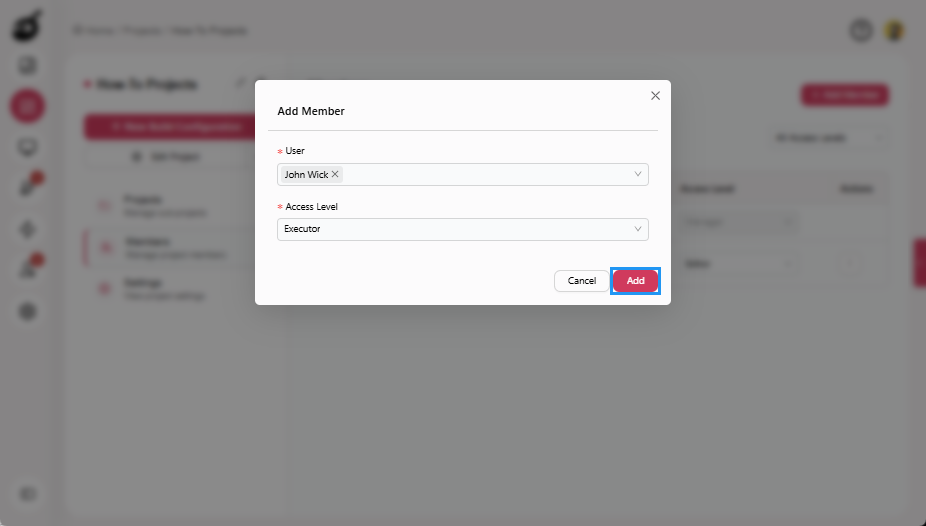
Choose Executor as the access level.
-
Click Add.
Step 6: Further Isolate Access at Build Configuration Level (Optional)
Use build configuration-level access control to restrict access to specific production builds without impacting permissions on other projects or configurations.
-
Open the Production Build Configuration.
-
Select the Members tab.
-
Click Add Member.
-
Select a Deployment Team user.
-
Add the user only as Editor or Manager.
-
Ensure Developers are either not added or are assigned Viewer or Executor roles only.
Step 7: Validate Access Isolation
Verify that access controls are working as intended by confirming the permissions assigned to each role. This validation step ensures that responsibilities are clearly separated and that no user has more access than required.
Deployment Team
Members of the Deployment Team should have full control over production builds. Verify that they can edit production build configurations, manage triggers and notifications, and control overall pipeline behavior.
Developers
Developers should be limited to execution and visibility tasks within their assigned projects. Confirm that they can trigger builds and view build logs and artifacts, but cannot edit builds or modify production settings.
System Admins
System Admins should retain unrestricted, system-wide access. Verify that they can manage users, configure SSO, control agents, and handle licensing, and that their permissions are not restricted by project-level RBAC rules.