How to Deploy a Containerized Application to Kubernetes
Configure a deployment build configuration in BuildNinja to deploy a pre-built Docker image into a Kubernetes cluster as part of the Continuous Deployment (CD) process. This configuration uses:
- Containerized deployment support to deploy Docker images.
- Command Line runner to execute kubectl commands.
- Environment scoping to deploy across multiple environments.
Prerequisites
Before you begin, ensure that:
- You have access to a BuildNinja project.
- A BuildNinja agent is registered and online.
- A Docker image is already built and available in a container registry.
- kubectl is installed and configured on the agent.
- Access credentials for the Kubernetes cluster are available.
- Kubernetes deployment manifests exist in your repository.
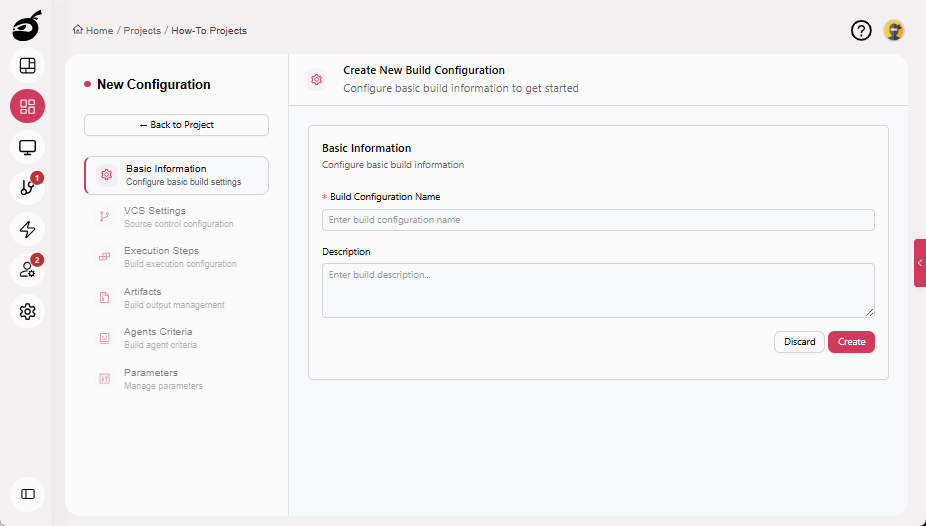
Step 1: Create Build Configuration
-
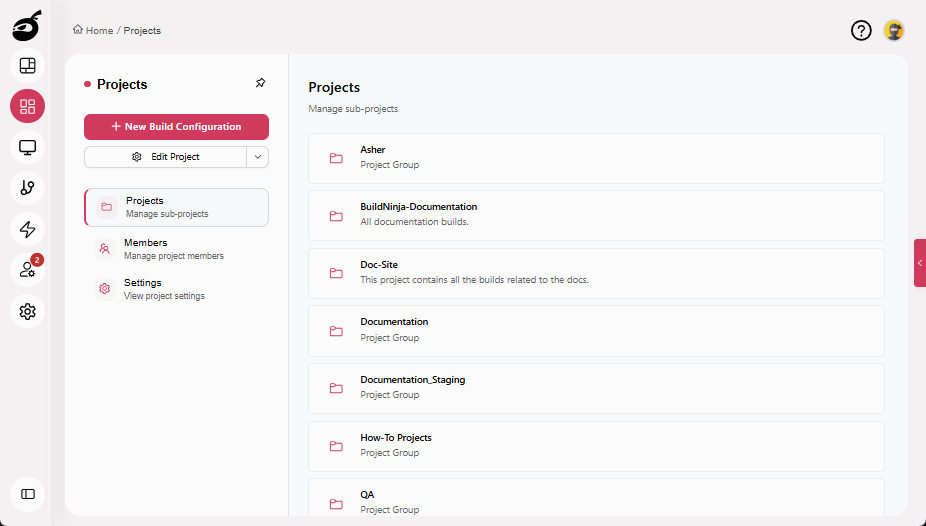
Navigate to Projects.
-
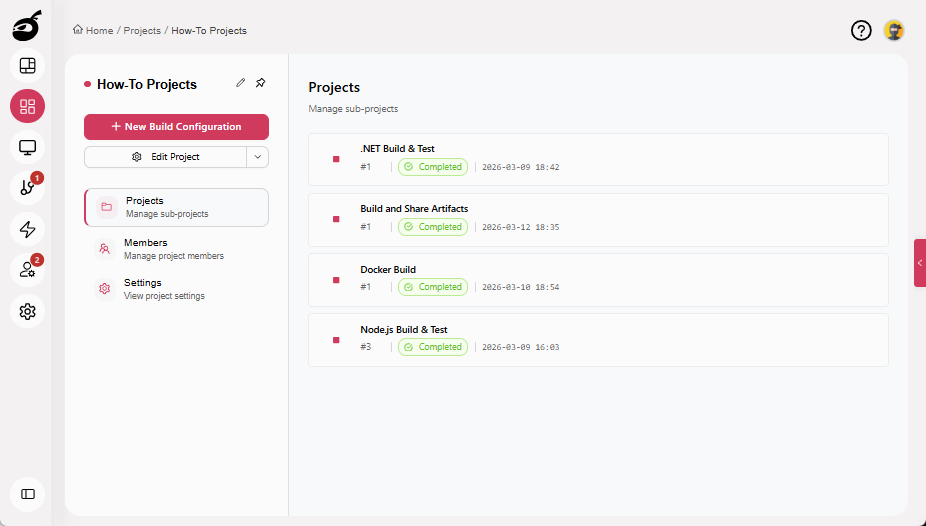
Select the project where you want to configure the deployment.
-
Click New Build Configuration.
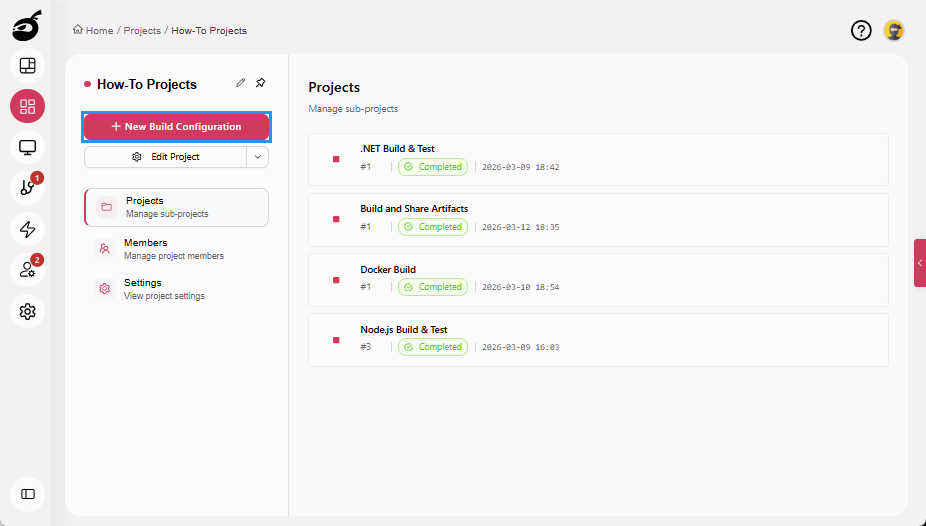
-
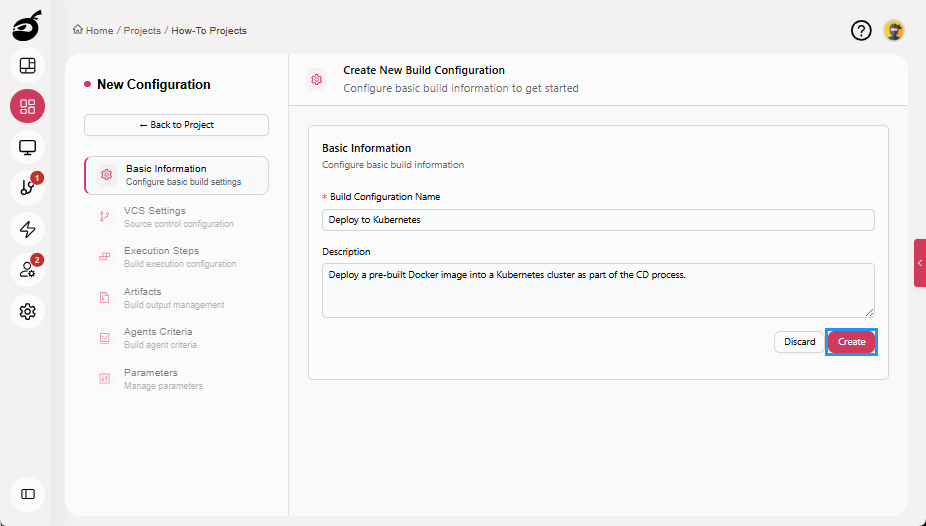
Enter the following details:
- Build Configuration Name (for example, Deploy to Kubernetes)
- Description (optional)
-
Click Create.
For more information about creating and managing build configurations, see Configure and Edit BuildsBuilds in a CI/CD environment represent a defined set of execution steps that run automatically to build, test, package, or prepare an application for deployment..
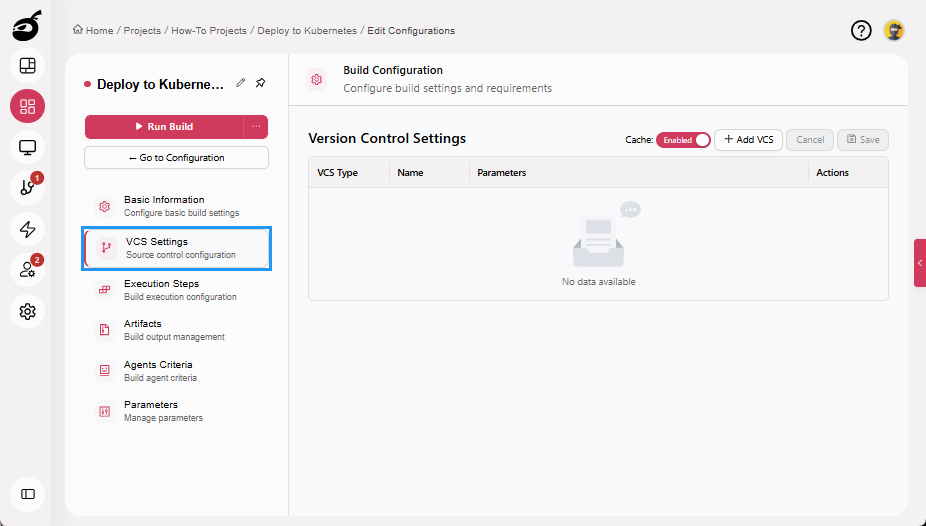
Step 2: Configure VCS Settings
-
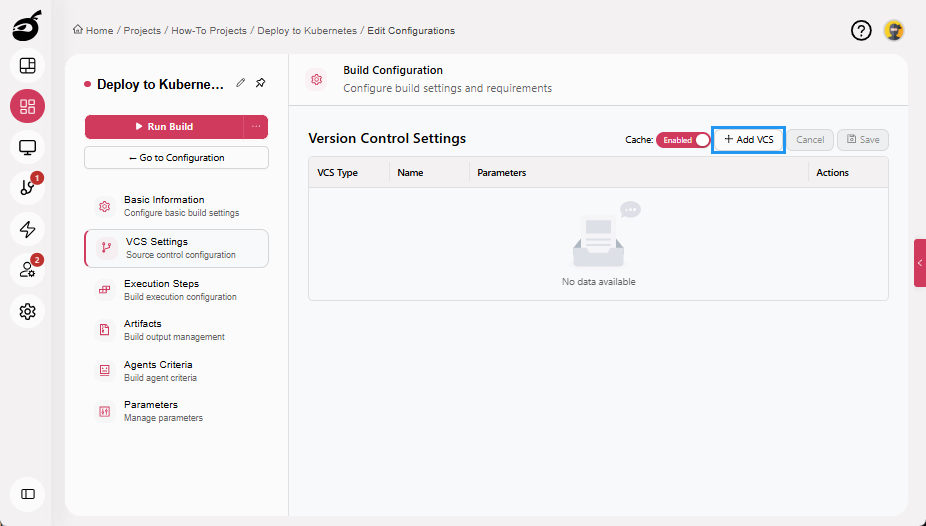
Navigate to VCS Settings.
-
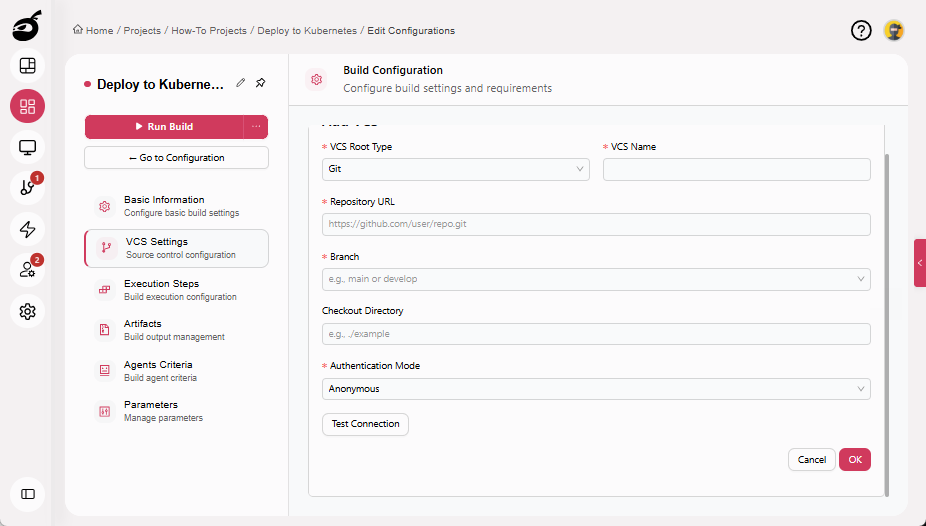
Click Add VCS.
-
Enter the following details:
- VCS Root Type: Git
- VCS Name: A unique identifier
- Repository URL: Git repository URL
- Branch:
main,develop, or your target branch - Checkout Directory: Optional, default is recommended
- Authentication Mode: Select the required authentication method
-
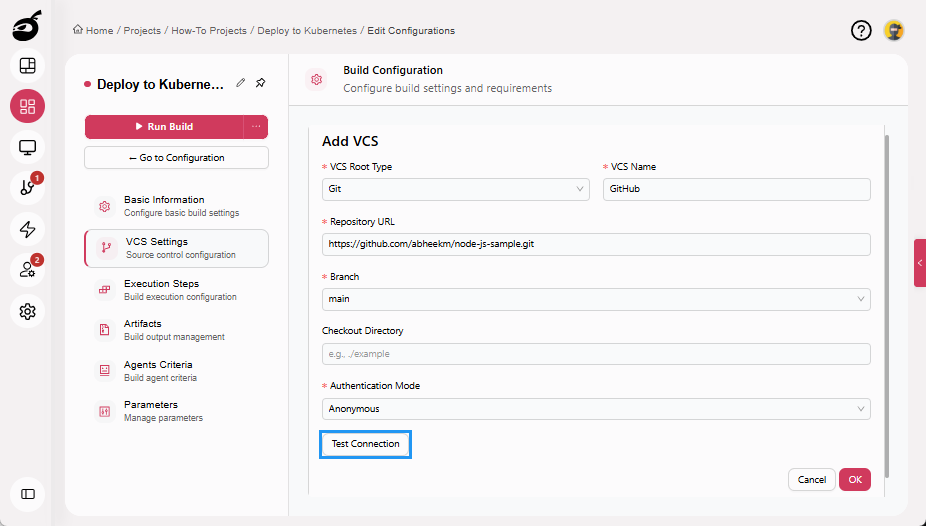
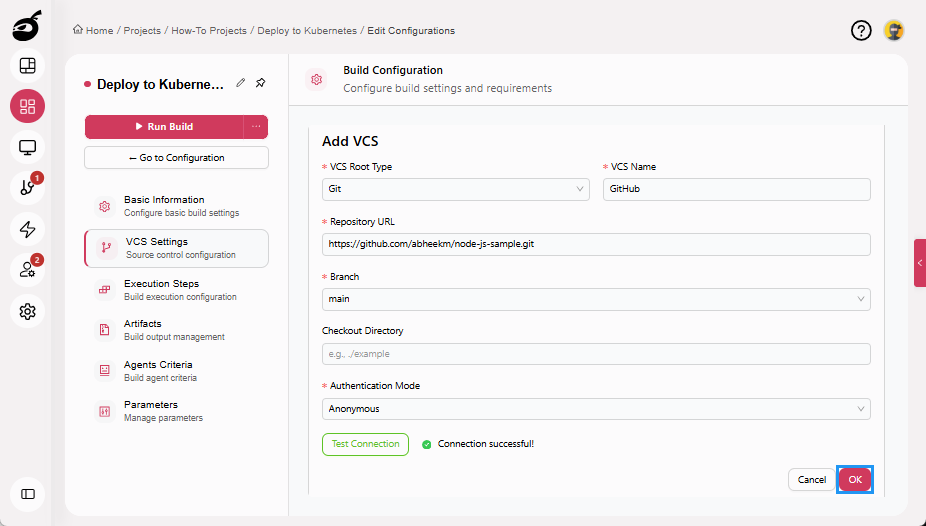
Click Test Connection to verify access (optional).
-
Click OK to add the VCS.
-
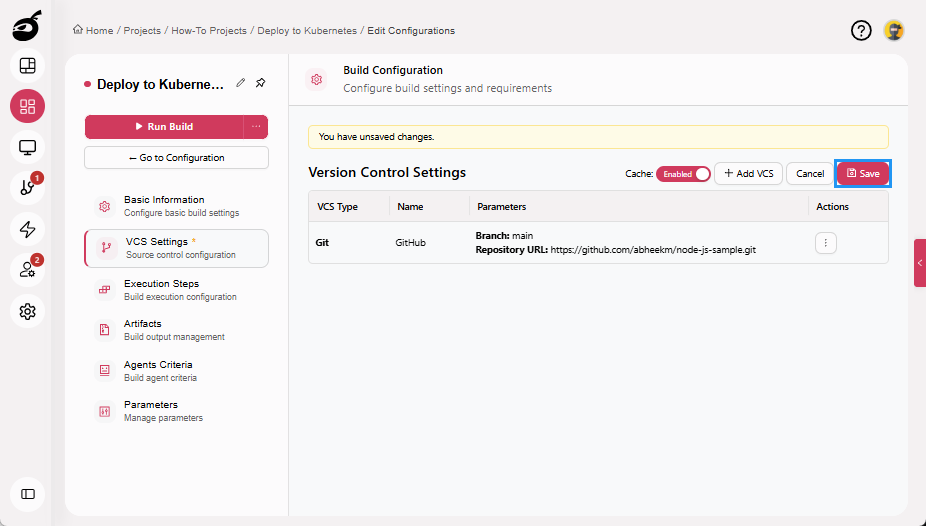
Click Save to save the VCS Settings.
 note
noteBuildNinja will now automatically fetch your source code from Git when the build runs. Kubernetes manifests stored in the repository (for example, k8s/deployment.yaml) are then available to the execution steps during deployment.
Step 3: Configure Build Parameters for Kubernetes Deployment
Store Kubernetes-related values securely using Build Parameters so the deployment steps can authenticate and target the correct cluster, namespace, and container image.
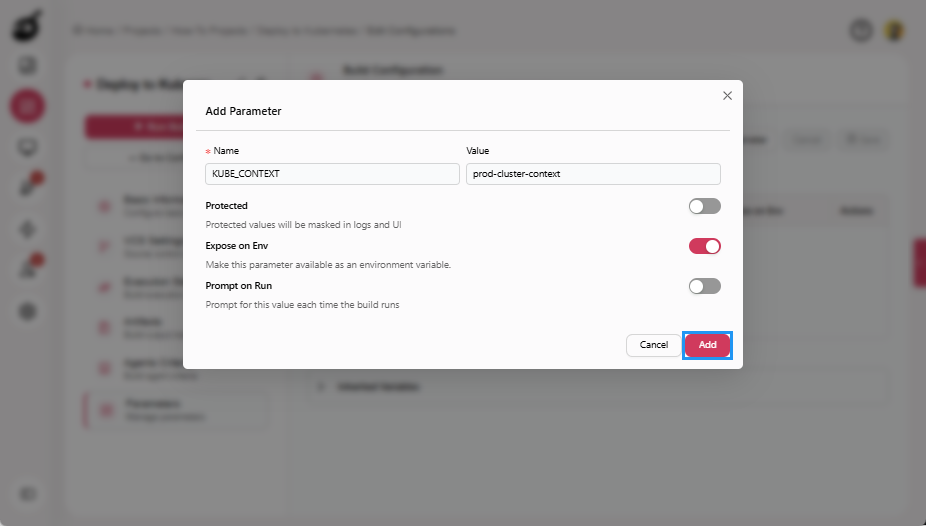
Step 3.1: Add Kubernetes Context Parameter
This parameter specifies the Kubernetes cluster context that kubectl uses during deployment. The KUBE_CONTEXT value is used in execution steps to ensure deployments run against the correct Kubernetes cluster.
-
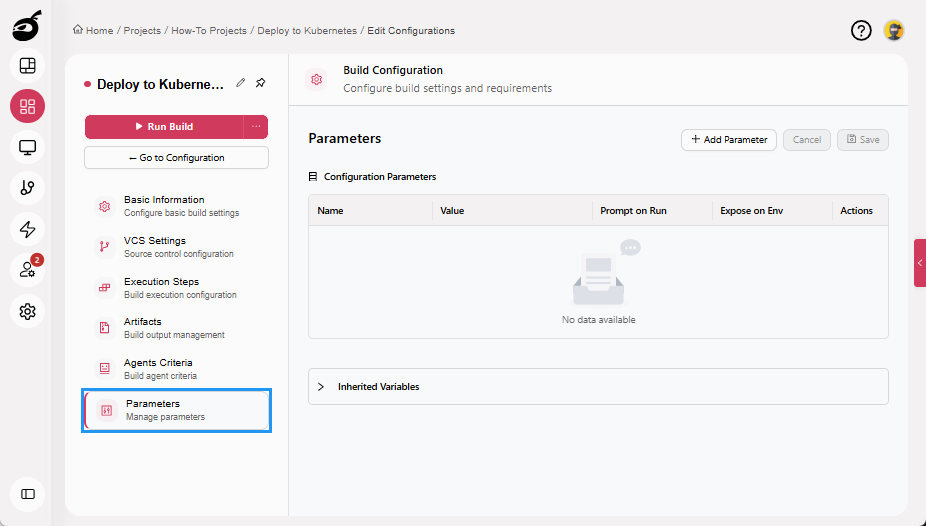
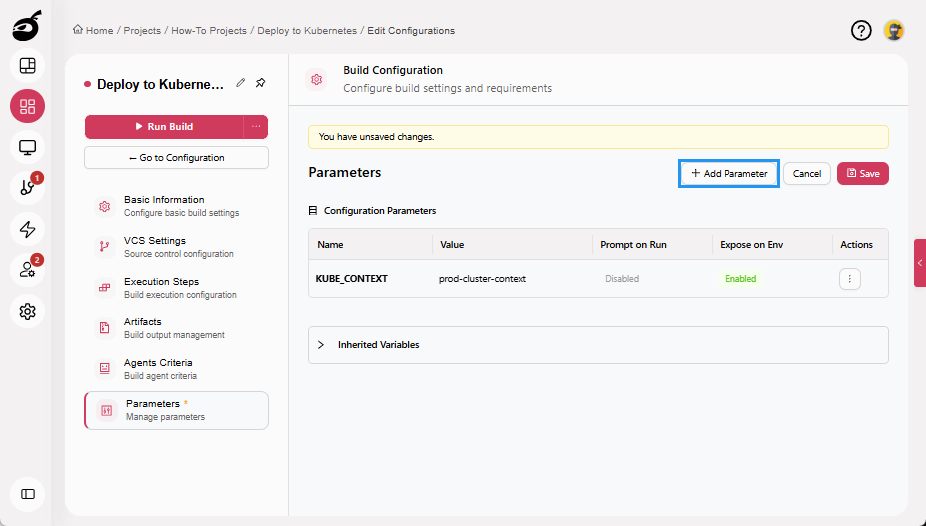
Navigate to the Parameters tab.
-
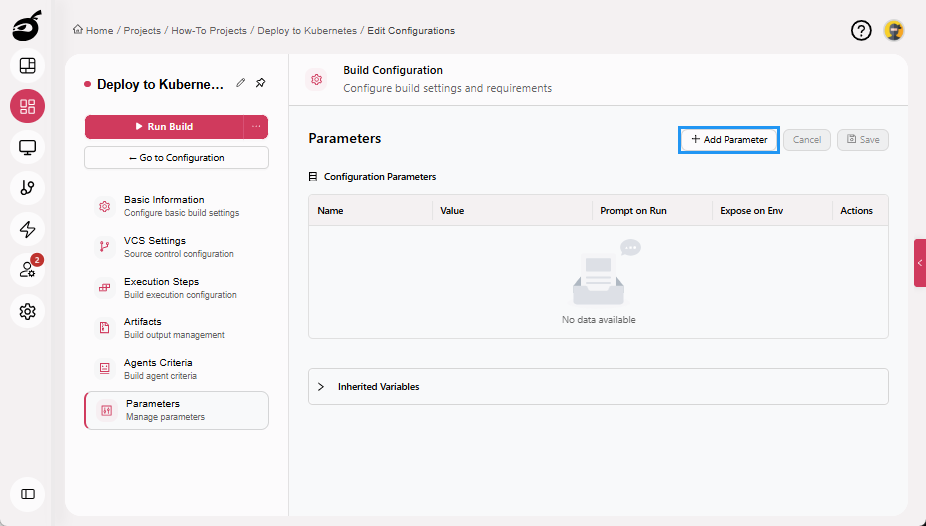
Click Add Parameter.
-
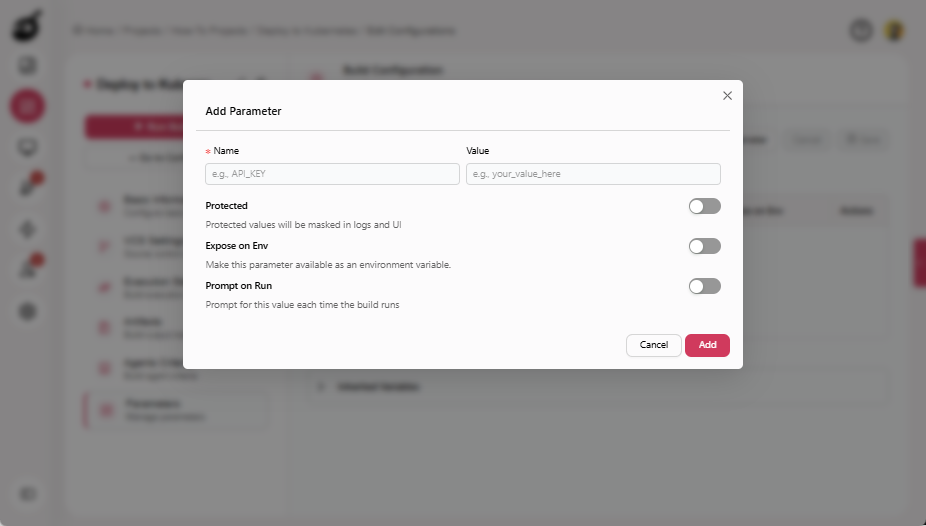
Enter the following details:
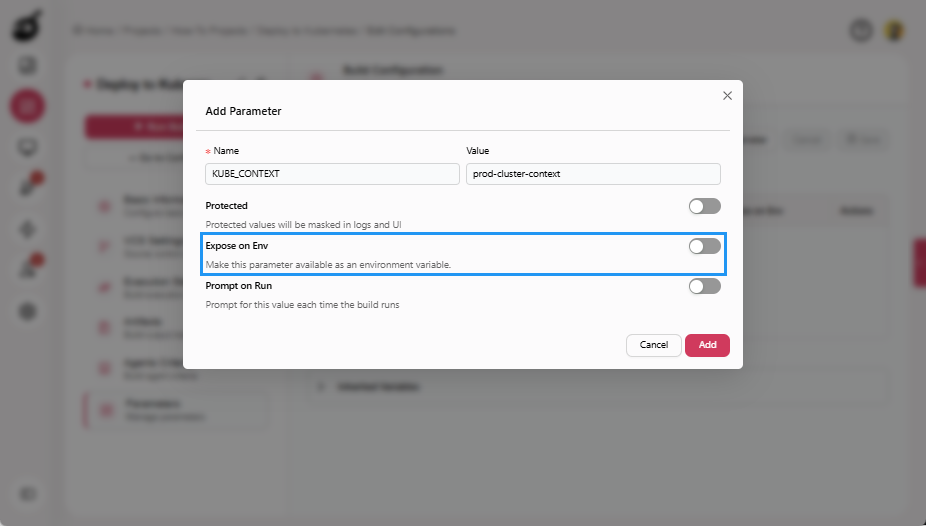
- Name: KUBE_CONTEXT
- Value: Your Kubernetes context name (for example, prod-cluster-context)
-
Enable Expose on Env.
-
Click Add to add the parameter.
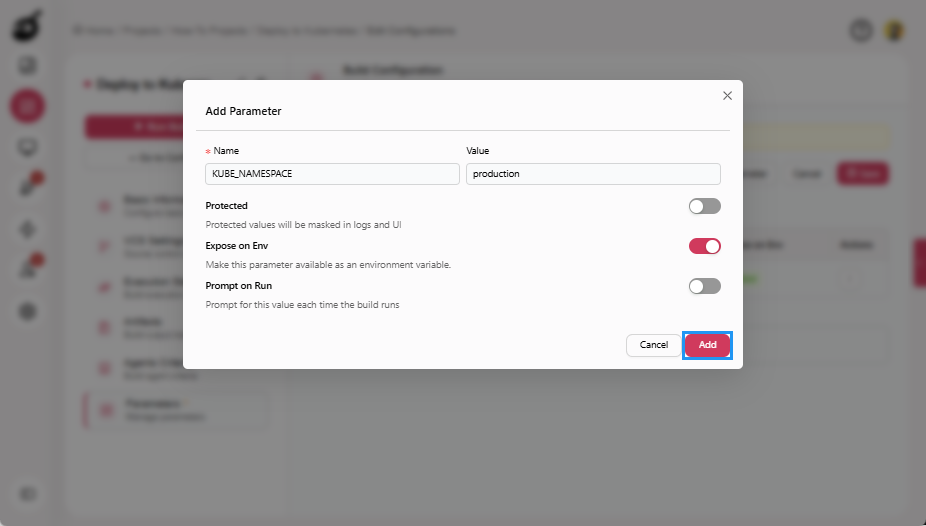
Step 3.2: Add Kubernetes Namespace Parameter
This parameter defines the namespace where the application is deployed.
-
Click Add Parameter.
-
Enter the following details:
- Name: KUBE_NAMESPACE
- Value: Target namespace (for example,
dev,production, orstaging)

-
Enable Expose on Env.

-
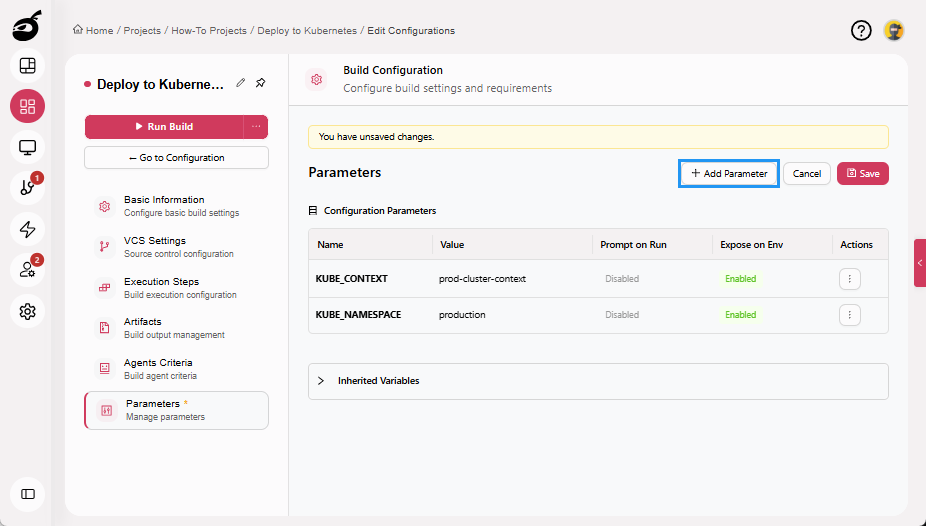
Click Add to add the parameter.
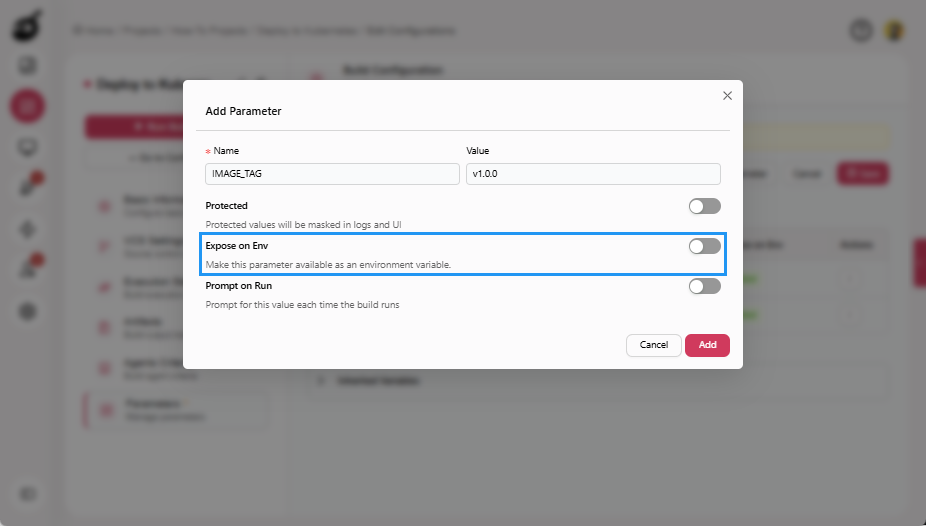
Step 3.3: Add Container Image Tag Parameter (Optional)
This parameter specifies the version of the container image to deploy.
-
Click Add Parameter.
-
Enter the following details:
- Name: IMAGE_TAG
- Value: Image version or tag to deploy (for example, v1.0.0)

-
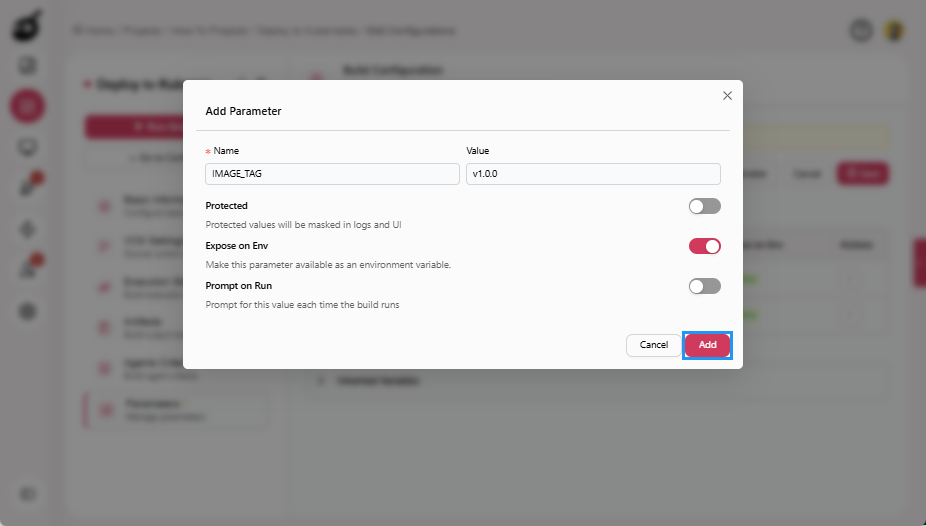
Enable Expose on Env.
-
Click Add to add the parameter.
-
Click Save to save the parameters.
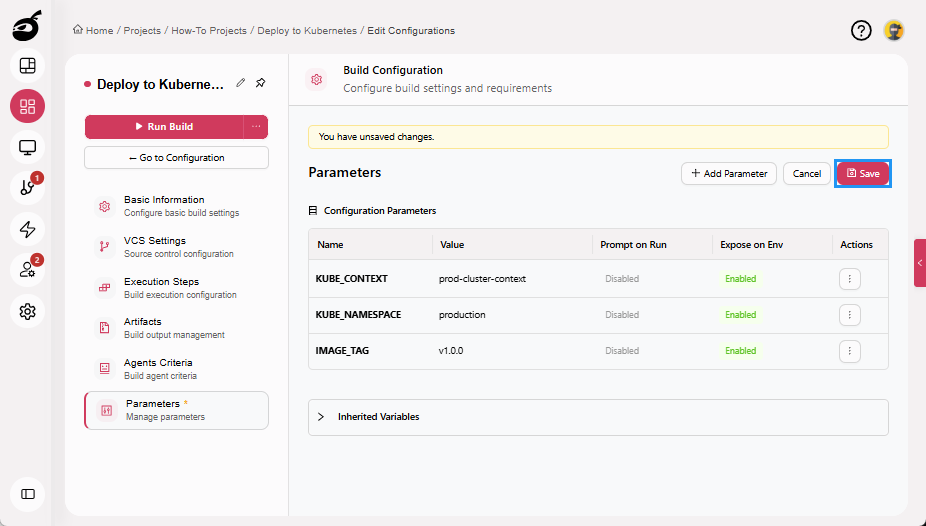 note
noteThe IMAGE_TAG parameter is typically referenced inside the Kubernetes deployment manifest (for example,
image: myrepo/my-app:${IMAGE_TAG}) to control the image version deployed.These parameters are injected as environment variables during execution and enable consistent, environment-specific Kubernetes deployments without modifying execution steps or manifests. For more information about managing parameters, see Configure Build ParametersBuildNinja allows you to define Build Parameters that define reusable variables that control how a build executes. These parameters help eliminate hardcoded values inside build steps, improve security, and enable flexibl….
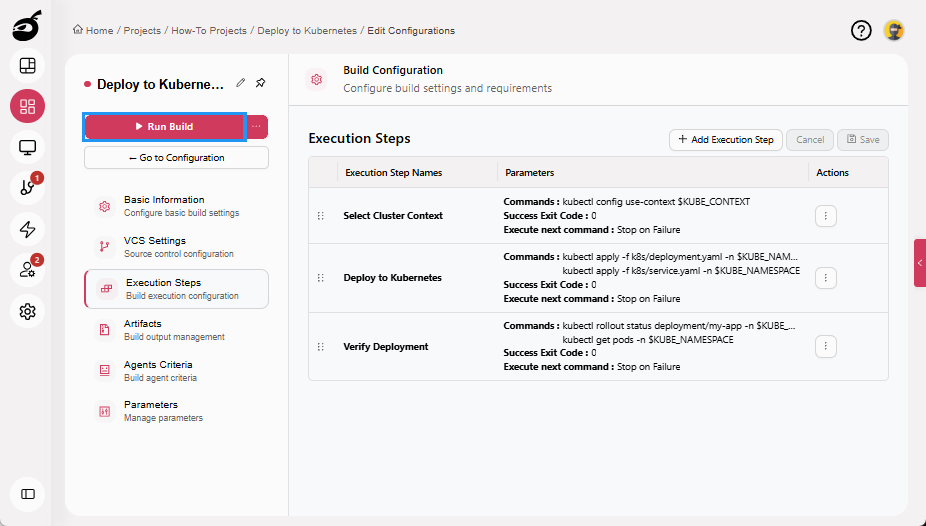
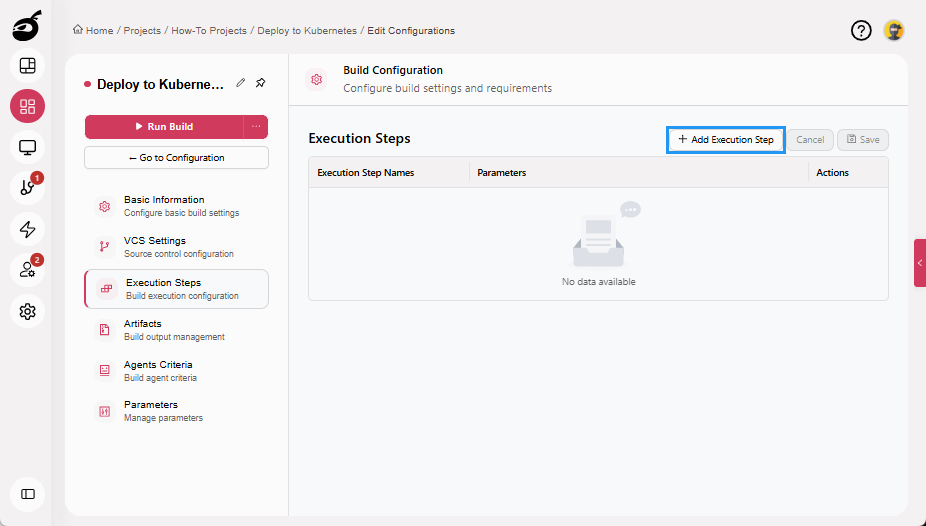
Step 4: Configure Execution Steps
These steps use the Command Line runner to execute kubectl commands against the Kubernetes cluster using manifests fetched from VCS.
Step 4.1: Select Kubernetes Context
-
Navigate to Execution Steps.
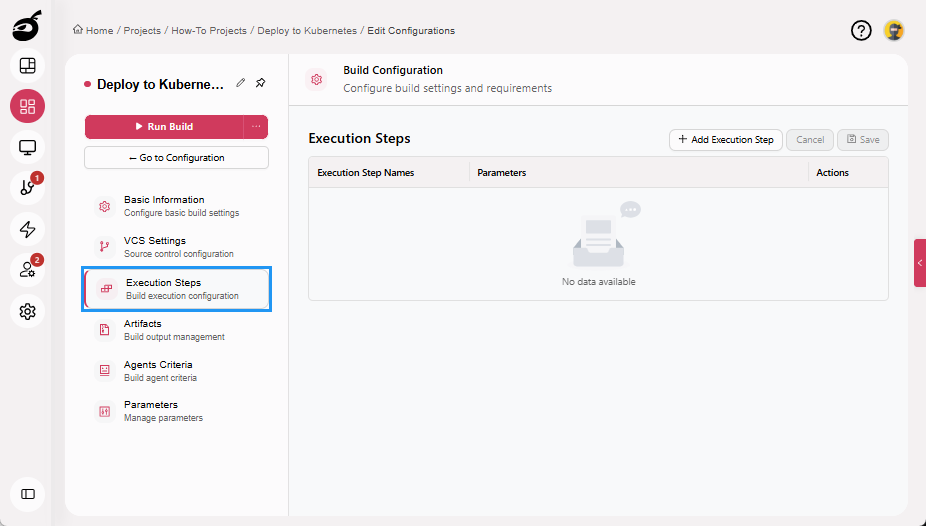
-
Click Add Execution Step.
-
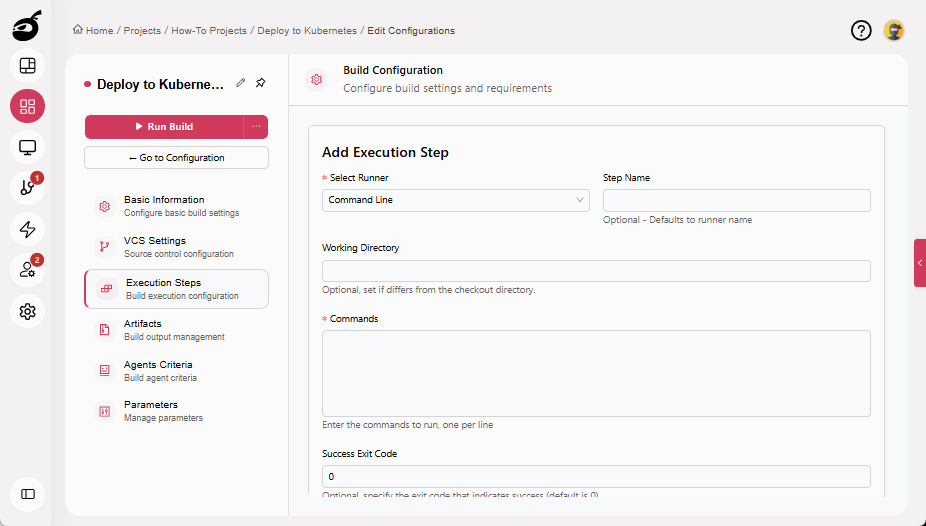
Enter the following details:
- Select Runner: Command Line
- Step Name: Select Cluster Context
- Commands:
kubectl config use-context $KUBE_CONTEXT
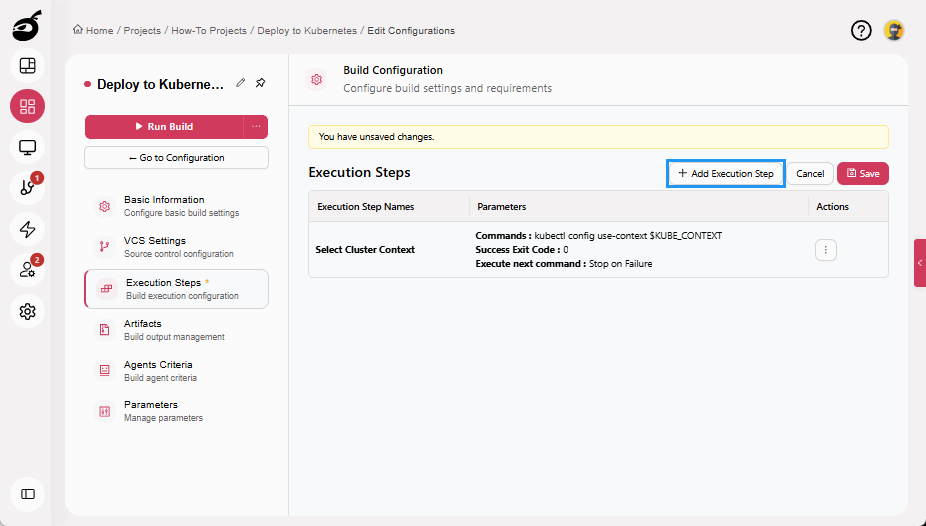
-
Click OK to add the execution step.
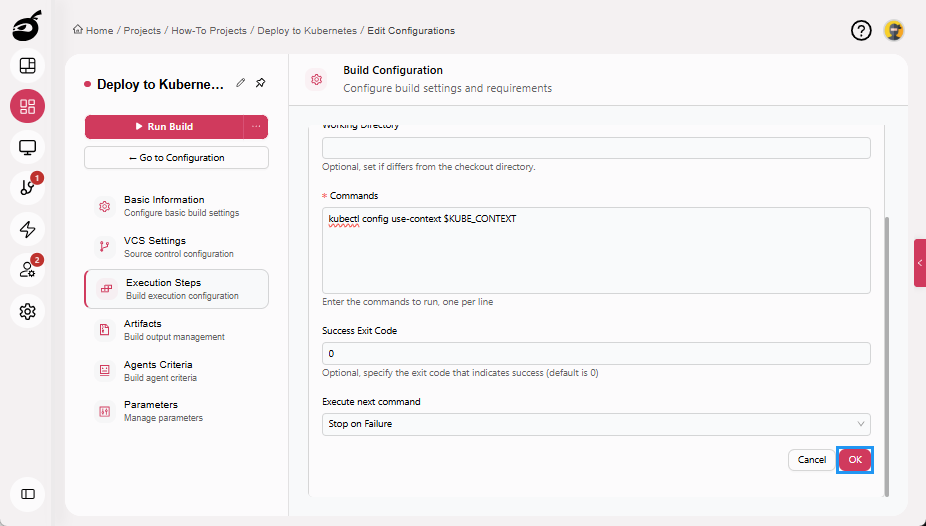
This step ensures all subsequent kubectl commands run against the correct cluster.
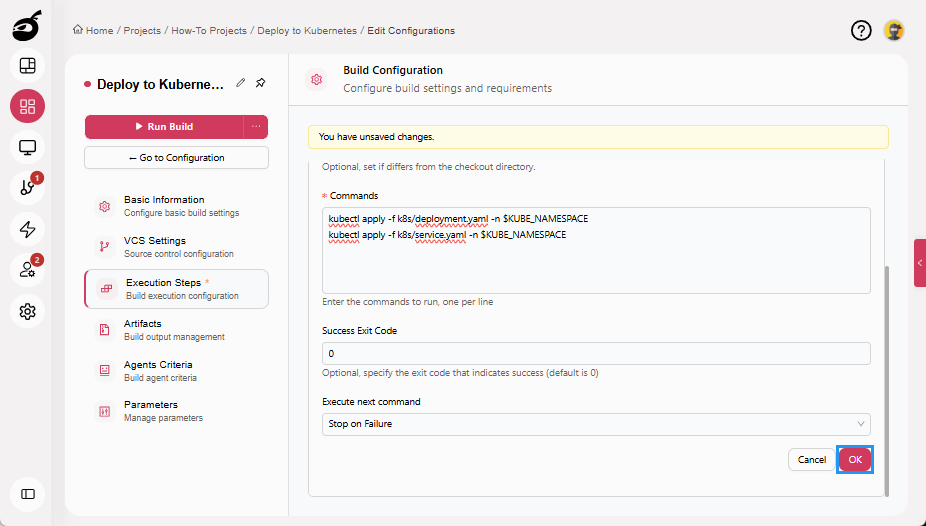
Step 4.2: Deploy Application Manifests
-
Click Add Execution Step.
-
Enter the following details:
- Select Runner: Command Line
- Step Name: Deploy to Kubernetes
- Commands:
kubectl apply -f k8s/deployment.yaml -n $KUBE_NAMESPACE
kubectl apply -f k8s/service.yaml -n $KUBE_NAMESPACE
-
Click OK to add the execution step.
These manifest files are read from the Git repository fetched in VCS Settings and applied to the target namespace.
noteIf your Kubernetes manifests reference environment variables such as
${IMAGE_TAG}, the manifest must be processed by a templating or substitution mechanism (for example,envsubst, Helm, or Kustomize) before being applied. Kubernetes does not perform variable substitution on raw YAML files.Example:
envsubst < k8s/deployment.yaml | kubectl apply -n $KUBE_NAMESPACE -f -
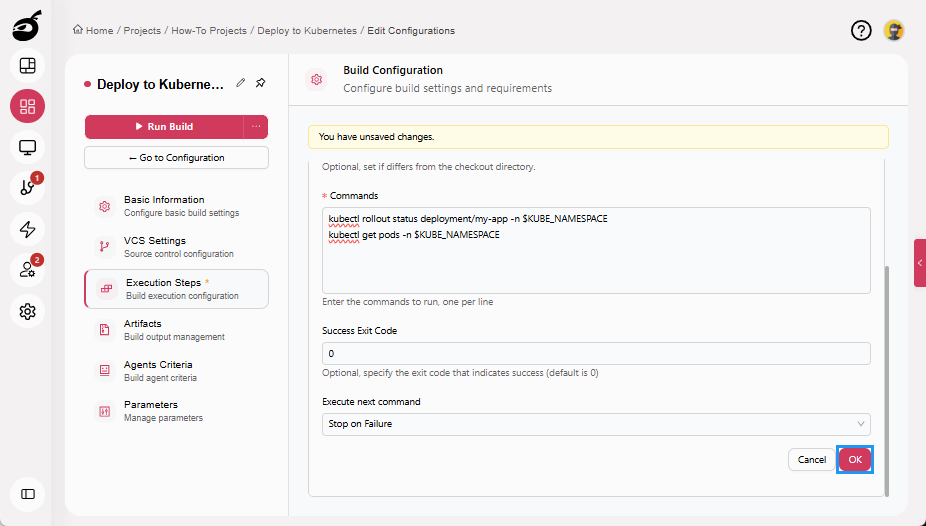
Step 4.3: Verify Deployment Status
-
Click Add Execution Step.
-
Enter the following details:
- Select Runner: Command Line
- Step Name: Verify Deployment
- Commands:
kubectl rollout status deployment/my-app -n $KUBE_NAMESPACE
kubectl get pods -n $KUBE_NAMESPACE
noteReplace
my-appwith the name defined in your deployment manifest. -
Click OK to add the execution step.
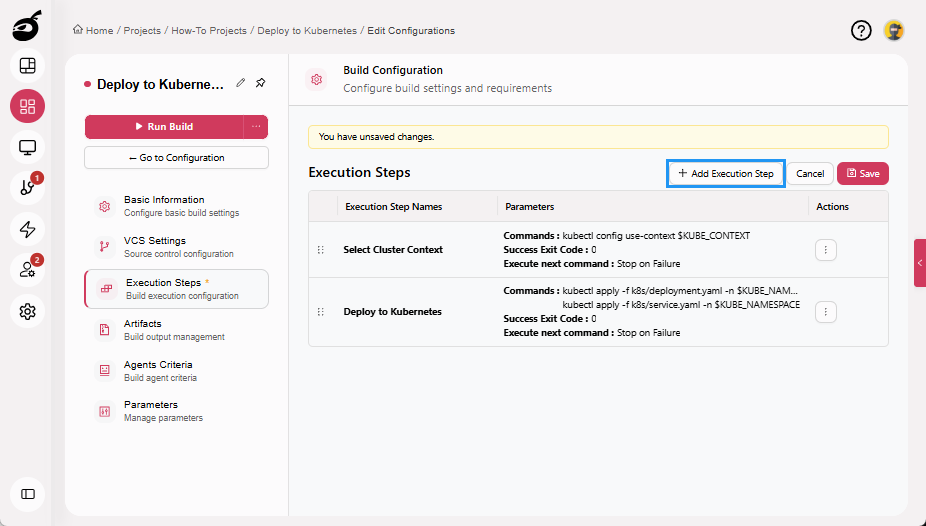
-
Click Save to save the Execution Steps.
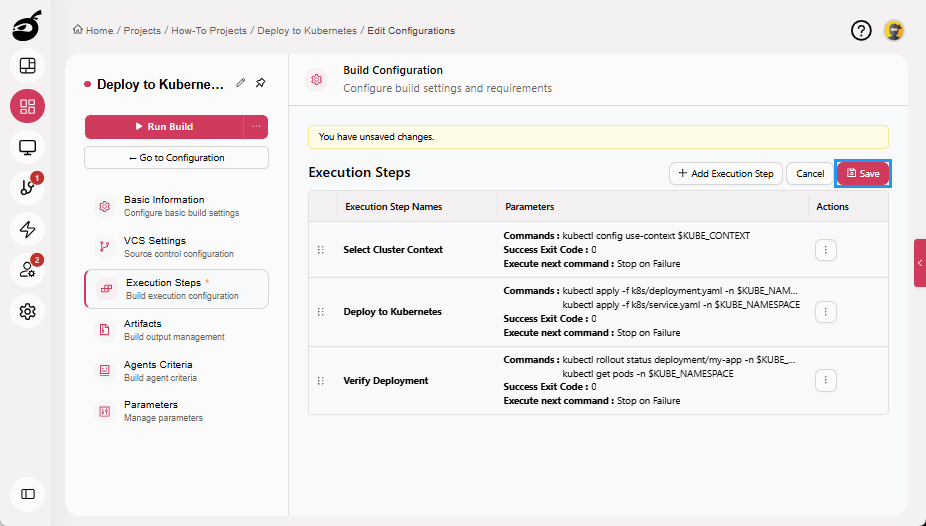
If the rollout does not complete successfully, the command exits with a non-zero status and the build fails automatically.
Step 5: Run Build
Your deployment configuration is now complete.
Running a deployment executes the defined steps to select the Kubernetes cluster context, apply the deployment manifests fetched from version control, and verify the rollout status. When the deployment finishes, BuildNinja evaluates the execution results and marks the build as successful only if the application is deployed correctly.
-
Click Run Build to start the deployment manually. Once triggered, the deployment enters the execution queue and starts automatically when a compatible agent becomes available.