How to Save and Share Build Outputs Using Artifacts
Configure a build configuration in BuildNinja to retain and share build outputs such as test reports, binaries, or packaged files. This guide explains how to save artifacts from a successful build so developers can download them later or QA teams can review results after execution. This configuration uses:
- Artifact Management to store build outputs
- Artifact Conditions to control when artifacts are retained
Prerequisites
Before you begin, ensure that:
- You have access to a BuildNinja project.
- A BuildNinja agent is registered and online.
- Your repository contains a Node.js application with build and test scripts.
- Node.js and npm are installed on the build agent.
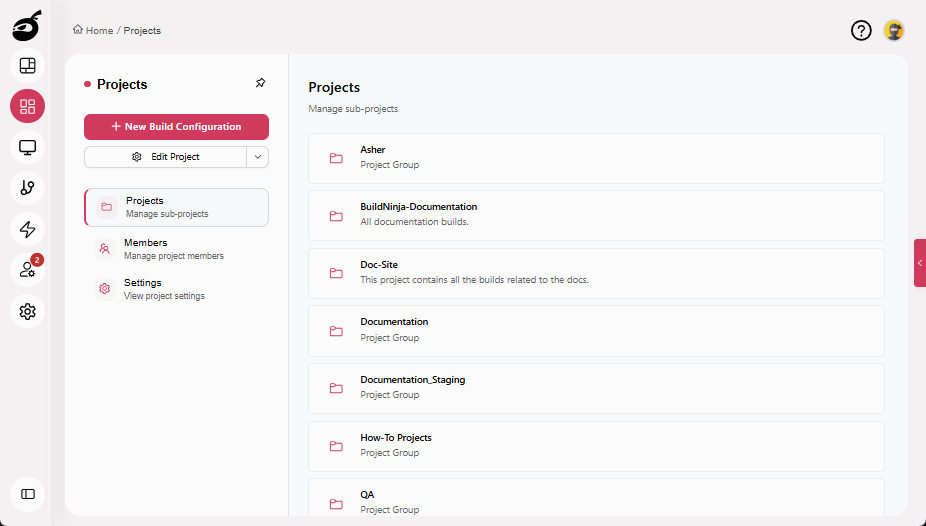
Step 1: Create Build Configuration
-
Navigate to Projects.
-
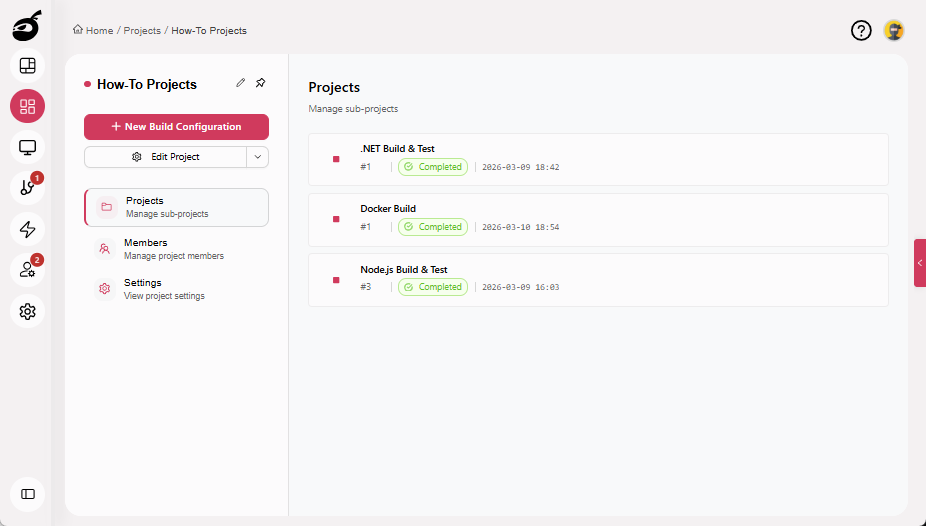
Select the project where you want to configure the build.
-
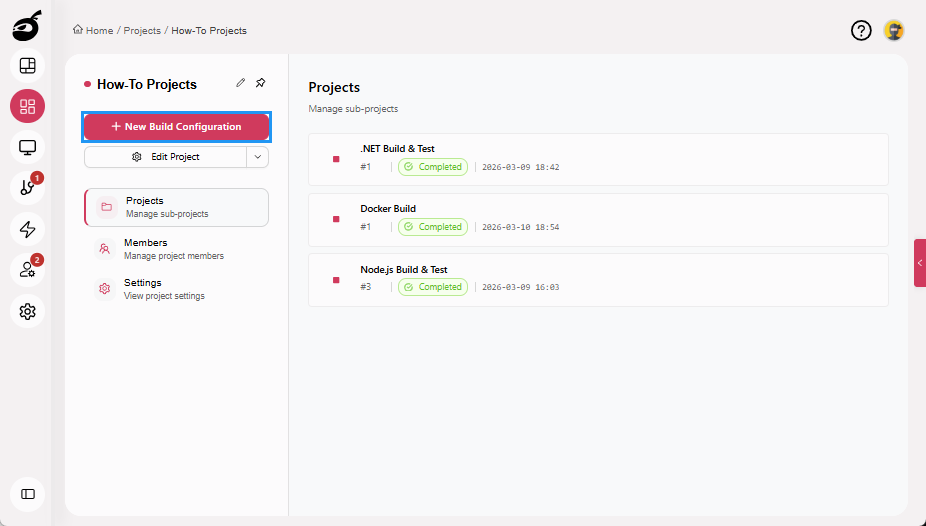
Click New Build Configuration.
-
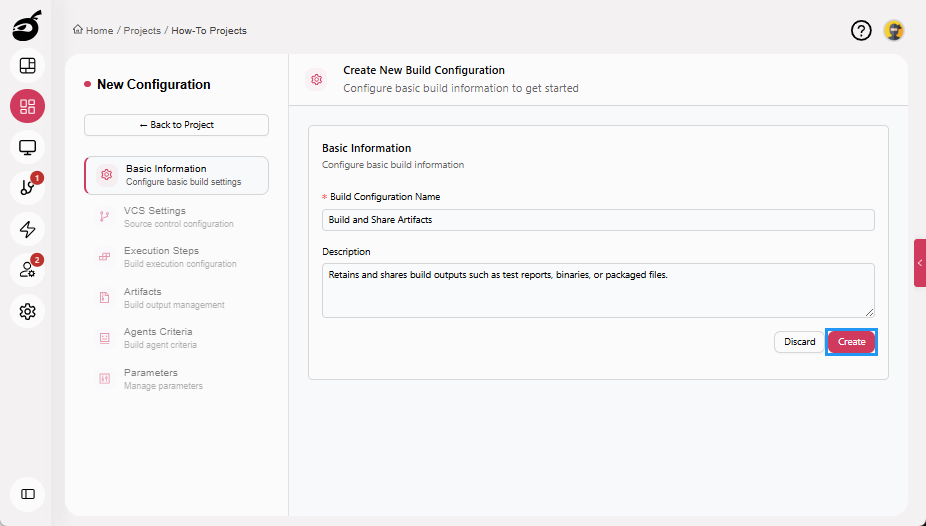
Enter the following details:
- Build Configuration Name (for example, Build and Share Artifacts)
- Description (optional)

-
Click Create.
For more information about creating and managing build configurations, see Configure and Edit BuildsBuilds in a CI/CD environment represent a defined set of execution steps that run automatically to build, test, package, or prepare an application for deployment..
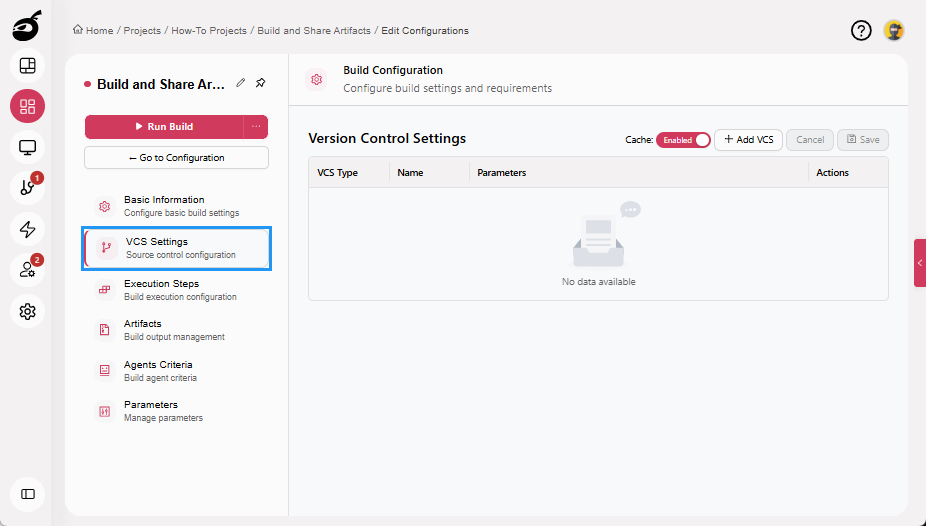
Step 2: Configure VCS Settings
-
Navigate to VCS Settings.
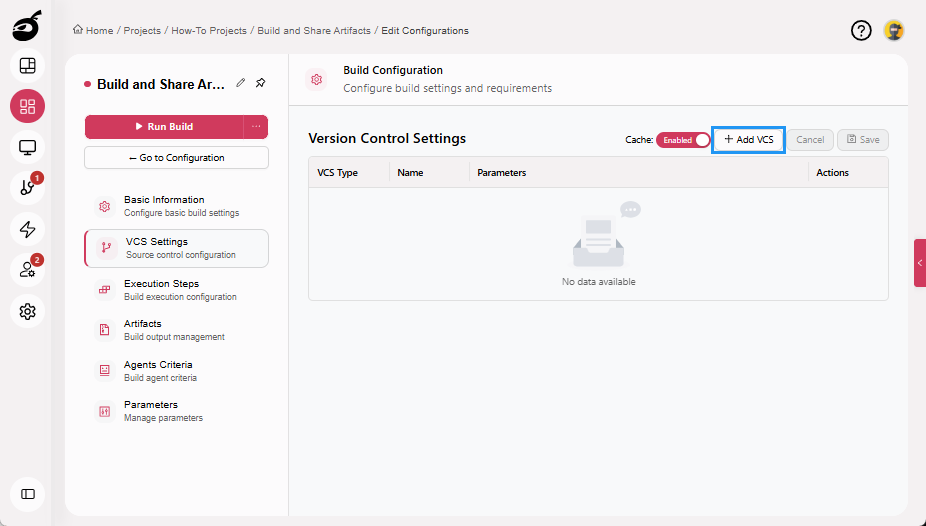
-
Click Add VCS.
-
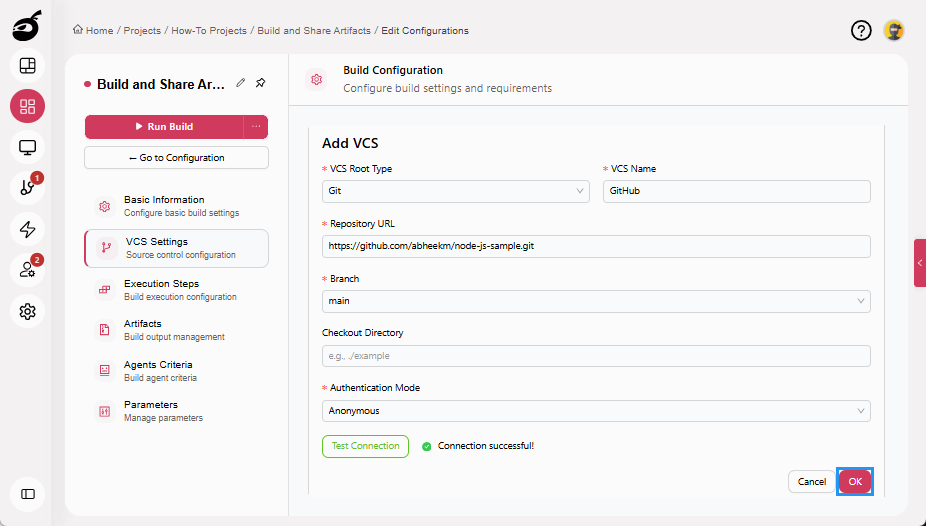
Enter the following details:
- VCS Root Type: Git
- VCS Name: A unique identifier
- Repository URL: Git repository URL
- Branch:
main,develop, or your target branch - Checkout Directory: Optional, default is recommended
- Authentication Mode: Select the required authentication method
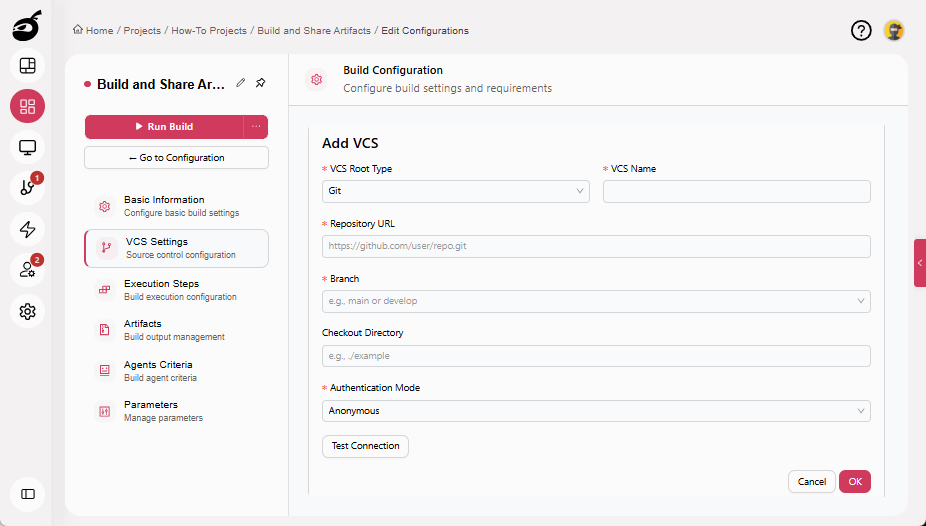
-
Click Test Connection to verify access (optional).
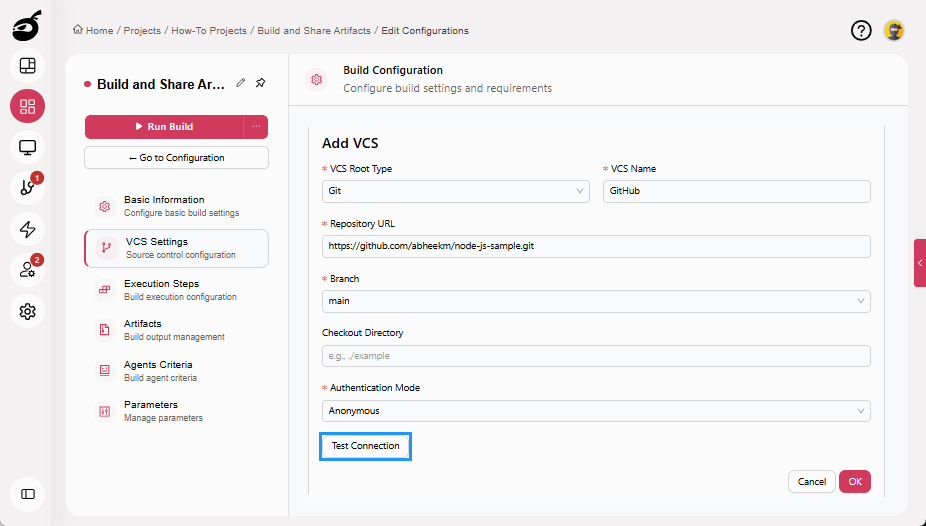
-
Click OK to add the VCS.
-
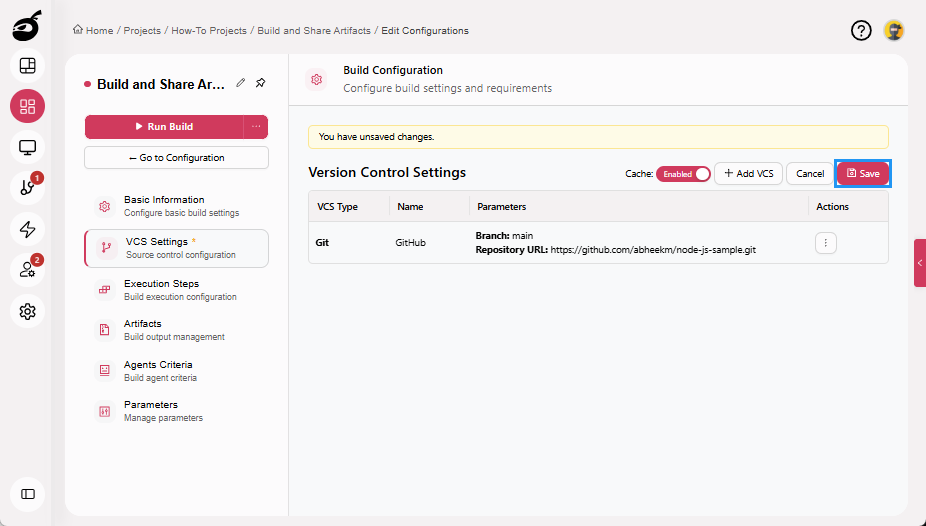
Click Save to save the VCS Settings.
 note
noteBuildNinja will automatically fetch your source code from Git when the build runs.
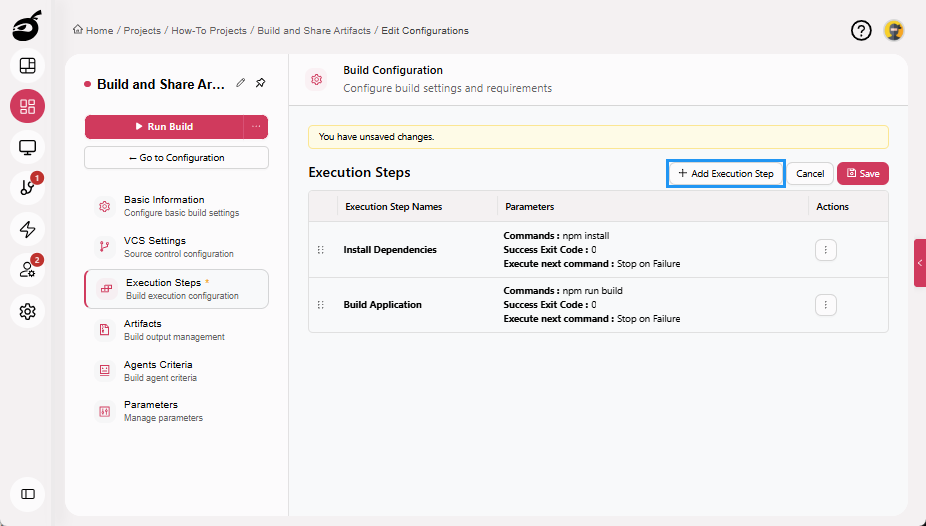
Step 3: Configure Execution Steps to Generate Outputs
This build installs dependencies, builds the application, runs tests, and produces real output files that will be saved as artifacts.
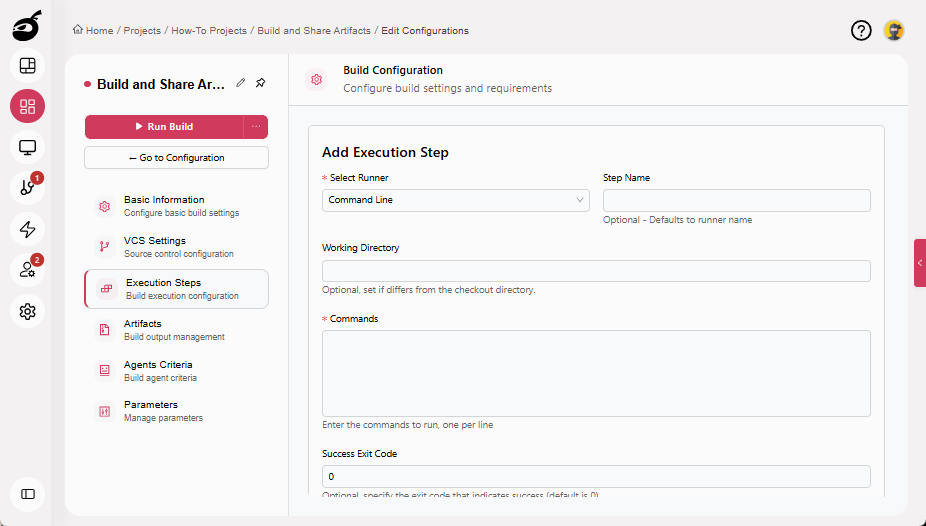
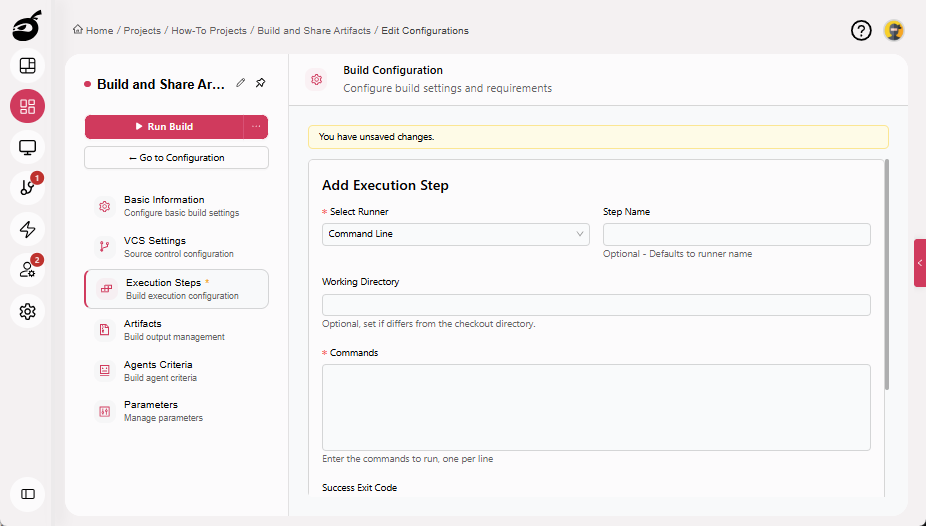
Step 3.1: Install Dependencies
-
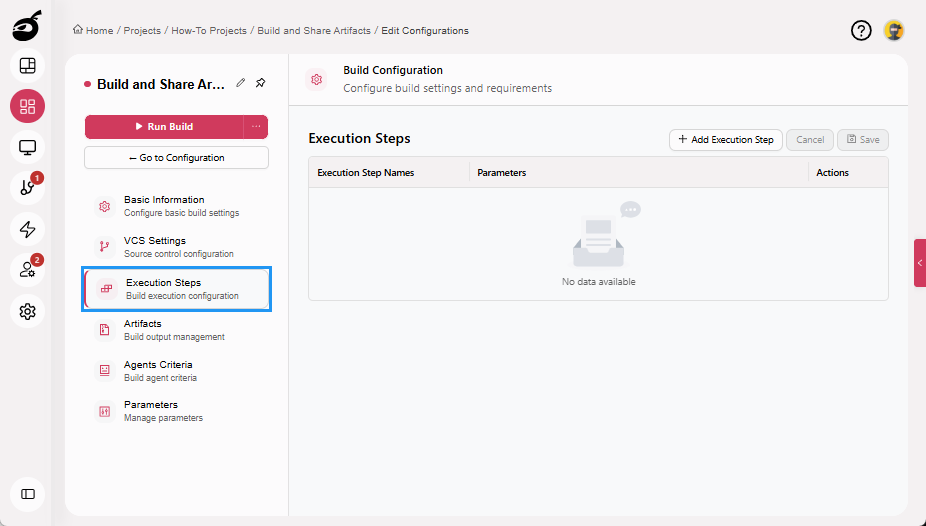
Navigate to Execution Steps.
-
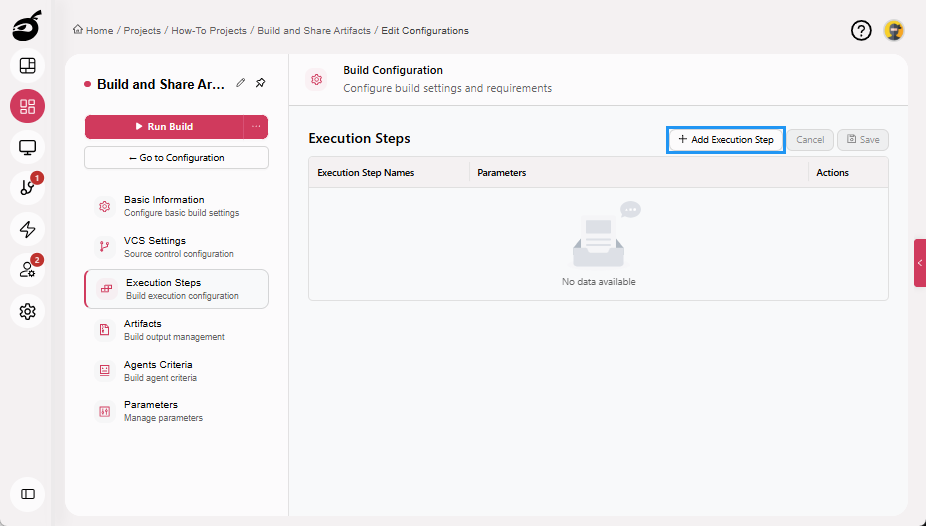
Click Add Execution Step.
-
Enter the following details:
- Select Runner: Command Line
- Step Name: Install Dependencies
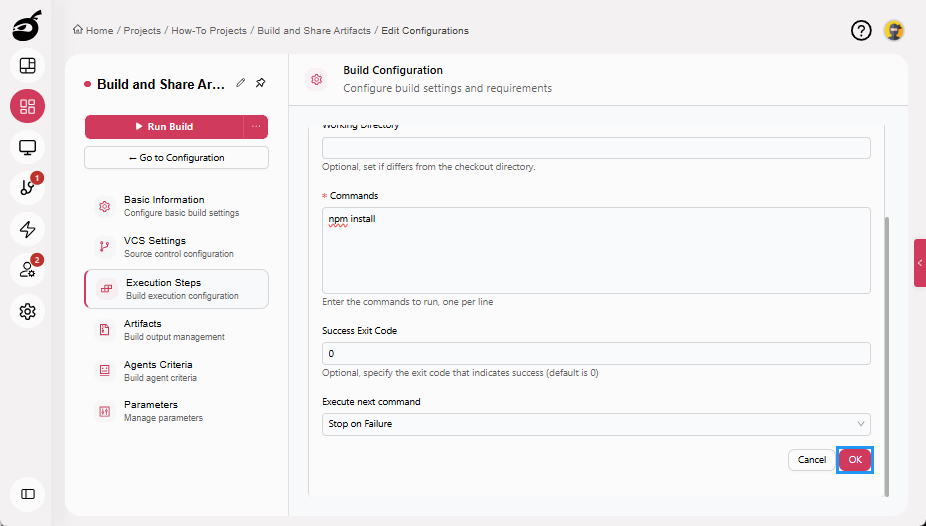
- Command:
npm install
-
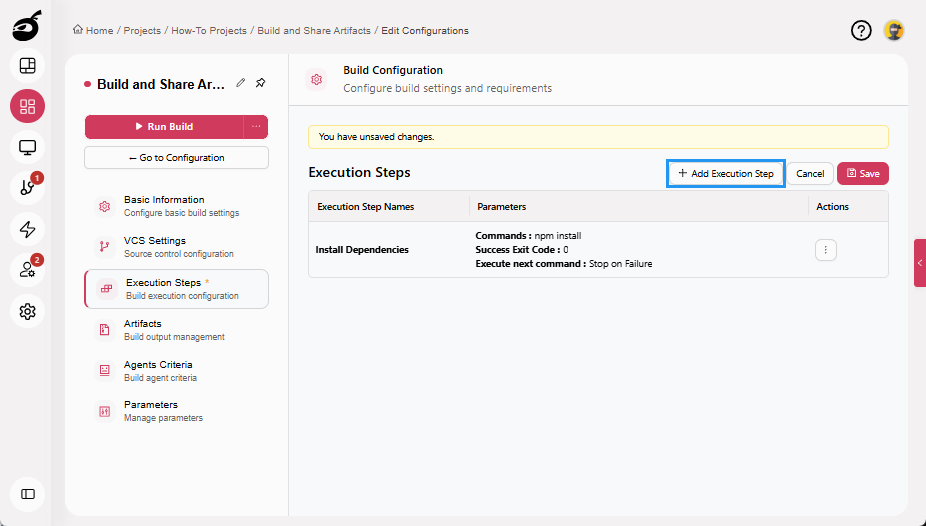
Click OK to add the execution step.
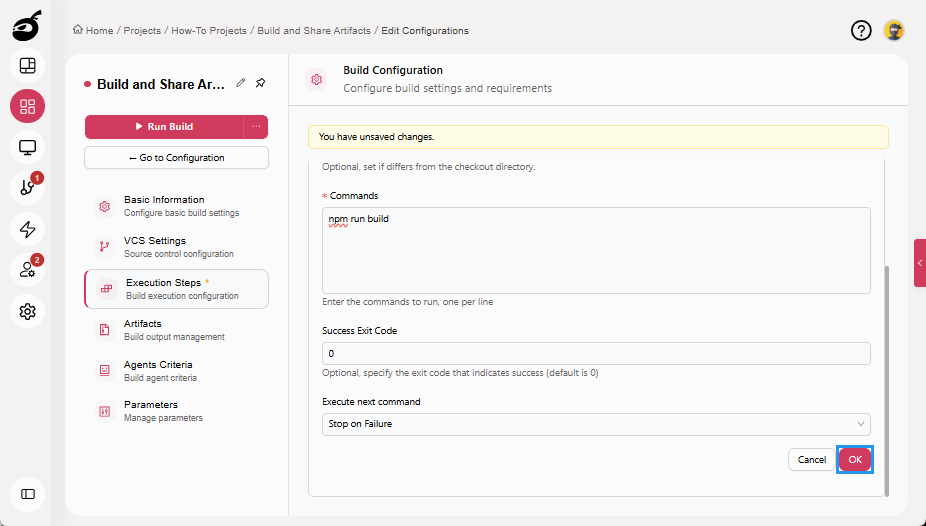
Step 3.2: Build Application
-
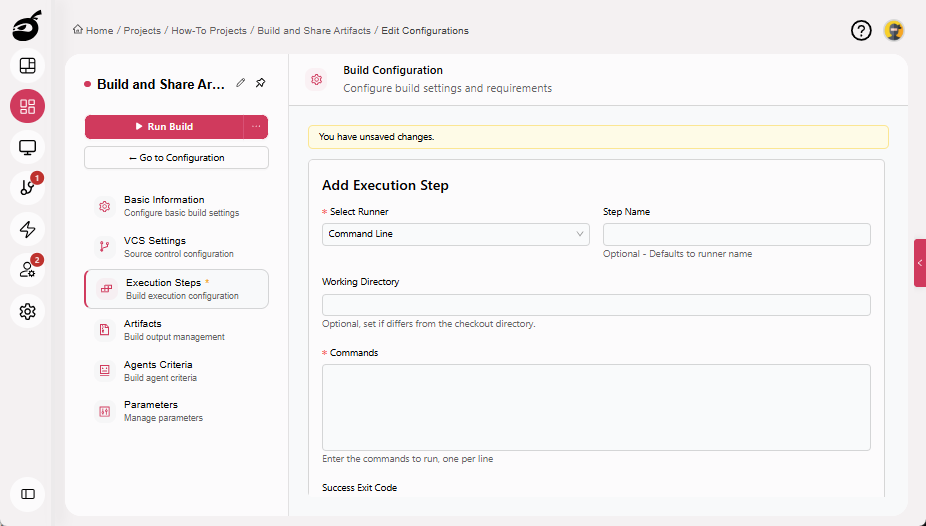
Click Add Execution Step.
-
Enter the following details:
- Select Runner: Command Line
- Step Name: Build Application
- Command:
npm run build
This step generates compiled application files in the dist/ directory.
-
Click OK to add the execution step.
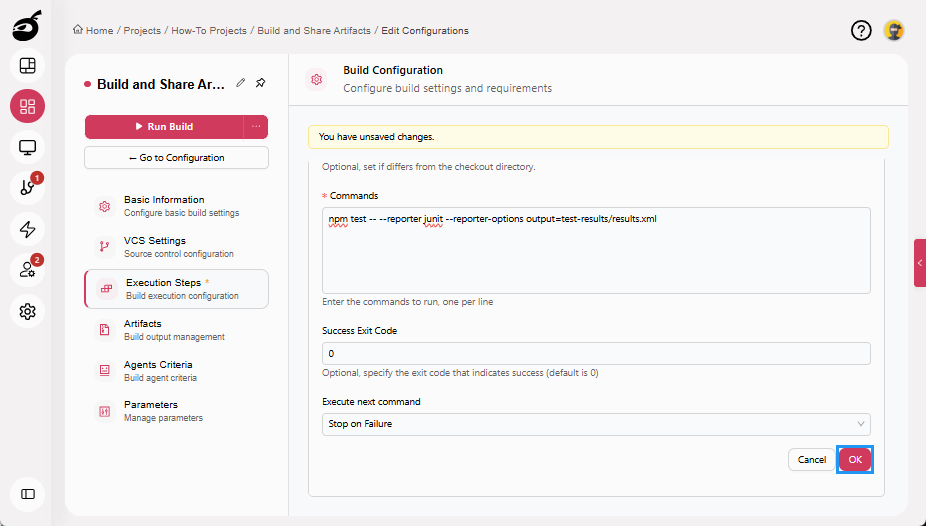
Step 3.3: Run Tests and Generate Test Report
-
Click Add Execution Step.
-
Enter the following details:
- Select Runner: Command Line
- Step Name: Run Tests
- Command:
npm test -- --reporter junit --reporter-options output=test-results/results.xml
This step generates a JUnit XML test report in the test-results/ directory.
-
Click OK to add the execution step.
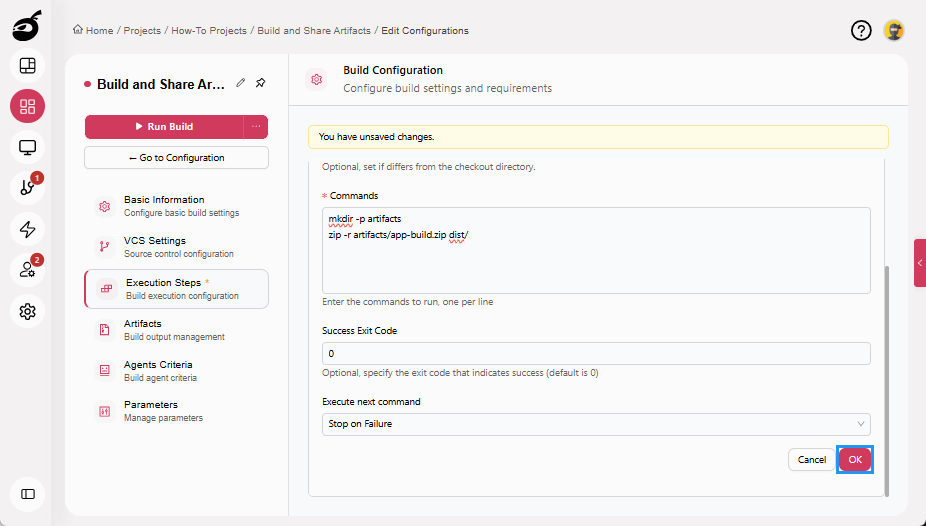
Step 3.4: Package Build Output
-
Click Add Execution Step.
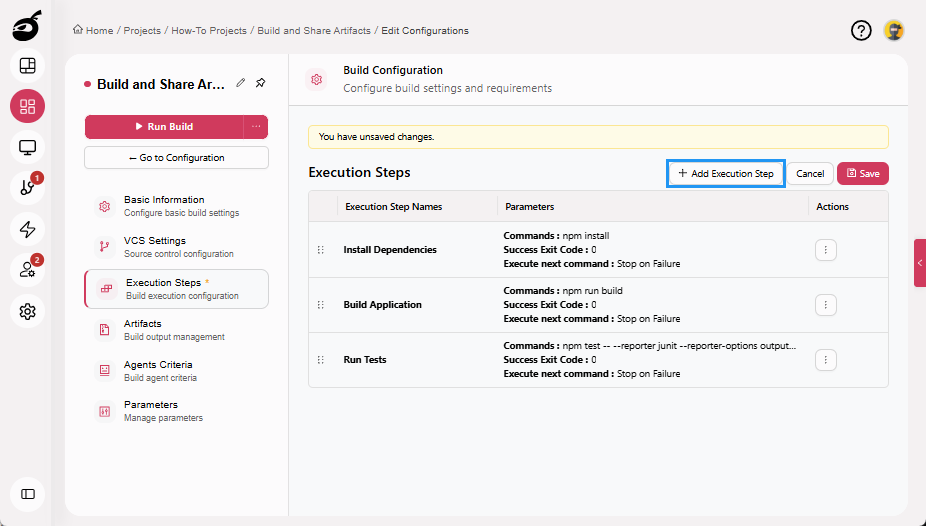
-
Enter the following details:
- Select Runner: Command Line
- Step Name: Package Build Output
- Command:
mkdir -p artifacts
zip -r artifacts/app-build.zip dist/

This step packages the compiled application into a ZIP file in the artifacts/ directory.
-
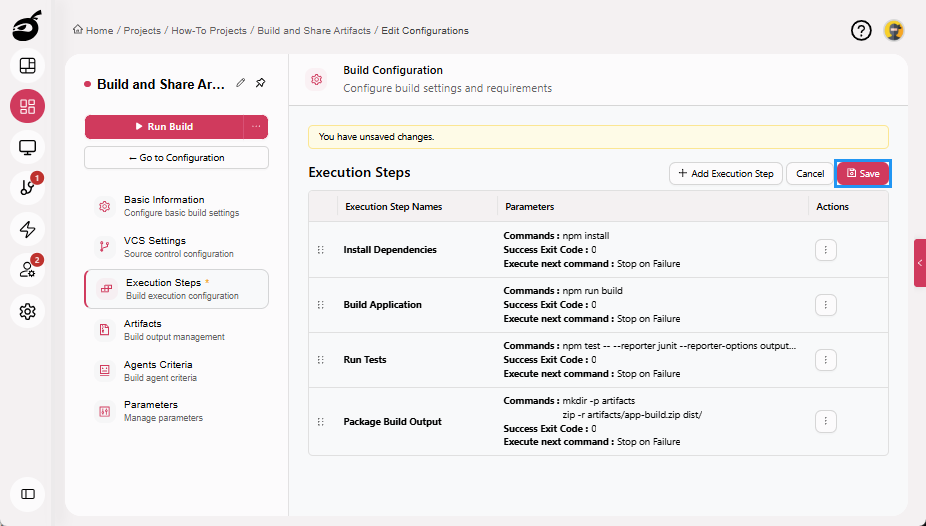
Click OK to add the execution step.
-
Click Save to save the Execution Steps.
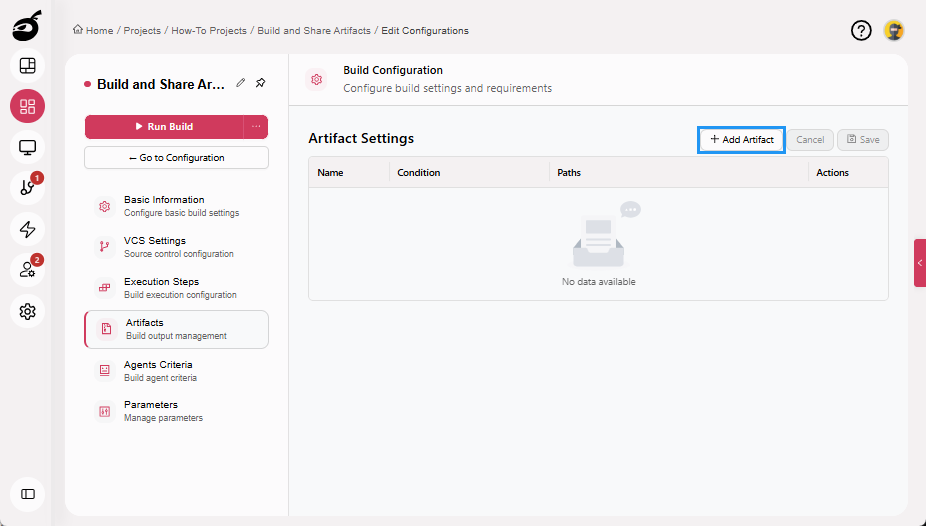
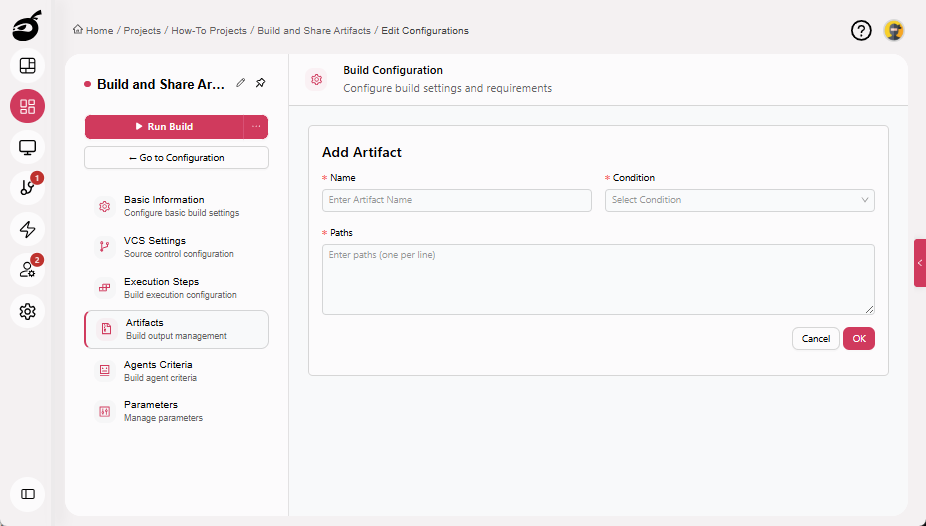
Step 4: Configure Artifacts
Artifacts define which build outputs should be retained after execution.
Step 4.1: Save Application Build Package
-
Navigate to Artifacts.

-
Click Add Artifact.
-
Enter the following details:
- Name: Application Build Package
- Condition: Only if build status is successful
- Paths: artifacts/app-build.zip
-
Click OK to add the artifact.
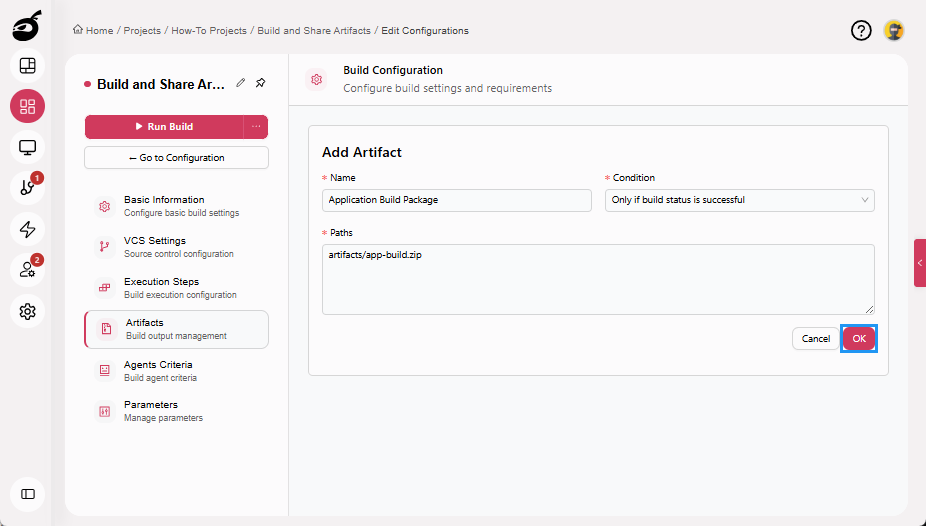
This artifact stores the packaged application generated during the build.
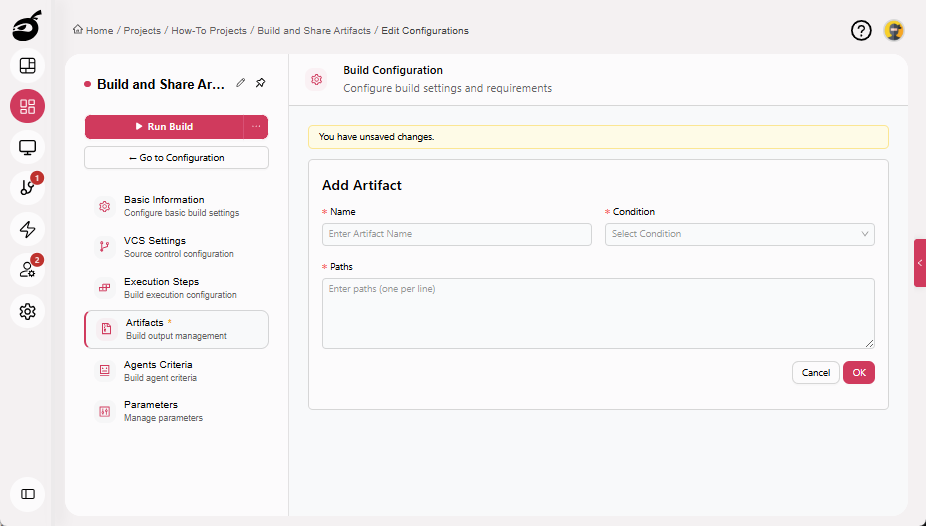
Step 4.2: Save Test Reports
-
Click Add Artifact again.

-
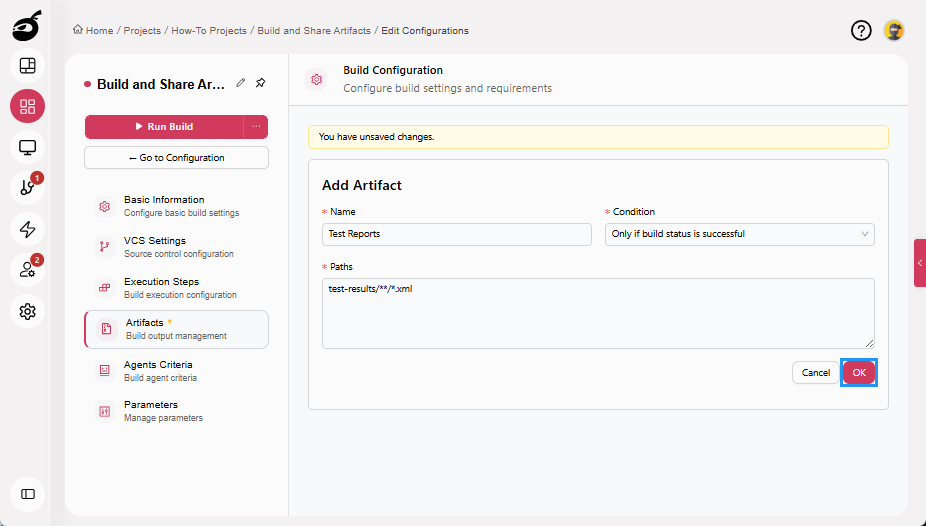
Enter the following details:
- Name: Test Reports
- Condition: Only if build status is successful
- Paths: test-results/**/*.xml
-
Click OK to add the artifact.
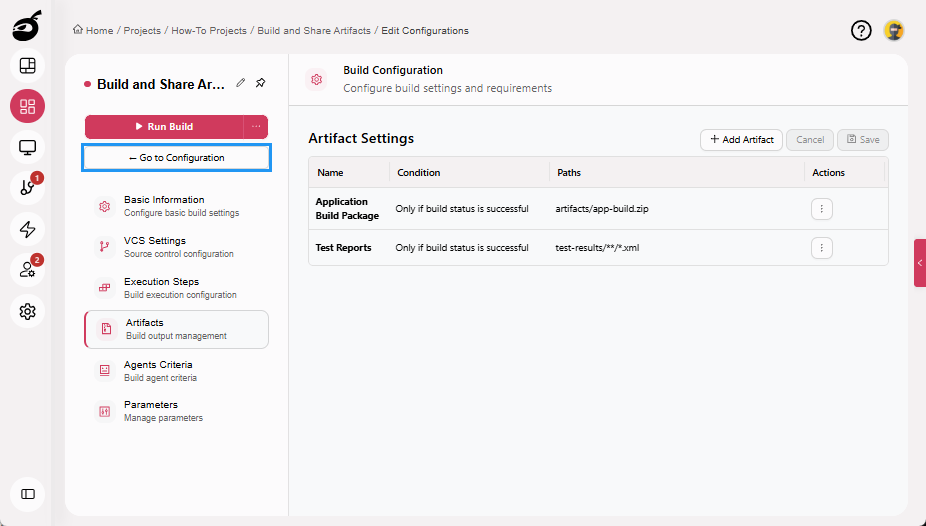
-
Click Save to save the Artifacts.
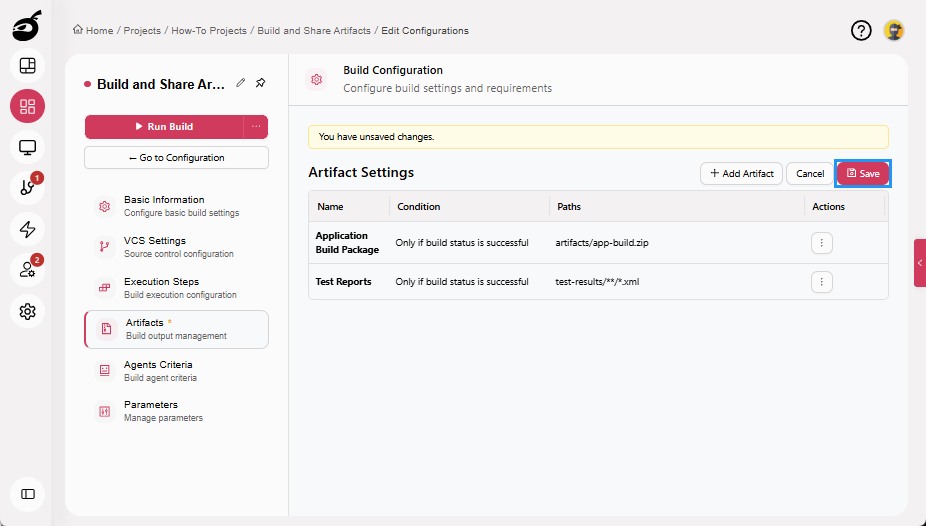
This artifact retains automated test reports so they can be reviewed after the build completes.
Step 5: Run Build
Your build configuration is now complete.
Running a build executes the defined steps to install dependencies, build the application, run tests, and generate output files. When the build finishes, BuildNinja evaluates the configured artifact conditions and retains the specified build outputs.
-
Click Run Build to start the build manually. Once triggered, the build enters the execution queue and starts automatically when a compatible agent becomes available.

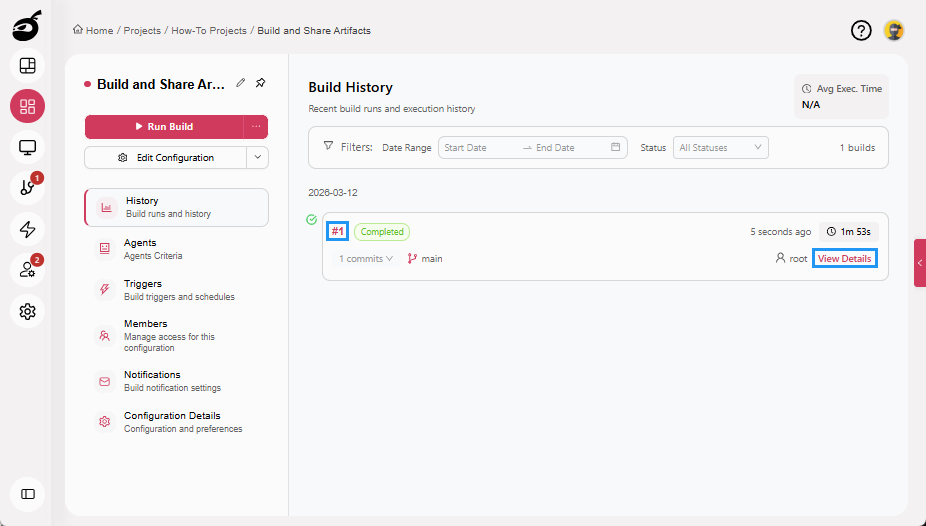
Step 6: Access and Share Artifacts
After the build completes successfully, you can access the retained artifacts from the build results and share them with team members for review or deployment.
-
Navigate to build configuration main page. This opens the History tab, where you can view information such as trigger details, build duration, number of commits, and branch.
-
Click the Build Number or View Details for the completed build. This opens the Overview tab, where you can view key build details such as trigger information, build duration, and agent information.
-
Navigate to the Artifacts section of the build results.
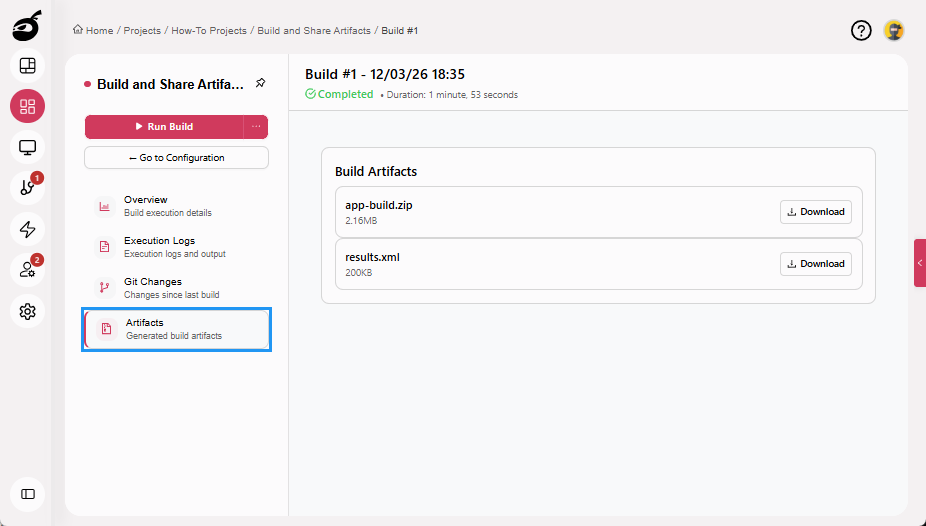
-
Download the retained artifacts, such as:
- app-build.zip for deployment or testing
- XML test reports for QA review
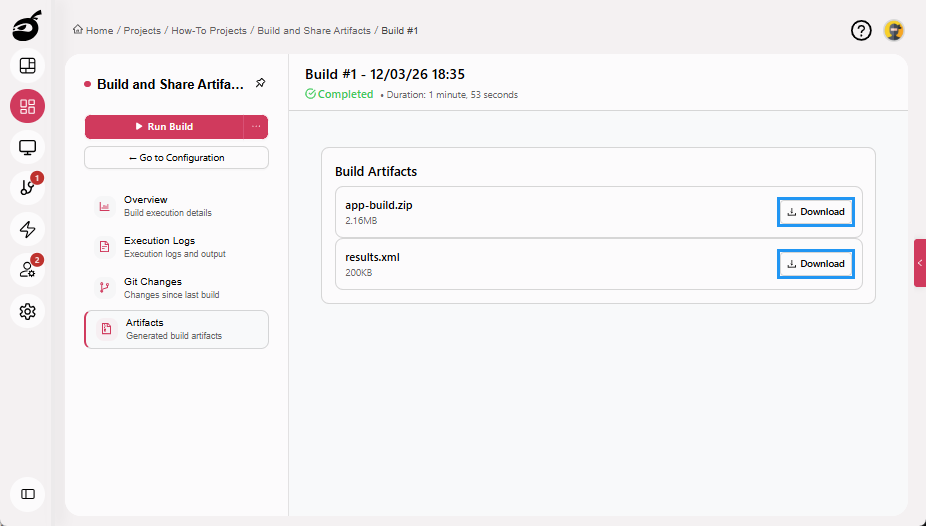
Artifacts can be downloaded and shared with developers, testers, or other stakeholders at any time after the build completes.