How to Speed Up Build Execution Times
Configure a build configuration in BuildNinja to drastically reduce build execution time and shorten developer feedback loops. This guide shows how to optimize builds by reusing cached dependencies and source checkouts, and by stopping execution early when failures occur. This configuration uses:
- Smart Caching to reuse VCS checkouts and dependencies across builds
- Execution Steps with Success Exit Codes to fail fast and avoid wasted compute time
Prerequisites
Before you begin, ensure that:
- You have access to a BuildNinja project.
- A BuildNinja agent is registered and online.
- Your repository contains a buildable application (for example, Node.js, Java, or Gradle-based).
- Dependency installation and test commands return proper exit codes (
0for success, non-zero for failure).
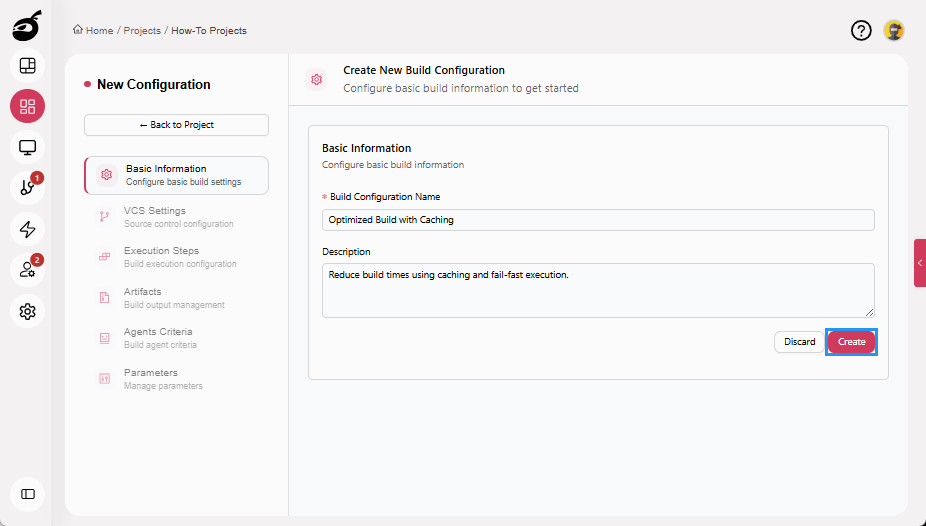
Step 1: Create a Build Configuration
-
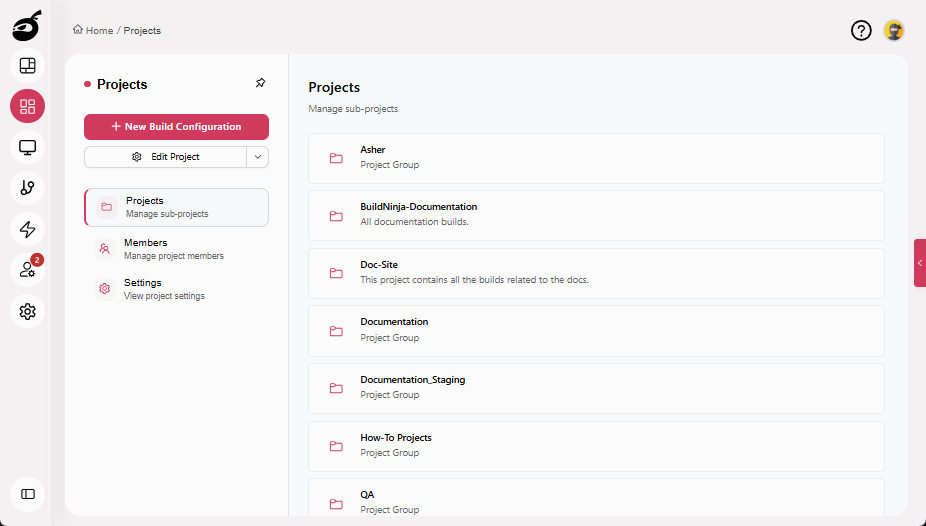
Navigate to Projects.
-
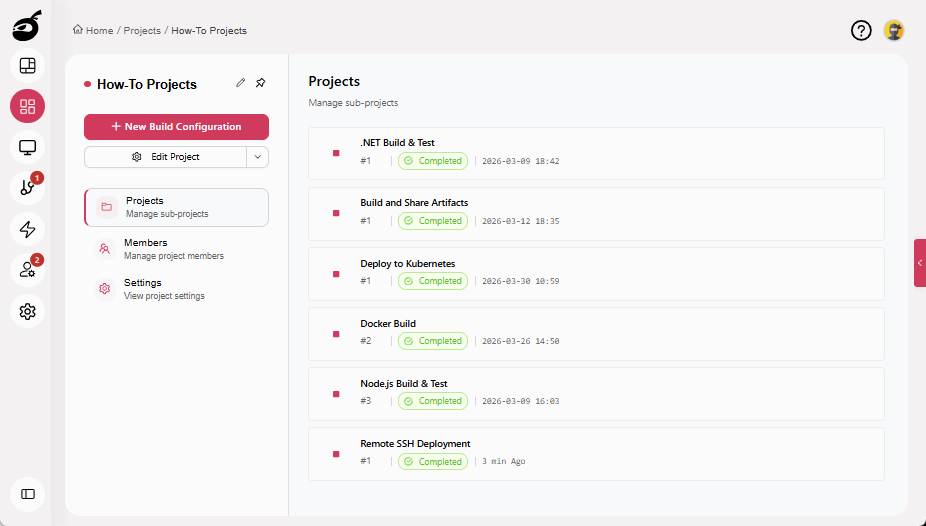
Select the project where you want to configure the build.
-
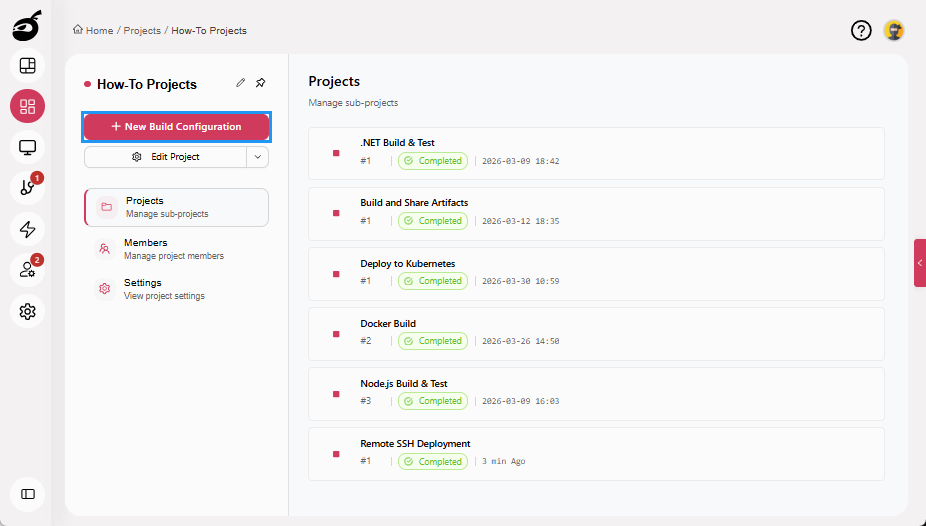
Click New Build Configuration.
-
Enter the following details:
- Build Configuration Name (for example, Optimized Build with Caching)
- Description (optional)
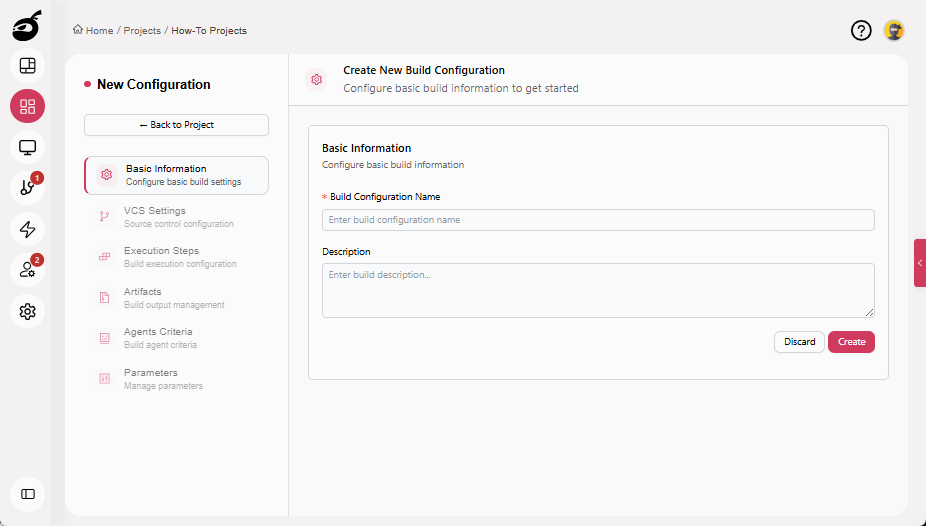
-
Click Create.
For more information about creating and managing build configurations, see Configure and Edit BuildsBuilds in a CI/CD environment represent a defined set of execution steps that run automatically to build, test, package, or prepare an application for deployment..
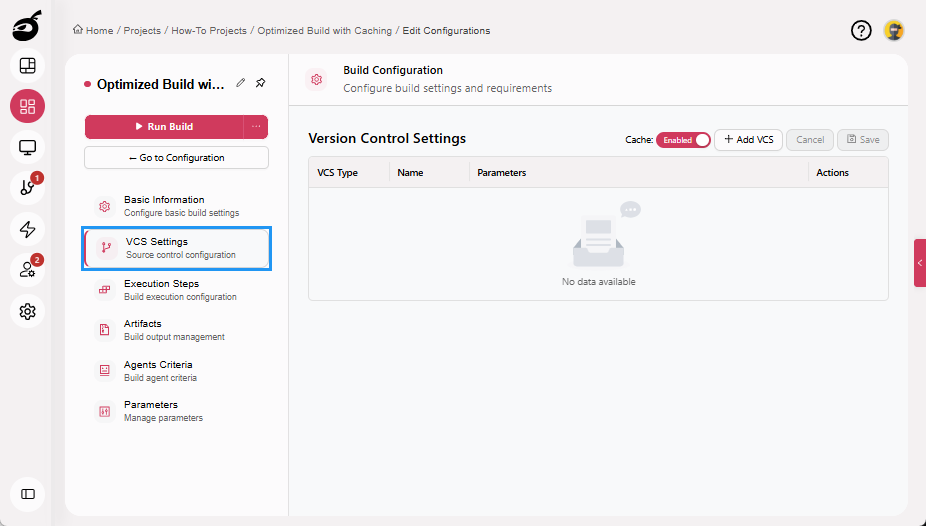
Step 2: Configure VCS Settings
-
Navigate to VCS Settings.
-
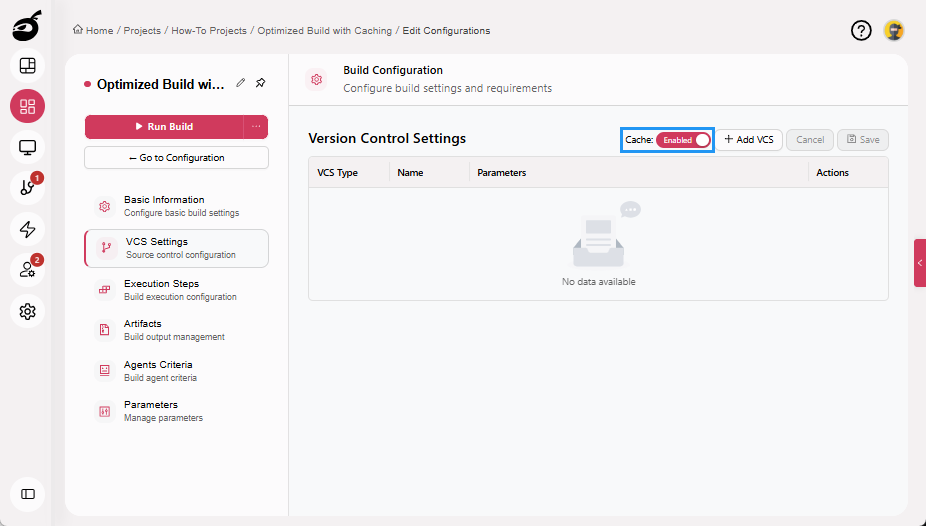
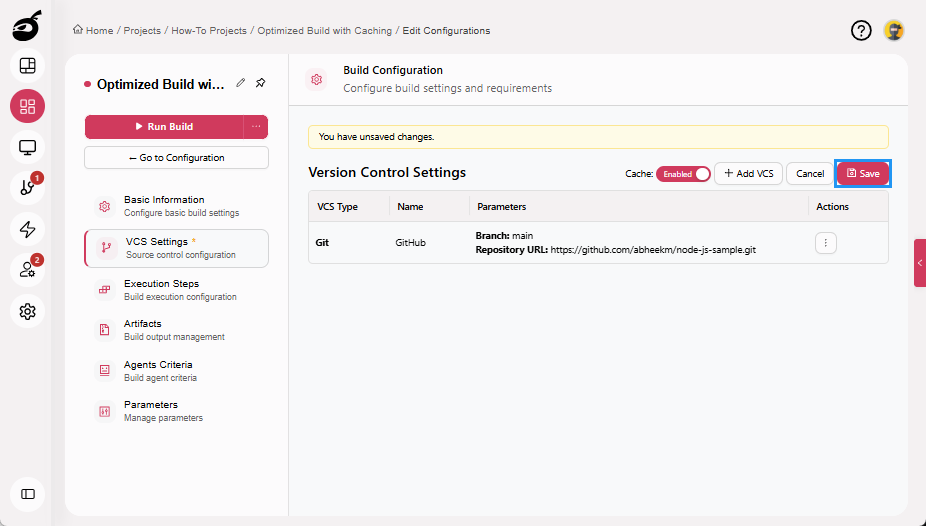
Ensure Cache is enabled.
-
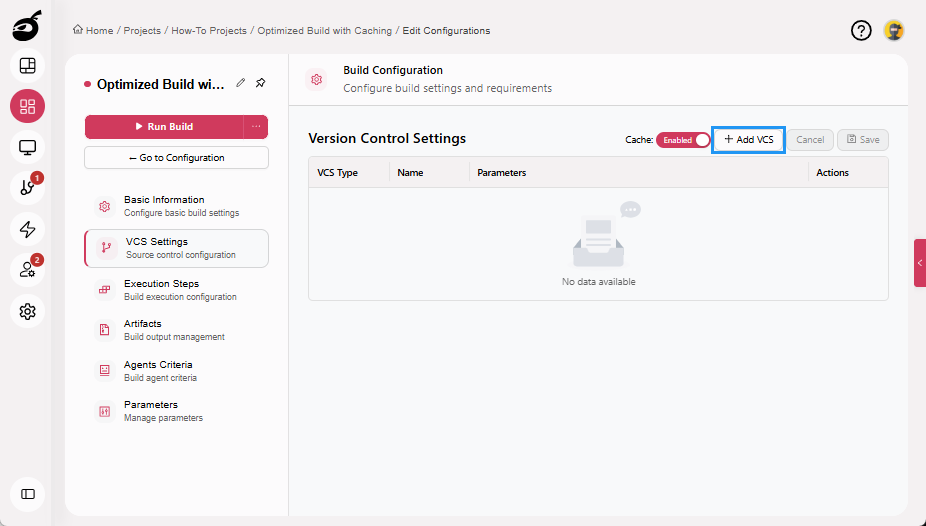
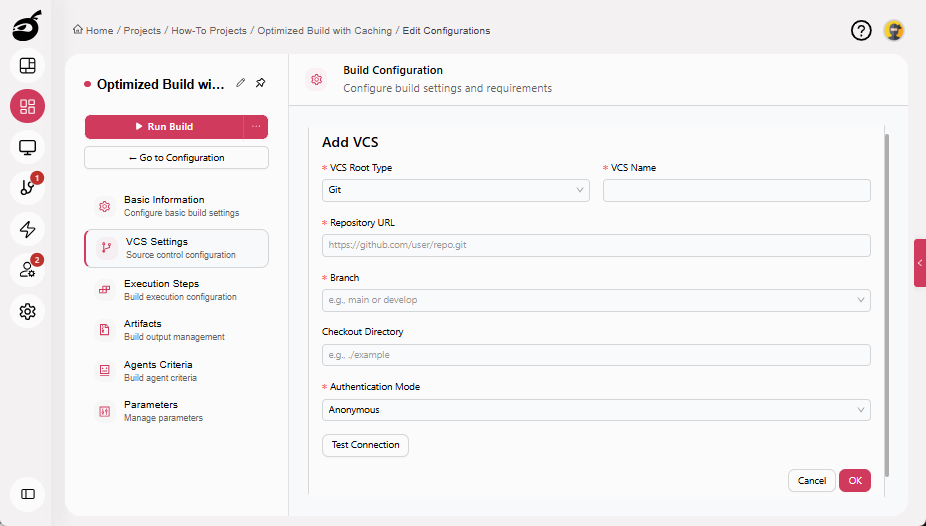
Click Add VCS.
-
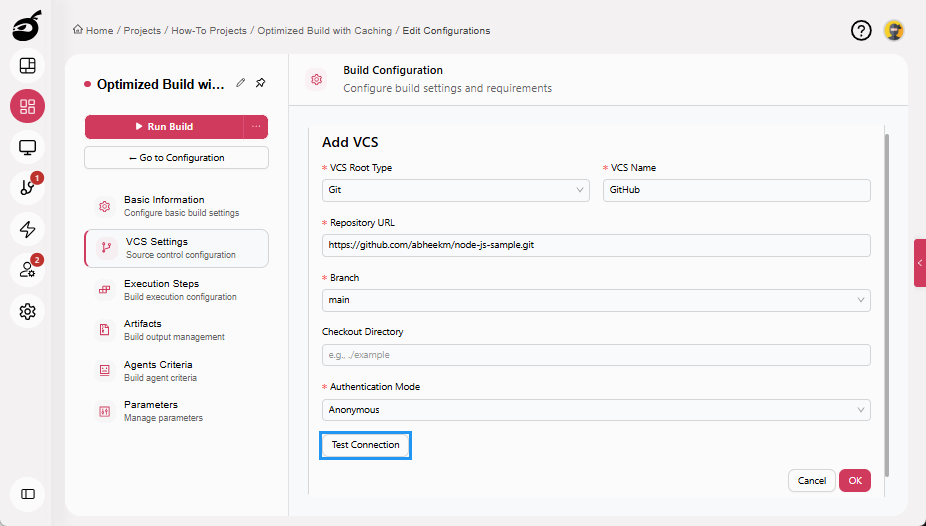
Enter the following details:
- VCS Root Type: Git
- VCS Name: A unique identifier
- Repository URL: Git repository URL
- Branch: main, develop, or your target branch
- Checkout Directory: Optional, default is recommended
- Authentication Mode: Select the required authentication method
-
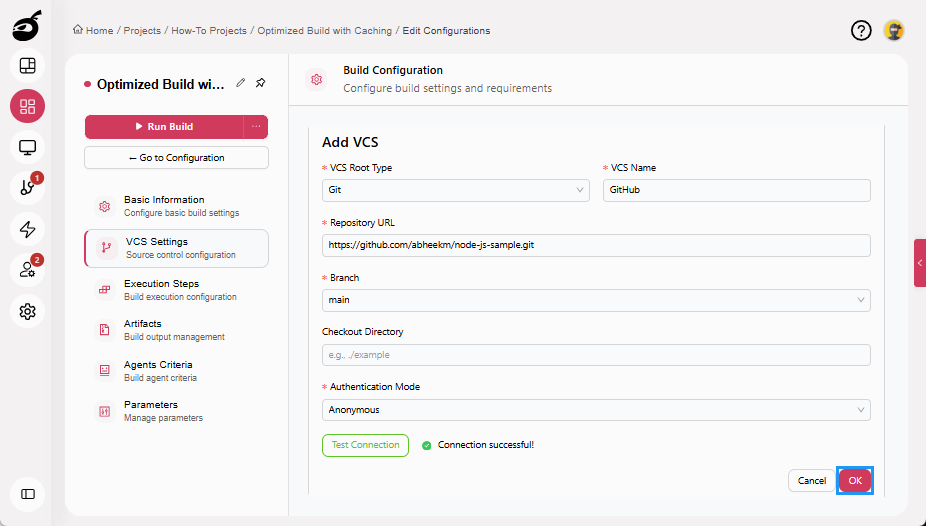
Click Test Connection to verify access (optional).
-
Click OK to add the VCS.
-
Click Save.
 note
noteWhen Cache is enabled, BuildNinja reuses unchanged VCS checkouts and dependencies between builds, eliminating repeated clone operations and reducing build startup time.
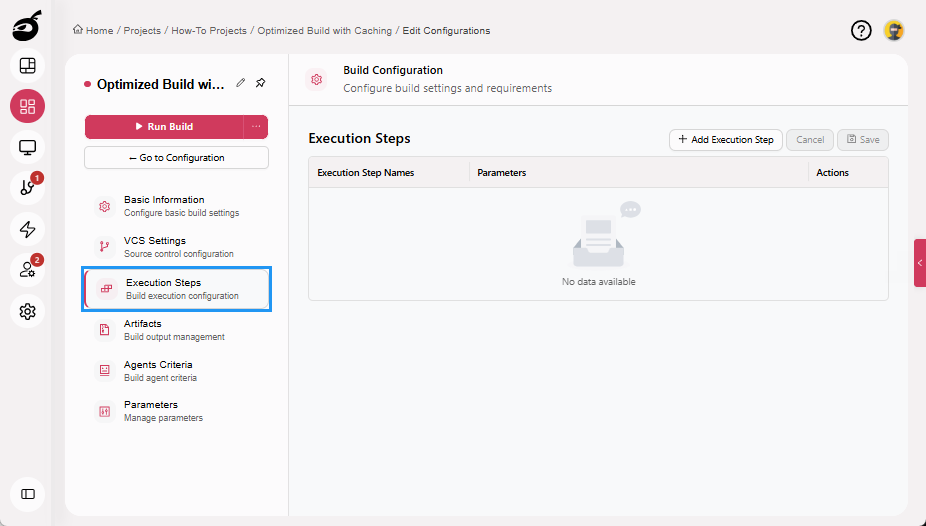
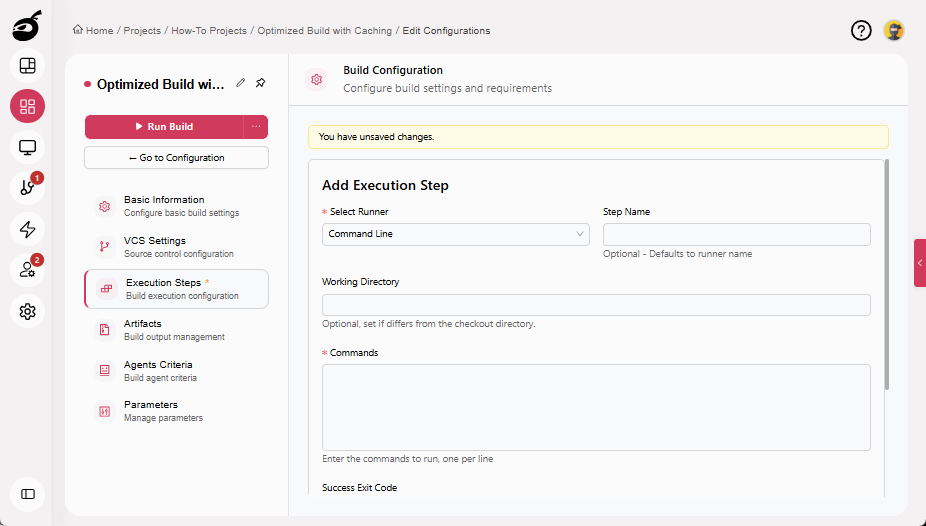
Step 3: Configure Execution Steps (Optimized and Fail-Fast)
Execution Steps define what runs, where it runs, and how failures are handled. To speed up build execution, steps are ordered to validate early and stop immediately on failure.
Step 3.1: Install Dependencies
Dependency installation is expensive. With Smart Caching, unchanged dependencies are reused. If installation fails, the build stops immediately instead of wasting time on later steps.
-
Navigate to Execution Steps.
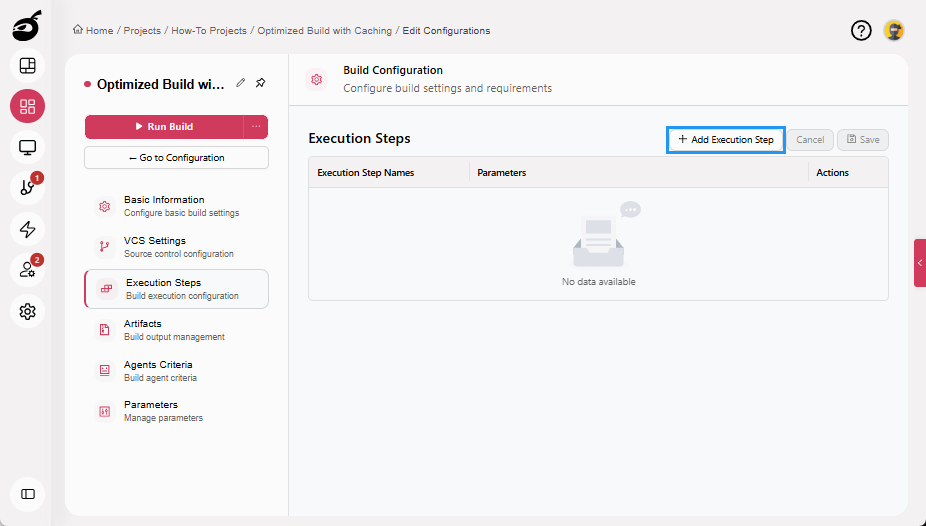
-
Click Add Execution Step.
-
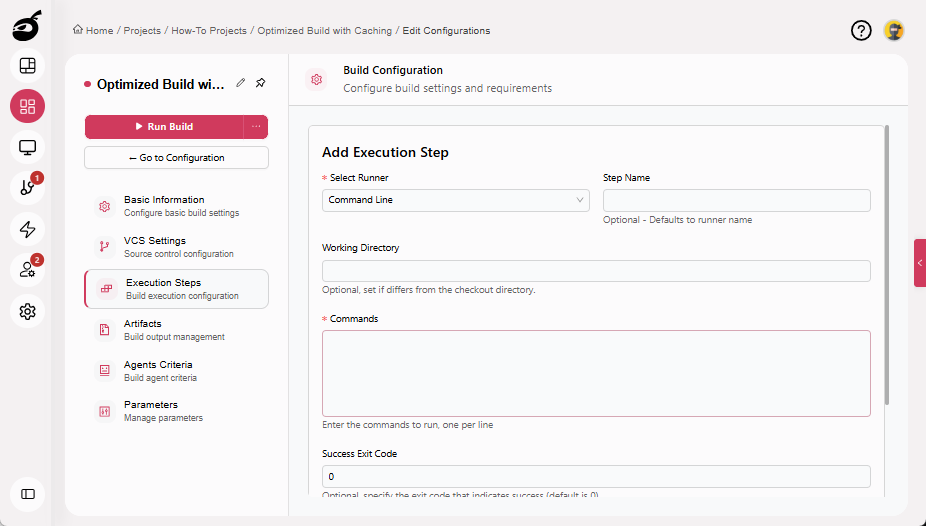
Enter the following details:
- Select Runner: Command Line
- Step Name: Install Dependencies
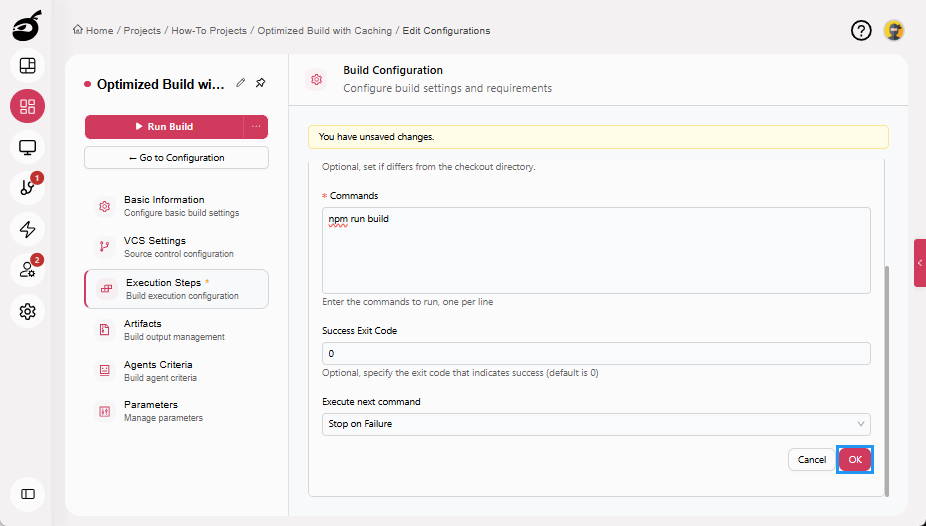
- Commands:
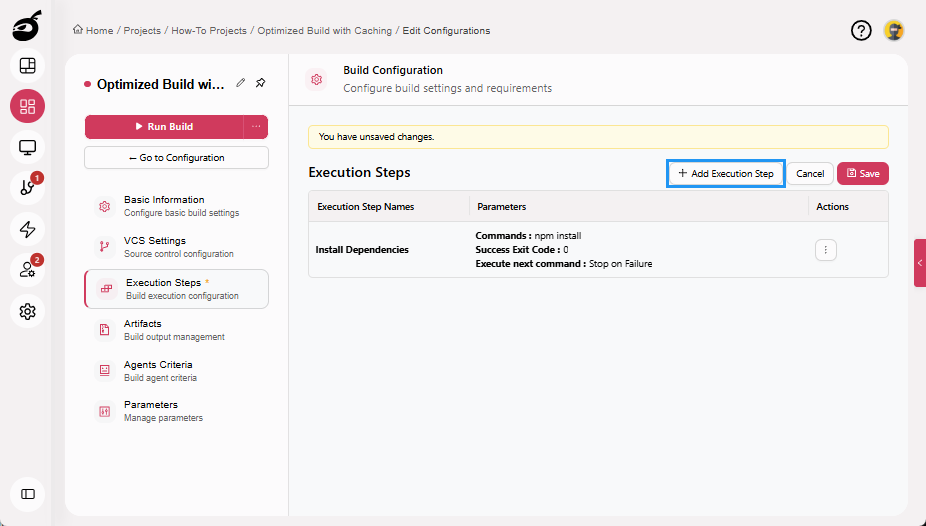
npm install - Success Exit Code: 0. This is the default value. The step is considered successful only if the command exits with code 0.
- Execute Next Command: Stop on Failure. If this command fails, no further commands or steps are executed.
-
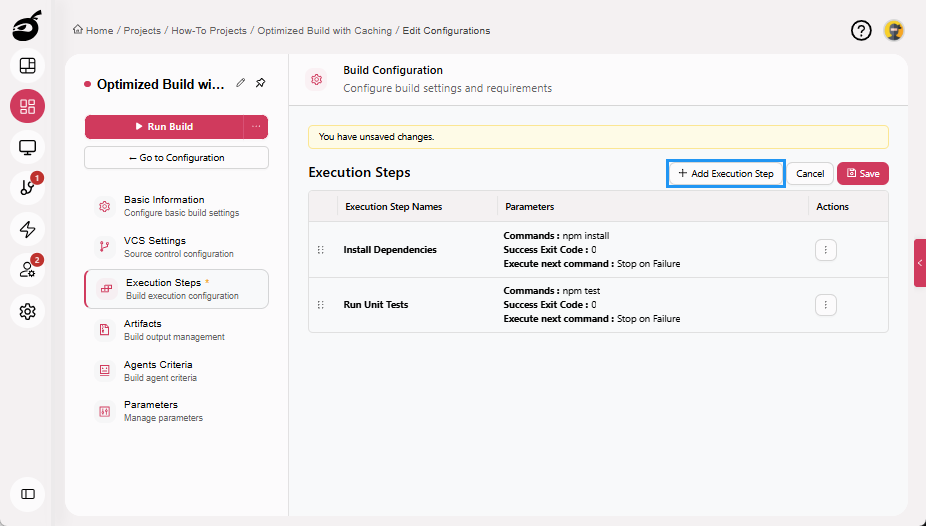
Click OK to add the execution step.

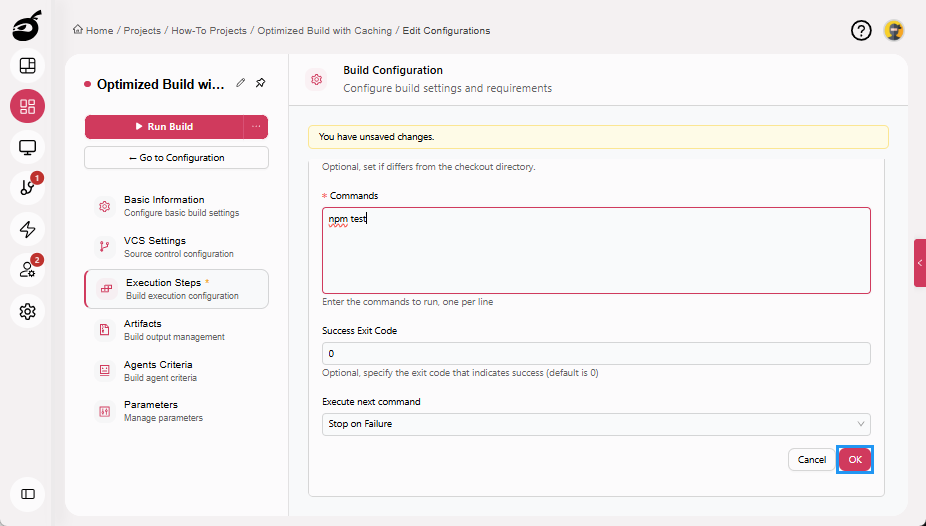
Step 3.2: Run Unit Tests
Tests are intentionally placed before the build step. If tests fail, the build step is never executed, saving time and compute resources.
-
Click Add Execution Step.
-
Enter the following details:
- Select Runner: Command Line
- Step Name: Run Unit Tests
- Commands:
npm test - Success Exit Code: 0. Any non-zero exit code marks the step as failed.
- Execute Next Command: Stop on Failure. Ensures the build fails immediately if tests fail.
-
Click OK to add the execution step.
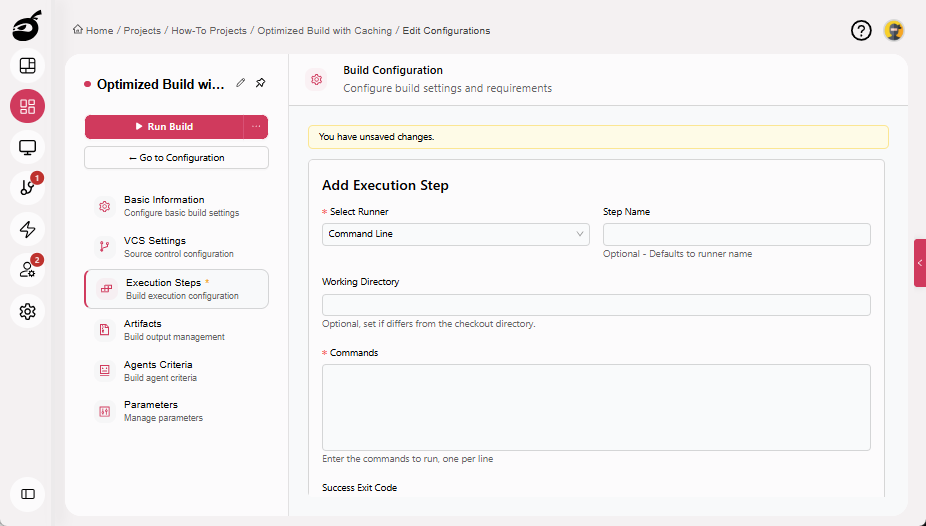
Step 3.3: Build Application
The build step runs only if dependencies are installed successfully, and tests passed with the expected success exit code. This prevents slow builds from running on broken code.
-
Click Add Execution Step.
-
Enter the following details:
- Select Runner: Command Line
- Step Name: Build Application
- Commands:
npm run build - Success Exit Code: 0
- Execute Next Command: Stop on Failure
-
Click OK to add the execution step.
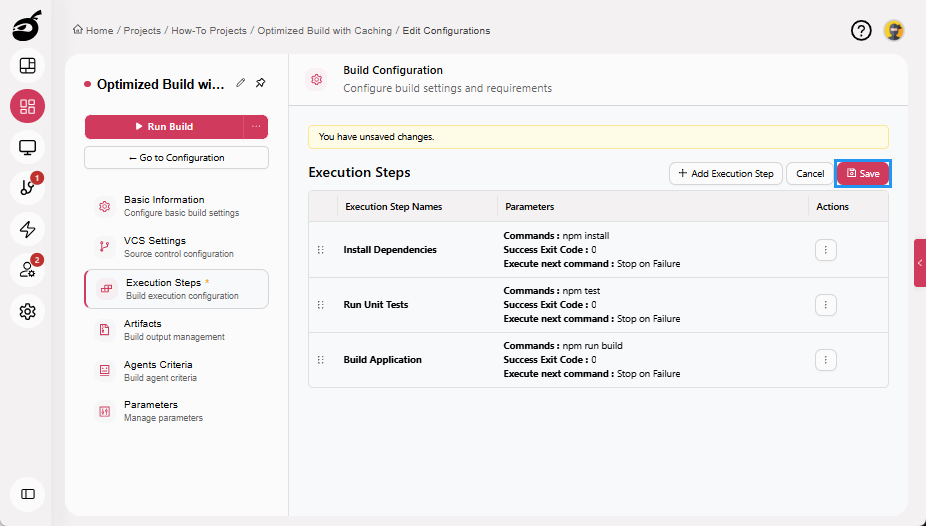
-
Click Save to save the Execution Steps.
Step 4: Run Build and Evaluate Performance
Your build configuration is now complete.
Running a build executes the defined steps, including fetching the source code, restoring cached dependencies, running validation steps, and building the application.
In BuildNinja, build configurations define what a build does and control how efficiently it runs, enabling faster feedback through caching and fail-fast execution.
Step 4.1: Run Build Manually
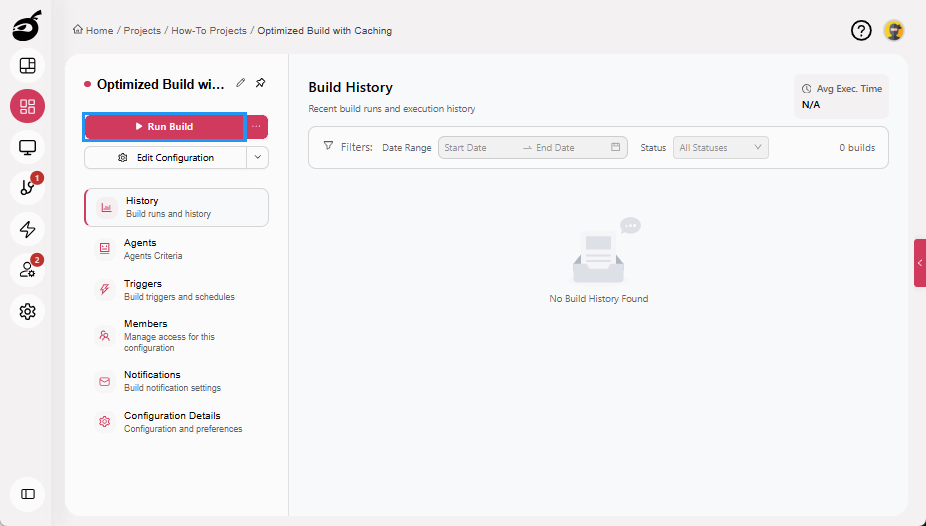
-
Click Run Build to start the build manually. Once triggered, the build enters the execution queue and starts automatically when a compatible agent becomes available.
Step 4.2: Review Build Performance
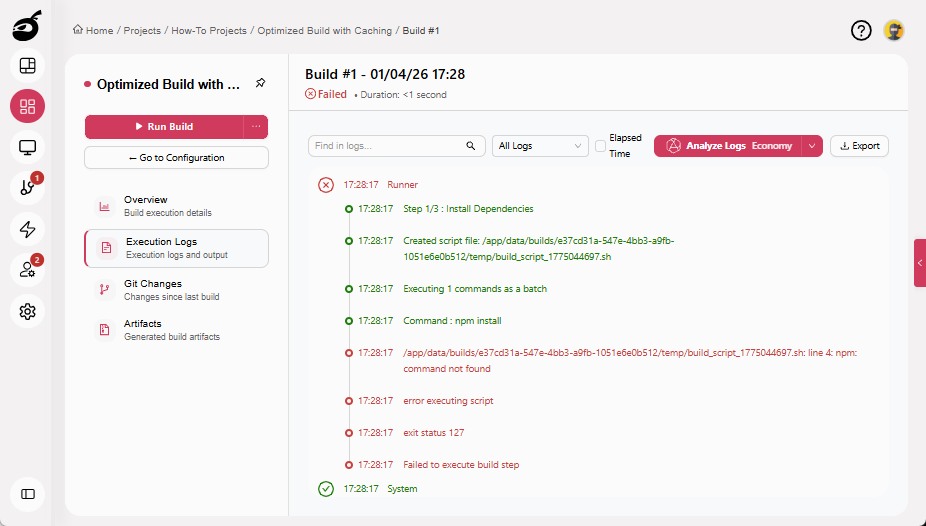
After the build starts or completes, review the build results to observe:
- Faster startup due to reused VCS checkouts and cached dependencies
- Immediate build termination when a step fails (for example, dependency install or tests)
- Reduced overall execution time for successful builds
To quantify improvements, compare the build duration with previous runs or non-optimized configurations.