How to Build and Test a .NET Application
Configure a build configuration in BuildNinja to compile a .NET application and run automated unit tests. This guide covers both classic and modern .NET projects and ensures the build is marked successful only when compilation and tests complete without errors. This configuration uses:
- MSBuild Runner to compile the application.
- VSTest Runner to execute unit tests.
- Windows build agents to support .NET toolchains.
Prerequisites
Before you begin, ensure that:
- You have access to a BuildNinja project.
- Your repository contains a valid .sln or .csproj file.
- Unit tests are available and discoverable by VSTest.
- A Windows build agent is registered and online.
- Required SDKs (for example, .NET Framework or .NET SDK) are installed on the agent.
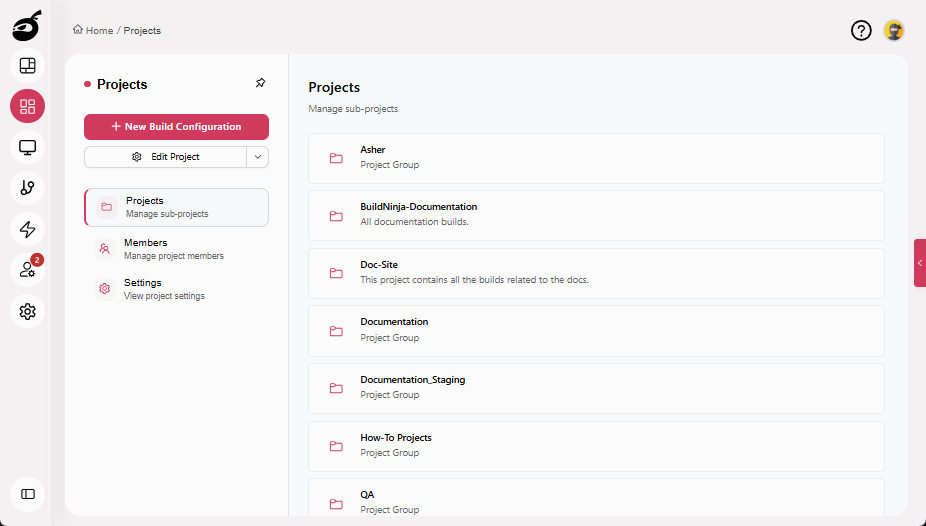
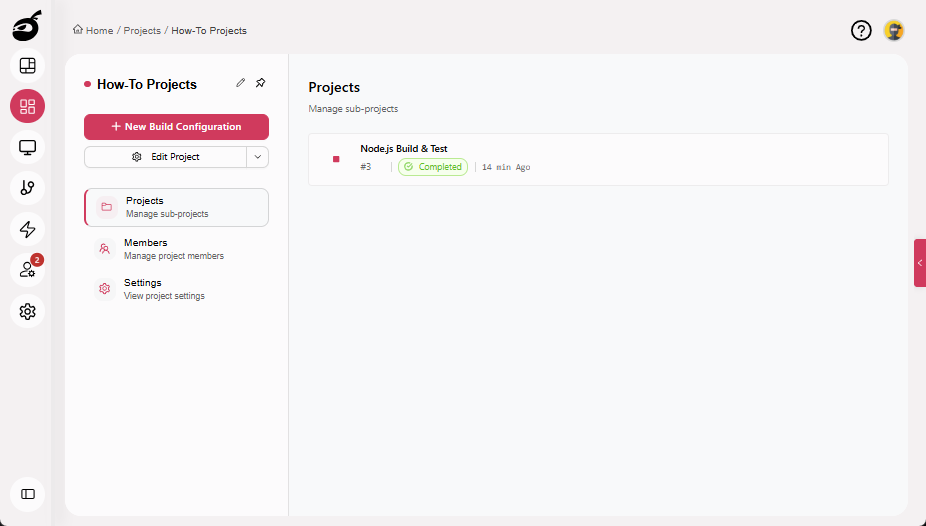
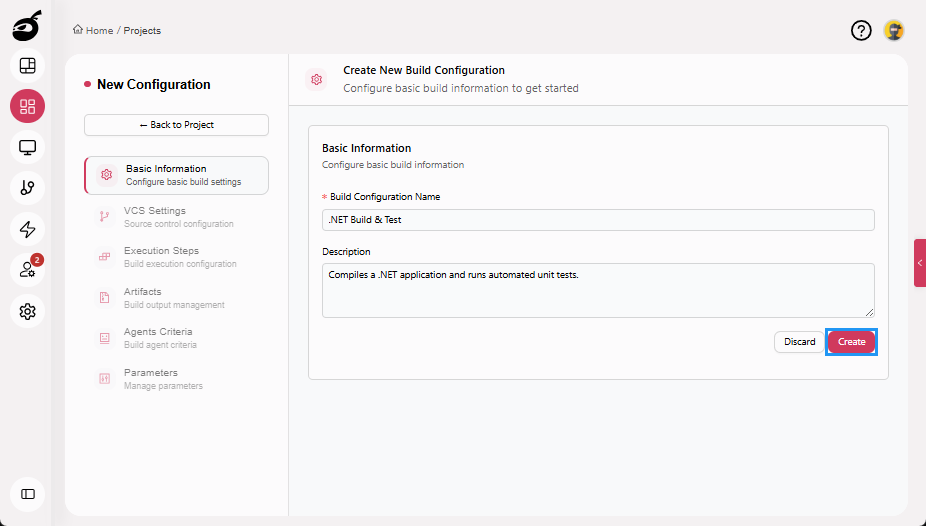
Step 1: Create Build Configuration
-
Navigate to Projects.
-
Select the project where you want to configure the build.
-
Click New Build Configuration.
-
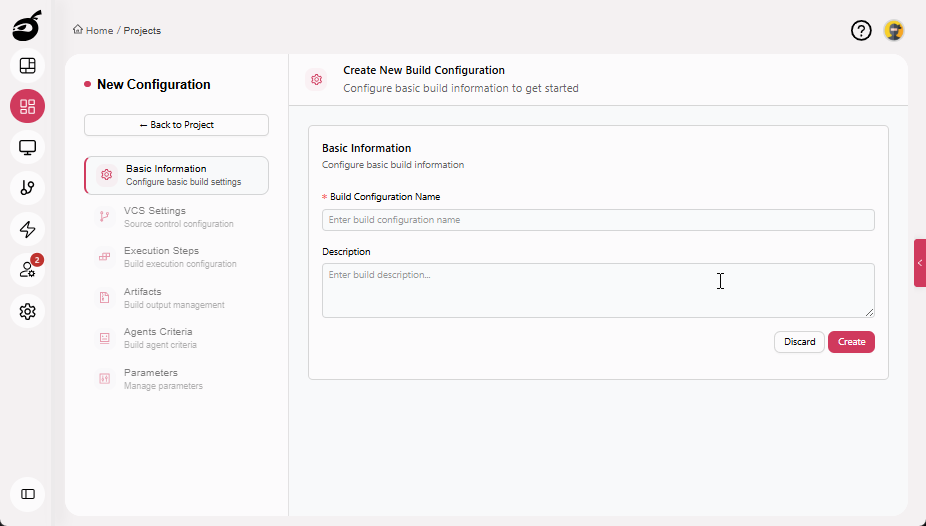
Enter the following details:
- Build Configuration Name (for example, .NET Build & Test).
- Description (optional).
-
Click Create.
For more information about creating and managing build configurations, see Configure and Edit BuildsBuilds in a CI/CD environment represent a defined set of execution steps that run automatically to build, test, package, or prepare an application for deployment..
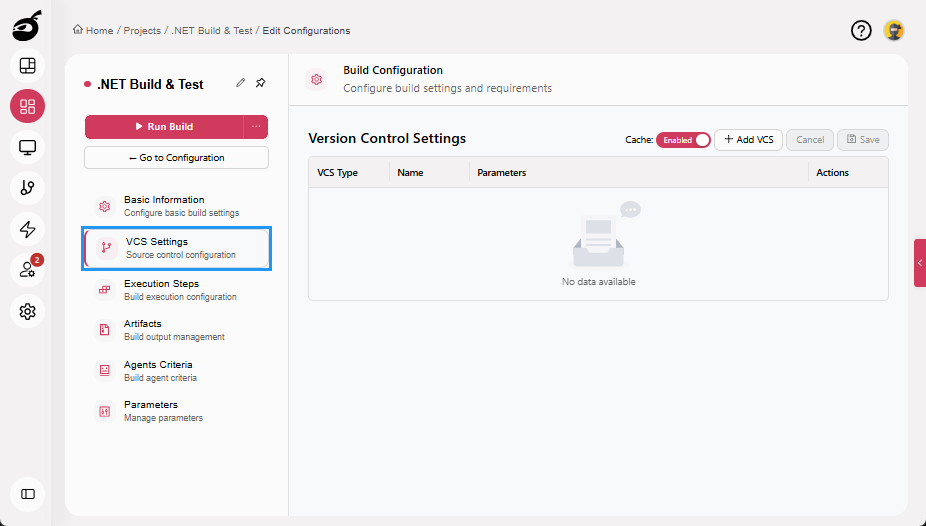
Step 2: Configure VCS Settings
-
Navigate to VCS Settings.
-
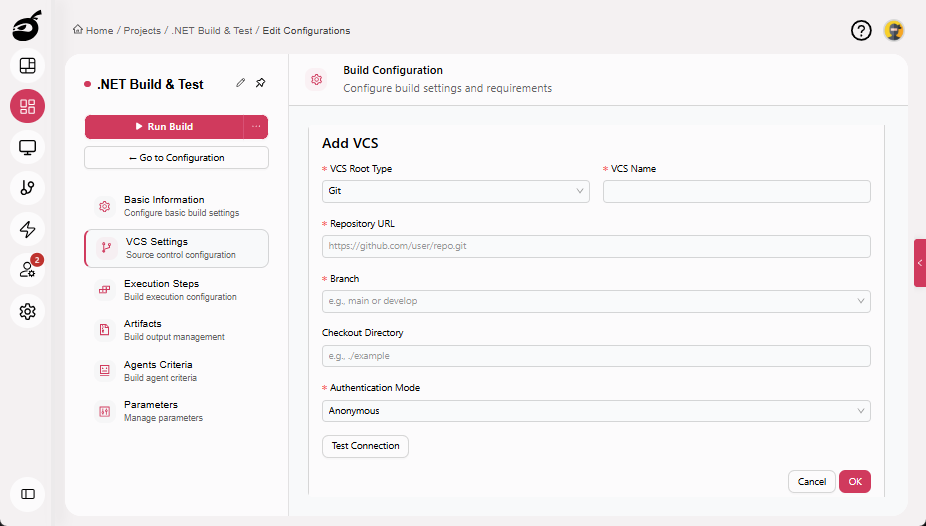
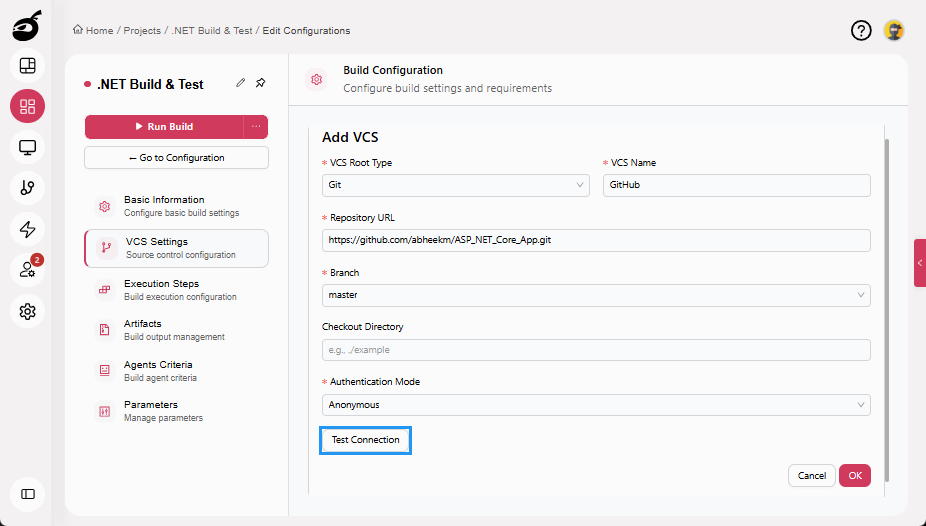
Click Add VCS.

-
Enter the following details:
- VCS Root Type: Git.
- VCS Name: A unique identifier.
- Repository URL: Git repository URL.
- Branch: main, develop, or your target branch.
- Checkout Directory: Optional, default is recommended.
- Authentication Mode: Select the required authentication method.
-
Click Test Connection to verify access (optional).
-
Click OK to add the VCS.
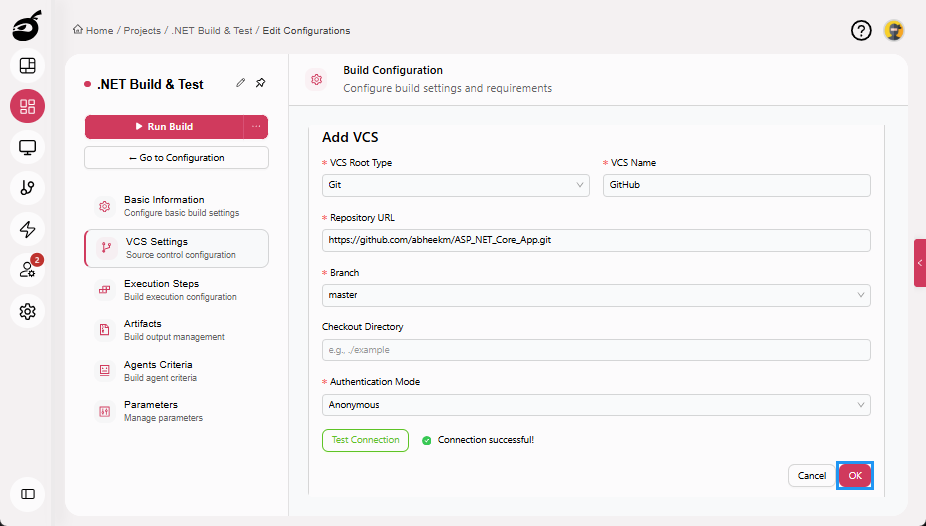
-
Click Save to save the VCS Settings.
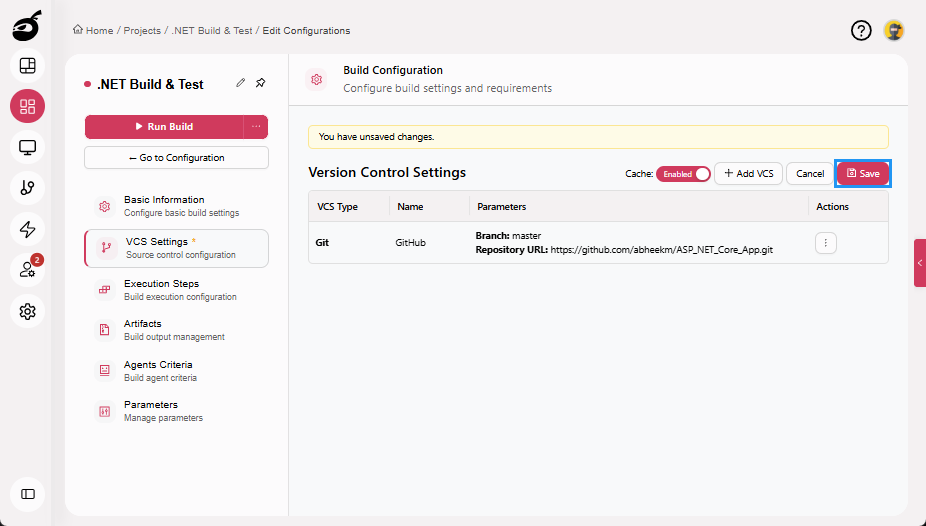 note
noteBuildNinja will now automatically fetch your source code from Git when the build runs.
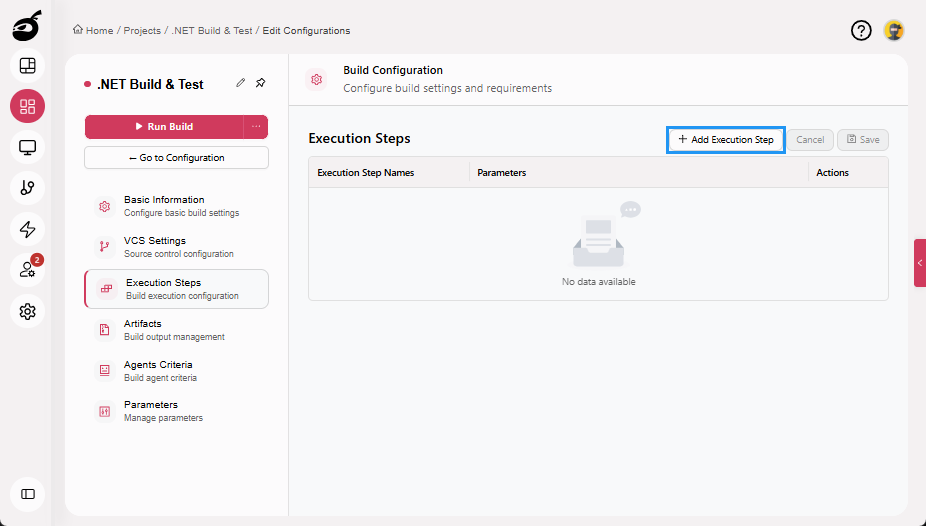
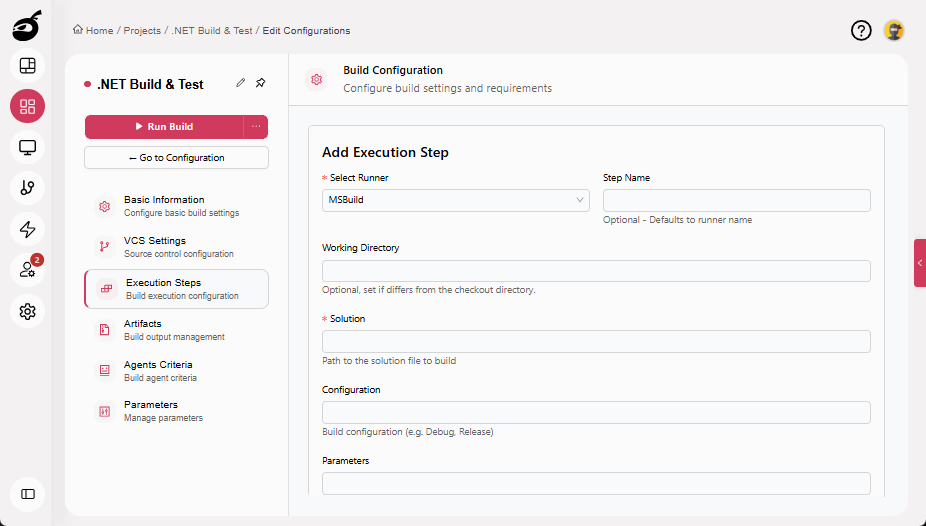
Step 3: Configure Execution Steps
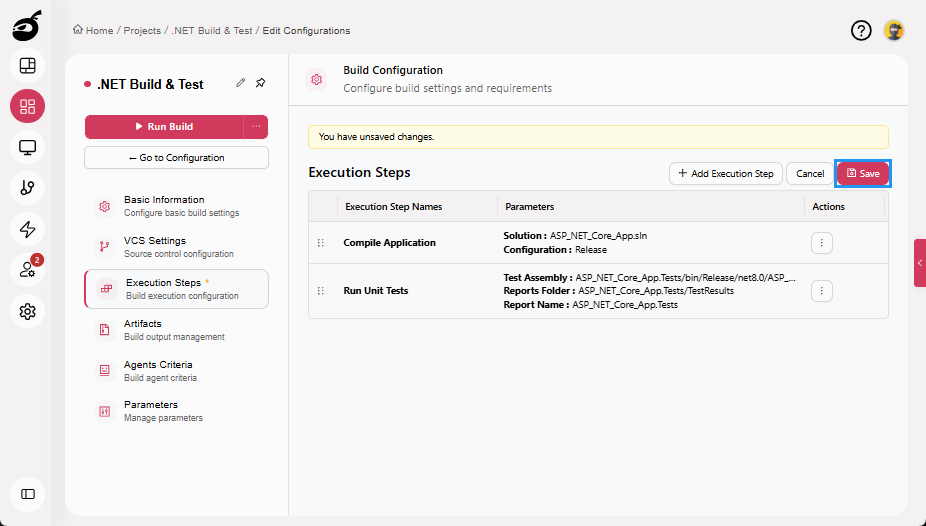
Step 3.1: Compile Application (MSBuild Runner)
-
Navigate to Execution Steps.
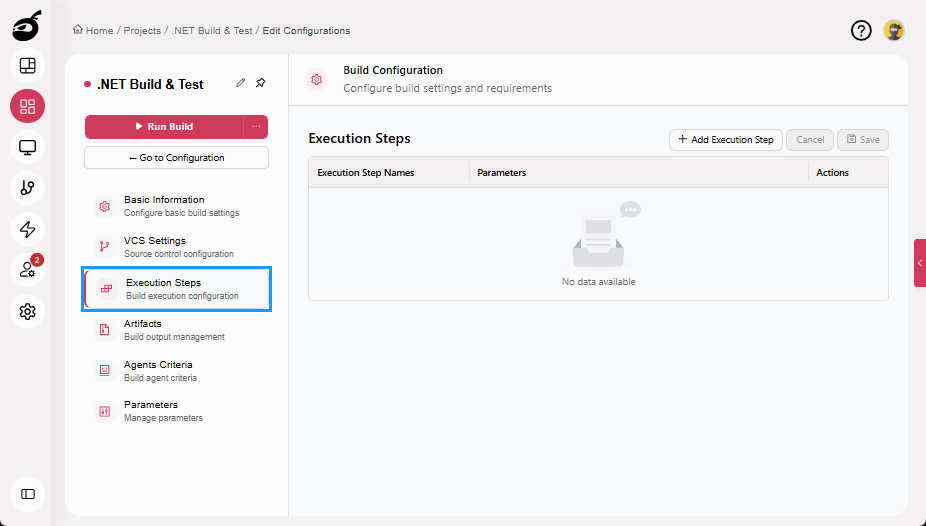
-
Click Add Execution Step.
-
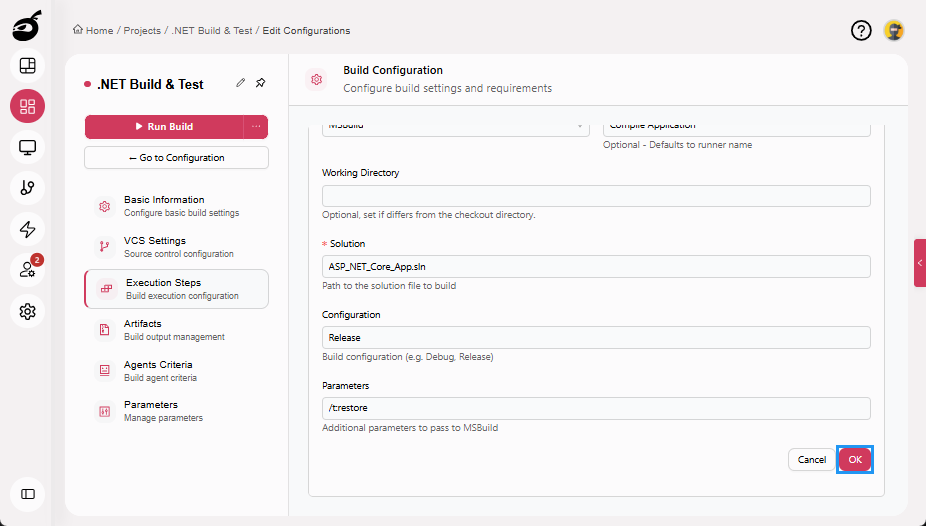
Enter the following details:
- Select Runner: MSBuild
- Step Name: Compile Application
- Solution: Path to the .sln file.
- Configuration: Build configuration, such as Release or Debug.
- Parameters: Additional MSBuild arguments. In this example, /t:restore runs the Restore target to download and restore NuGet package dependencies before compilation.
-
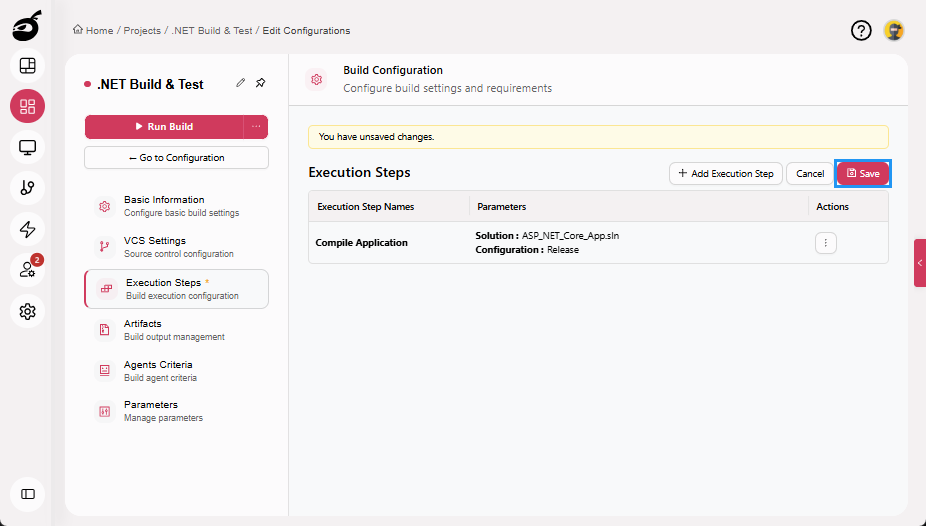
Click OK to add the execution step.
-
Click Save to save the Execution Steps.
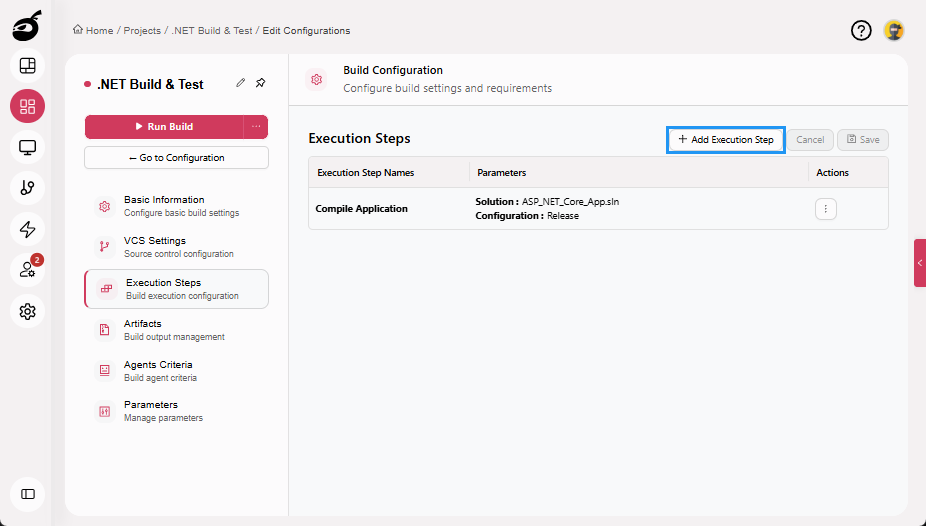
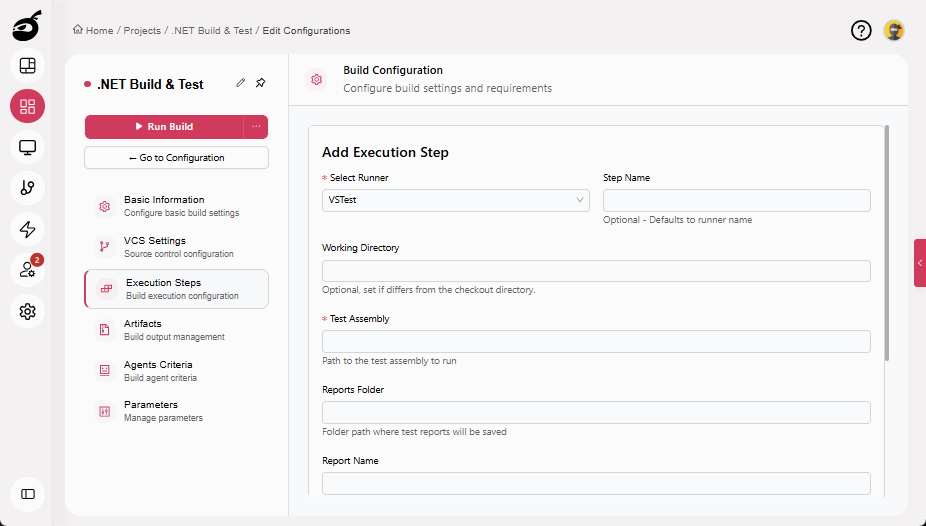
Step 3.2: Run Unit Tests (VSTest Runner)
-
Click Add Execution Step.
-
Enter the following details:
- Select Runner: VSTest
- Step Name: Run Unit Tests
- Test Assembly: Path to the test assembly (for example, ASP_NET_Core_App.dll).
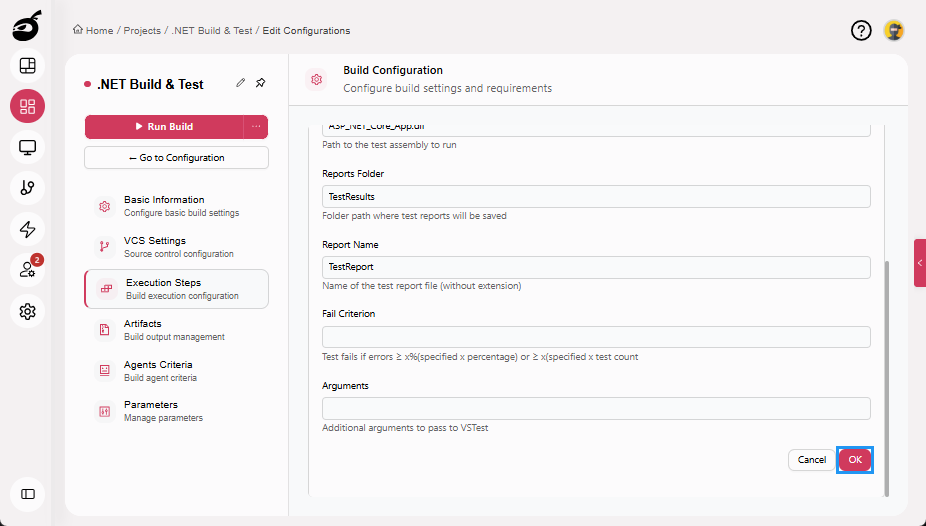
- Reports Folder: Path to the directory where test result files are generated (for example, TestResults).
- Report Name: Base name of the generated test report file (for example, TestReport).
-
Click OK to add the execution step.
-
Click Save to save the Execution Steps.
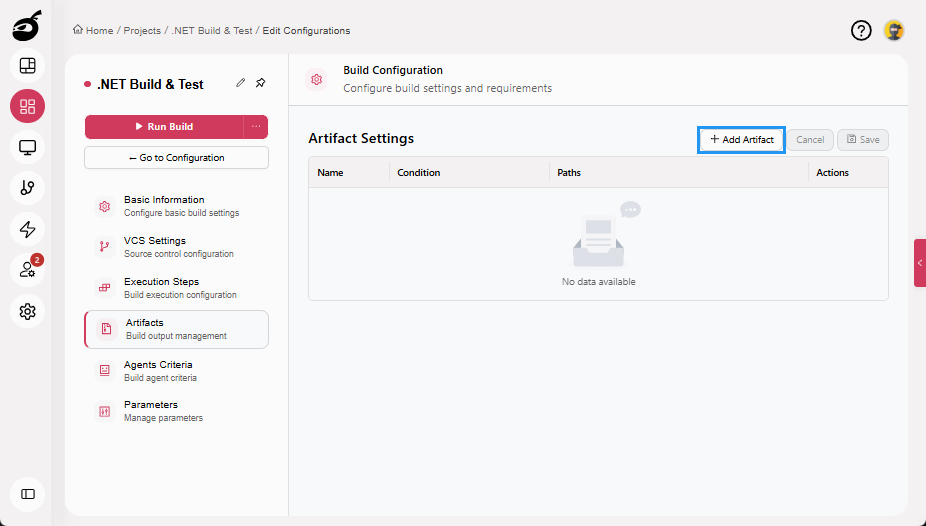
Step 4: Configure Artifacts (Optional)
Artifacts allow you to retain compiled binaries or other outputs.
-
Navigate to Artifacts.
-
Click Add Artifact.
-
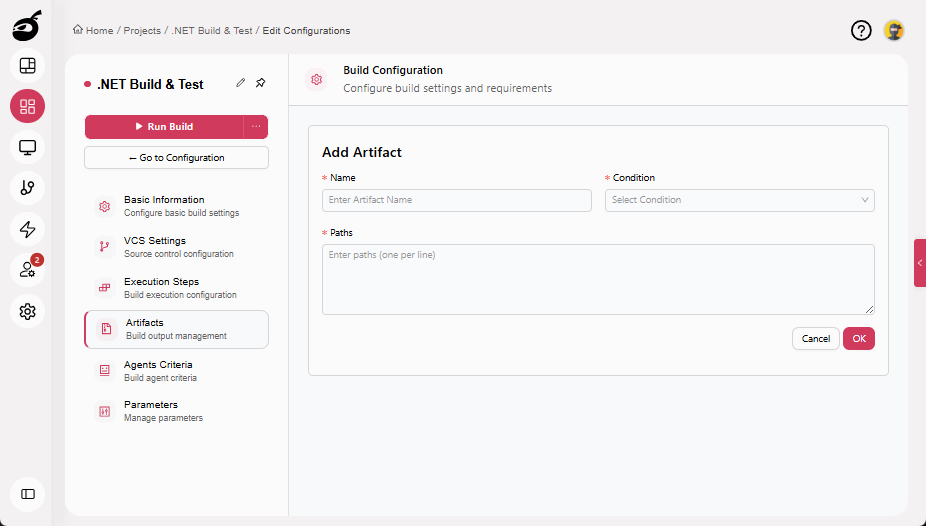
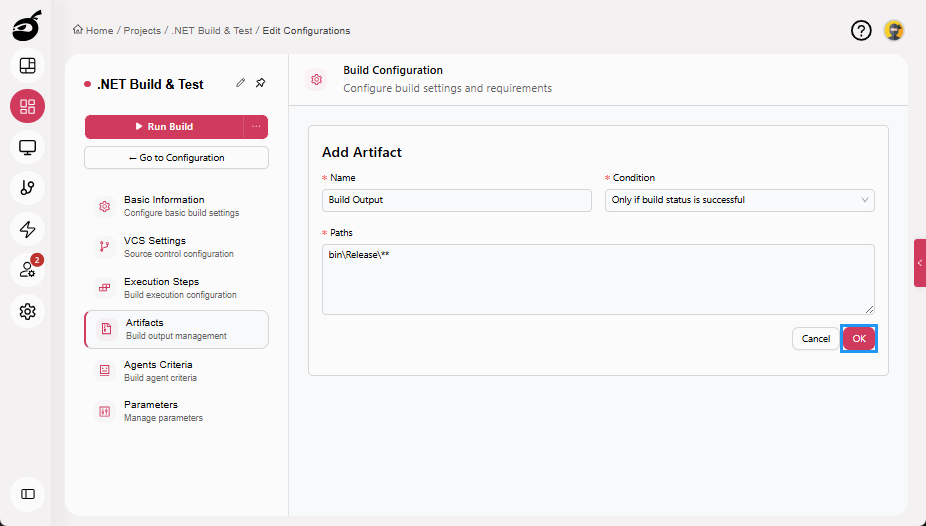
Enter the following details:
- Name: Build Output
- Condition: Only if build status is successful
- Paths: bin\Release** or your output directory
-
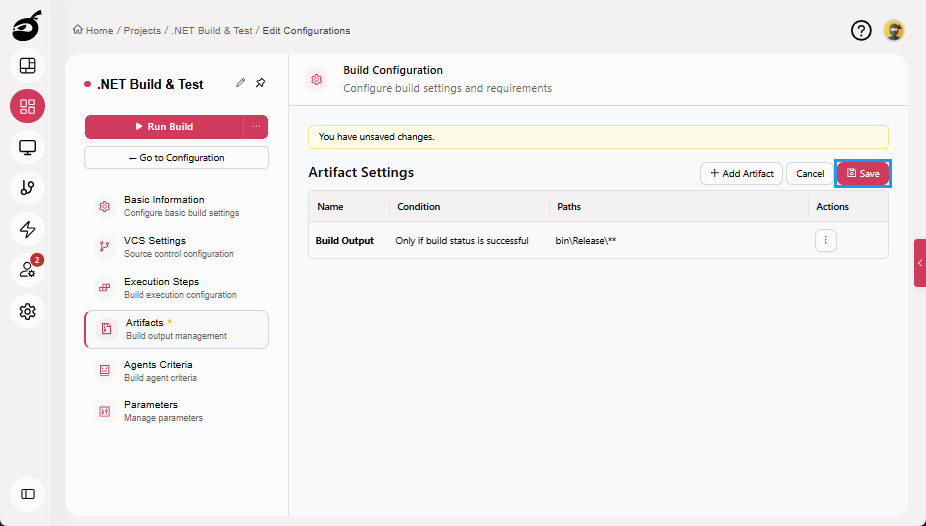
Click OK to add the artifact.
-
Click Save to save the Artifacts.
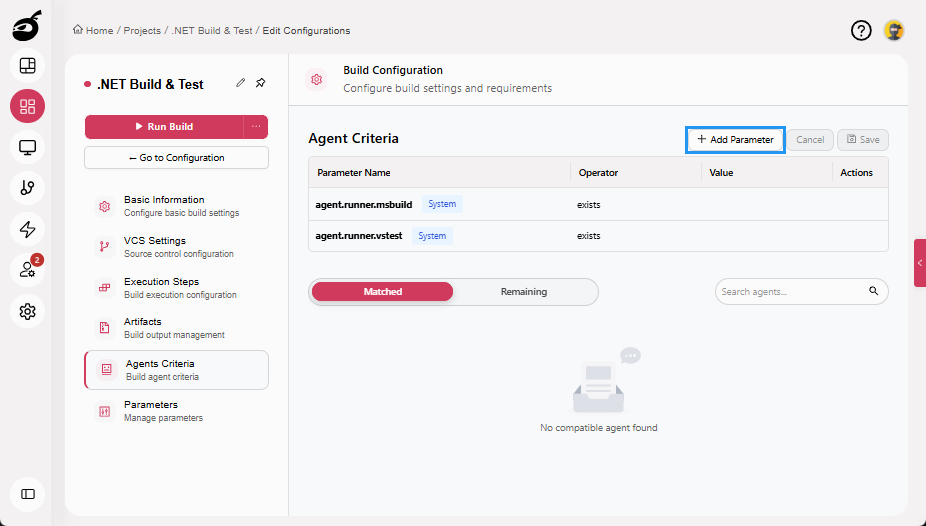
Step 5: Route Builds to Windows Agents
.NET builds must run on a Windows-based build agent to ensure compatibility with MSBuild and VSTest runners.
-
Navigate to Agents Criteria.

-
Click Add Parameter.
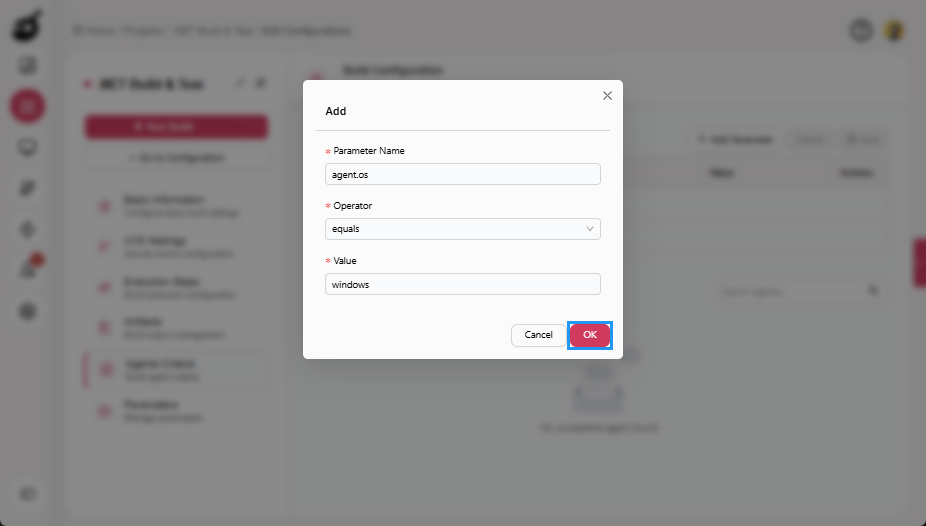
-
Enter the following details:
- Parameter Name: agent.os
- Operator: equals
- Value: windows

-
Click OK to add the parameter.
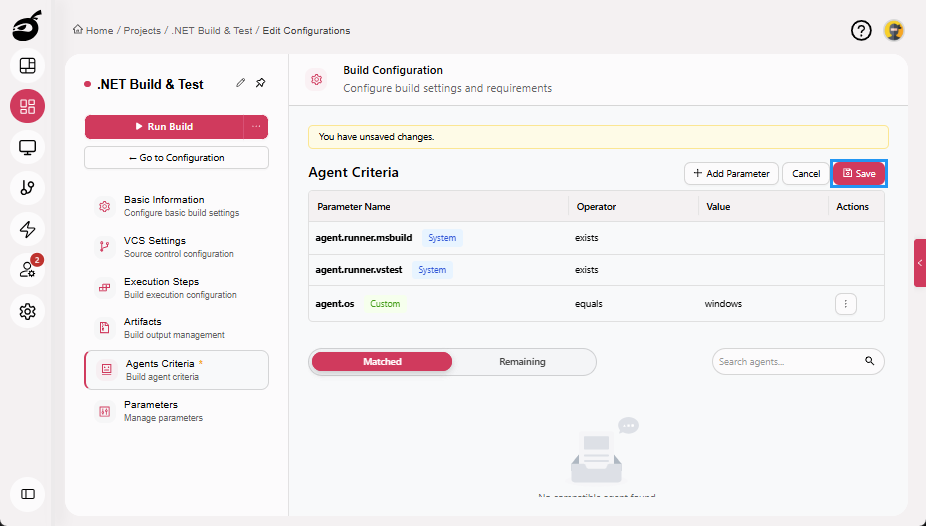
-
Click Save to save the Artifacts.
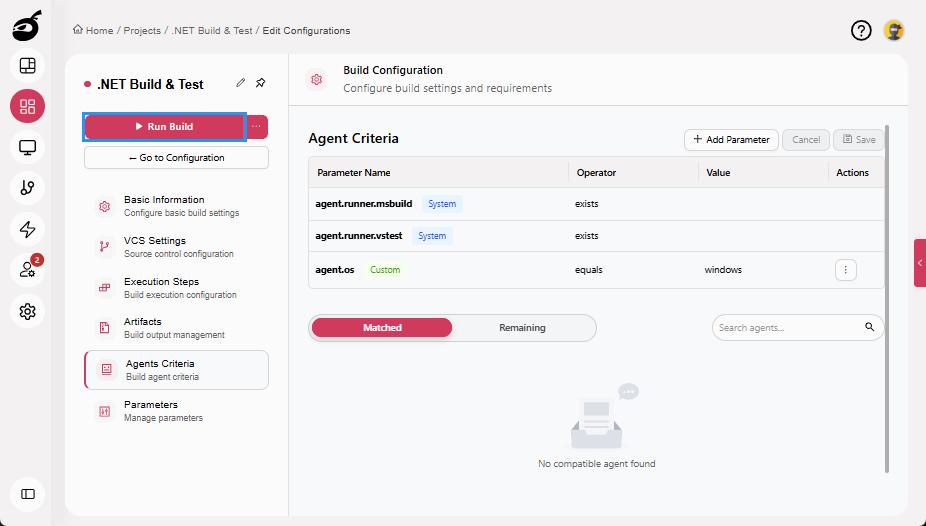
Step 6: Run Build
Your build configuration is now complete.
Running a build executes the steps defined in the build configuration, such as restoring dependencies, compiling the solution, running unit tests, and generating build outputs. In BuildNinja, build configurations define what a build does and control when it runs.
Step 6.1: Run Build Manually
-
Click Run Build to start the build manually. Once triggered, the build enters the execution queue and starts automatically when a compatible agent becomes available.
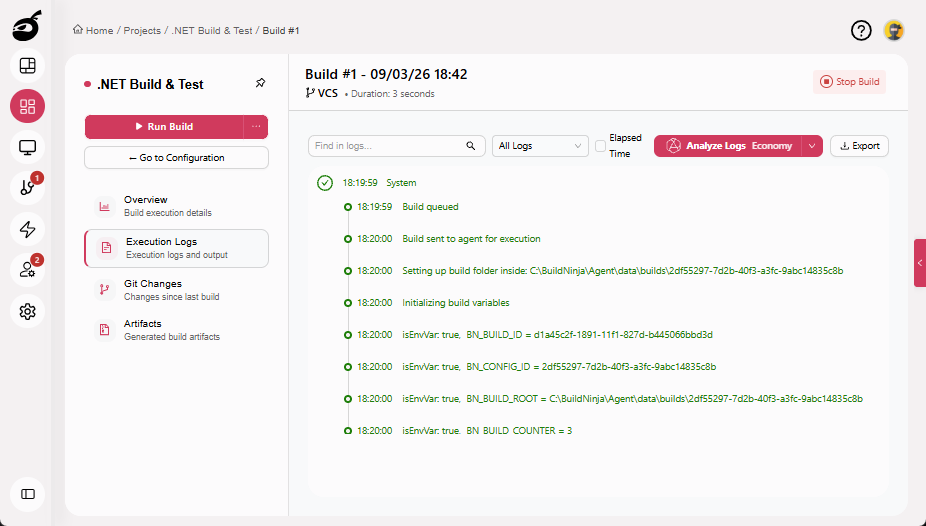
Step 6.2: Monitor Build Execution
While the build is running, you can view detailed logs for each execution step, including:
- Dependency restoration
- Compilation progress
- Test execution results
- Build output
These logs help you verify successful execution and troubleshoot failures. For more details about viewing build logs, step status, and overall build results, see View Build ResultsBuild results provide detailed insights into each successful or failed build in BuildNinja. You can review execution outcomes, analyze logs, understand source code changes, and access any generated artifacts..
Step 6.3: Schedule Build (Optional)
BuildNinja supports scheduled build triggers that allow builds to run automatically on a defined schedule. To learn how to configure and manage build triggers, see Schedule Build TriggersBuildNinja supports Build Triggers that allow builds to start automatically based on time schedules or Git activity. These triggers help streamline workflows by eliminating the need for manual build execution..